
 Guns, Politics, Gunsmithing & Reloading Gunsmithing
 Go | New | Find | Notify | Tools | Reply |
| sanding on a stock | Login/Join |
| one of us |
I'm trying to get all the tool marks out of a stock I had turned. I'm having trouble around the shadow line cheek. What do you use for a sanding block in this area? Any words of advice? | ||
|
| one of us |
I use a round rubber block often called a "tadpole". | |||
|
| One of Us |
Buy or get some chunks of hard rubber. Or got to a wood workers store and get some contoured sanding blocks. As for the rubber blocks I grind them like a recoil pad to the contour of the shadow line radius. Wrap sand paper around and go to town. If it's really rough I have a very large diameter rat tail file I use with the handle bent up so I can push it better. For me there's no trick other then using a sanding block to keep the edges sharp. Other then that it's just plain hard work www.KLStottlemyer.com Deport the Homeless and Give the Illegals citizenship. AT LEAST THE ILLEGALS WILL WORK | |||
|
| One of Us |
Not specifically for the shadow line, but I bought one foot of every size of rubber hose the auto supply store had in stock. Hockey pucks also make good raw material for sanding blocks. Mike Ryan - Gunsmith | |||
|
| One of Us |
Remove all tool marks with a file before you sand. | |||
|
| one of us |
Well they are file marks. I thought that a file was a tool. Maybe my filing skills are aren't what they are supposed to be. | |||
|
| one of us |
For the edge, I use a school eraser as the backer. Works for me. Larry "Peace is that brief glorious moment in history, when everybody stands around reloading" -- Thomas Jefferson | |||
|
| One of Us |
I use a smooth oak block for 95% of the sanding on a stock. Then, for the shadow line and the cupped edge of a cheek piece, use a wood door installation wedge, and round dowels as sanding backer blocks. Here's a thread that I did a year or so ago on finishing a stock. About 2/3 of the way through, it shows in detail how I sand the cheekpiece edges and adjacent stock: http://forums.accuratereloadin...231095151#4231095151 dave | |||
|
| one of us |
Thanks Dave. I haven't been around this forum in some time, looks like I missed out on a jewel of a thread. I appreciate you bringing it to my attention. | |||
|
| One of Us |
One of my main tools for the cheekpiece and shadow line is a handy little 4-surface file sold by Brownell's. I believe they call it a vulcanite file although IMO it's more of a fine rasp. It's double-ended, flat on one side and half-round on the other, with one end having a coarse cut on both sides and the other end having a fine cut on both sides. IOW one fine flat cut, one fine half-round cut, one coarse flat cut and one coarse half-round cut. A small rectangular eraser with its edges cut at several different angles, for use as a sandpaper backer. Cheap fiber-backed nail files of various thicknesses and degrees of coarseness. I trim these to shape with scissors, they are wonderful for sanding right up to the vertical edge of the shadow line. But be careful that a grit particle doesn't imbed into the wood, some of these cheap nail files have sharp-edged particles that can cause problems. Regards, Joe __________________________ You can lead a human to logic but you can't make him think. NRA Life since 1976. God bless America! | |||
|
One of Us |
I use different sizes of wood for the flats along the shadow line. I'd love to find some sort of solid metal abrasive block with fine edges to get really close. I use some contoured pieces from a Dremel sanding tool for the curves. My father-in-law has a whole kit of different shapes, though, he uses for furniture. "Evil is powerless if the good are unafraid" -- Ronald Reagan "Ignorance of The People gives strength to totalitarians." Want to make just about anything work better? Keep the government as far away from it as possible, then step back and behold the wonderment and goodness. | |||
|
| One of Us |
http://www.youtube.com/watch?v=H32aO-IuVGc This looks nice. Thanks to SS dave for reminding us of the old post. That will be useful for my project. "When the wind stops....start rowing. When the wind starts, get the sail up quick." | |||
|
| One of Us |
I use a piece of Delrin or Acetal square, flat blocks about 1" x 1" x 2" and wrap the wetordry around it. Don't feel the eraser is satisfacory for sanding, it will leave the surface wavy due to hard and softer spots in the wood. Get some wood dowel material of different diameters for the detail work on radiuses. Here s something you might consider, you are correct when you say the file leaves marks. Take a cabinet scraper, different shaped ones, and scrape the scratches out of the stock. I do that prior to sanding. Jim Jim Kobe 10841 Oxborough Ave So Bloomington MN 55437 952.884.6031 Professional member American Custom Gunmakers Guild | |||
|
| one of us |
Just for fun here are some pictures of where I'm at. This is the 4th stock I have finished. On the other three I got to this point and gave up. Not this time. I think I have the back and bottom fairly well. May still need to revisit them. 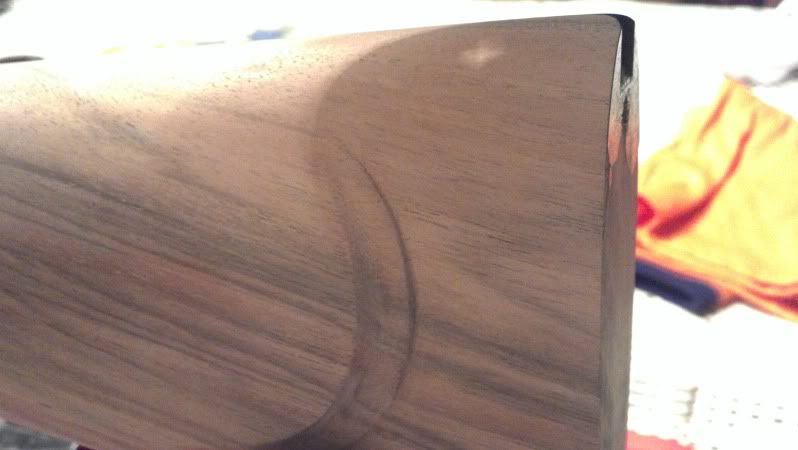 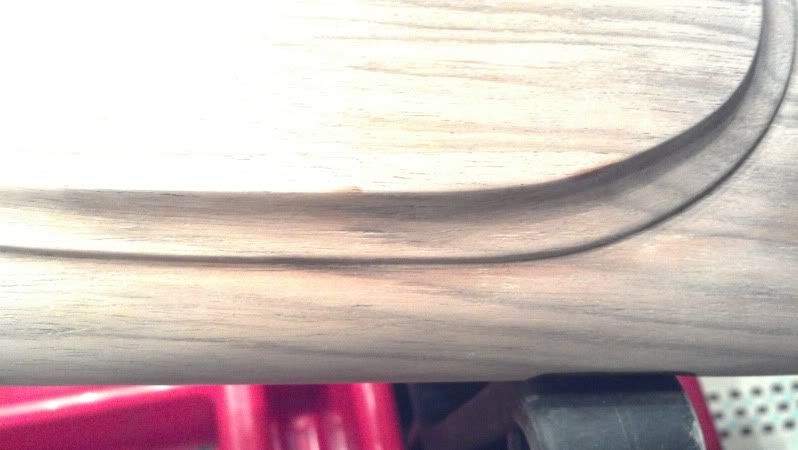 Here is where I'm having trouble. It looks like I still have some marks on the front, and I'm rounding the edge on the shadow line. 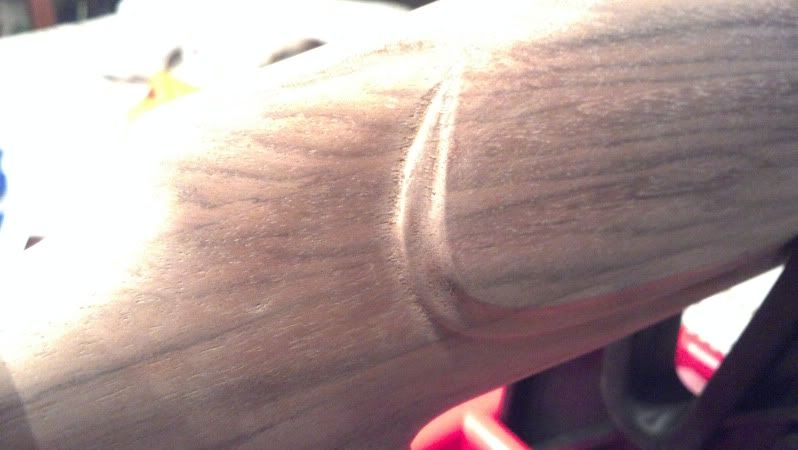 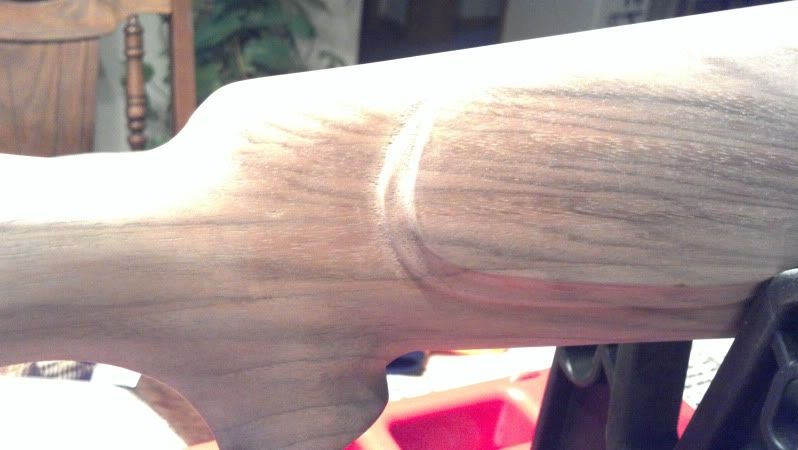 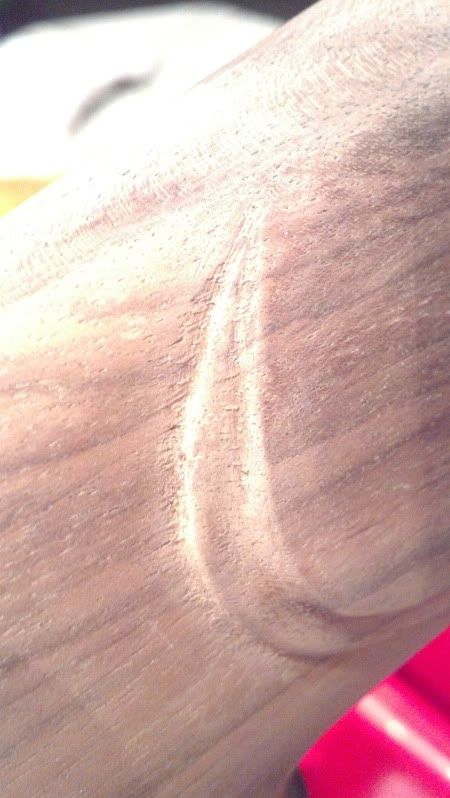 | |||
|
| One of Us |
I have also used needle files in smaller critical areas like the front shadow line, then finished up with wet-or-dry and/or nail files. Regards, Joe __________________________ You can lead a human to logic but you can't make him think. NRA Life since 1976. God bless America! | |||
|
| One of Us |
What I would do (not saying this is the right thing, just what I would do) at the point where your are is take a 5/8" dowel about 16 inches long, wrap an 80 grit sandpaper piece around it, hold it with my left hand to keep it from unwrapping, and hold the unwrapped end of the dowel with my right hand. I would then cut the concave portion of the cheekpiece to a smooth contour with the sandpaper. Might have to wrap the sandpaper around a pencil or 1/4" dowel to do some areas. Then, work all the way through the grits 80/120/150/180/200/240. Then, I would take a chisel and cut the shadow line square again, and cut the stock flat right up to the shadow line edge. Then, use a file and push it at about a 30 degree angle, parallel to the grain, right up to the edge to flatten the wood and get it even. You only need to cut a few thousandths of an inch, but the file is the easy to get it all flat. Then, use a wood block, angle it till it butts square up against the cheekpiece, and sand the area you just filed perfectly parallel with the grain. Do not go sideways, that's where your scratches come from. Don't ride up over the shadow line, that's where it gets rounded off. When you have sanded what you can with the block, wrap a piece of sandpaper around the thin knife edge of a door installation wedge, and do the same with it. You can get right up into the corner with it. Again, don't go sideways. Repeat until all file marks are out. Then, repeat with all the grits again. Only after you have all the stock sanding done, should you then use a piece of 180 or 220 grit to just break the corner on the shadow line, and blend it with the concave section. Mostly it takes persistence and patience to do this. It would take me about 30 to 45 minutes to finish the edge you show from where it is now as I have described. You can see a couple of pictures of how I do it in the link to the thread I posted earlier. Keep at it! You'll get it. dave | |||
|
| Powered by Social Strata |
| Please Wait. Your request is being processed... |

Visit our on-line store for AR Memorabilia