 Rifles Custom Built Rifles
 Go | New | Find | Notify | Tools | Reply |
| making a ruger stock in the duplicator | Login/Join |
One of Us |
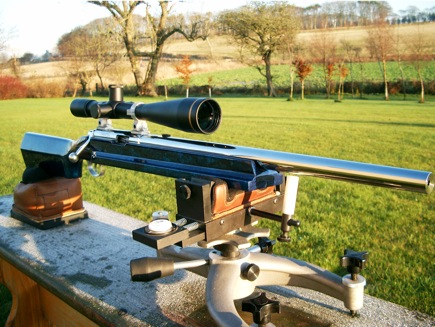
i mentioned the stock duplicator on another thread and thaught i would make a project of the new ruger mk77 chambered in 458 AR, that i have just got off kunkie. the stock supplied is just a factory ruger stock that has been bedded and 2 cross bolts installed. plenty strong enough and looks ok, but why not give it some bling? i pulled the action out and fitted it into the duplicator, allong with a nice piece of walnut that i have got off junsreilia, who has some beautiful pieces. 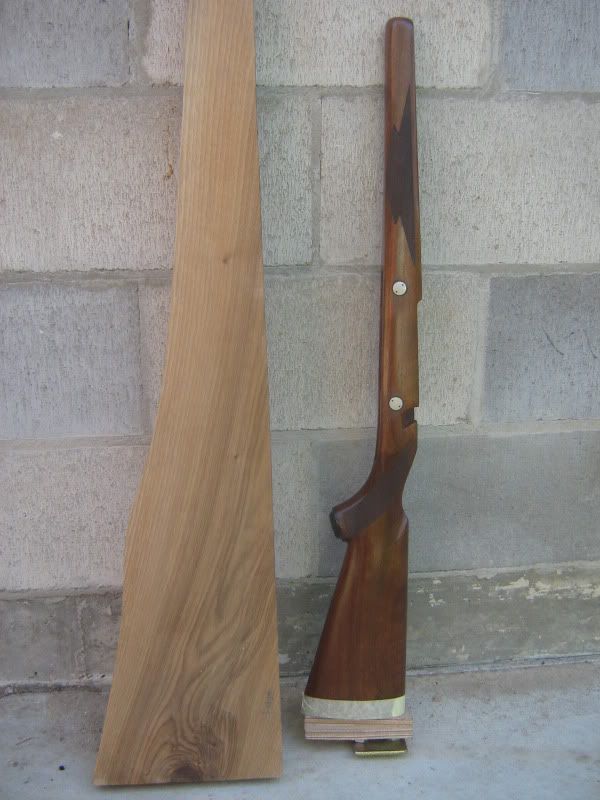 i have posted up a couple vids of the duplicator in action at various stages. checking the fit in the duplicator http://www.youtube.com/watch?v=E8qjC73glCQ rough shapeing http://www.youtube.com/watch?v=KxnAFsSOn5s&feature=mfu_in_order&list=UL cutting the inletting http://www.youtube.com/watch?v=-s652lHqExw&feature=mfu_in_order&list=UL finished shapeing, time for some sand paper http://www.youtube.com/watch?v=GiNO3Y8z7h4&feature=mfu_in_order&list=UL ended up looking ok i think 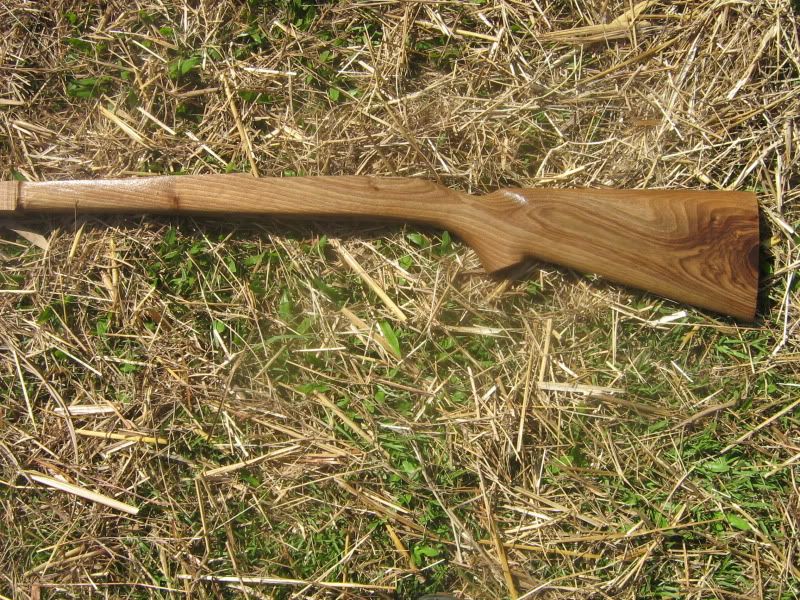 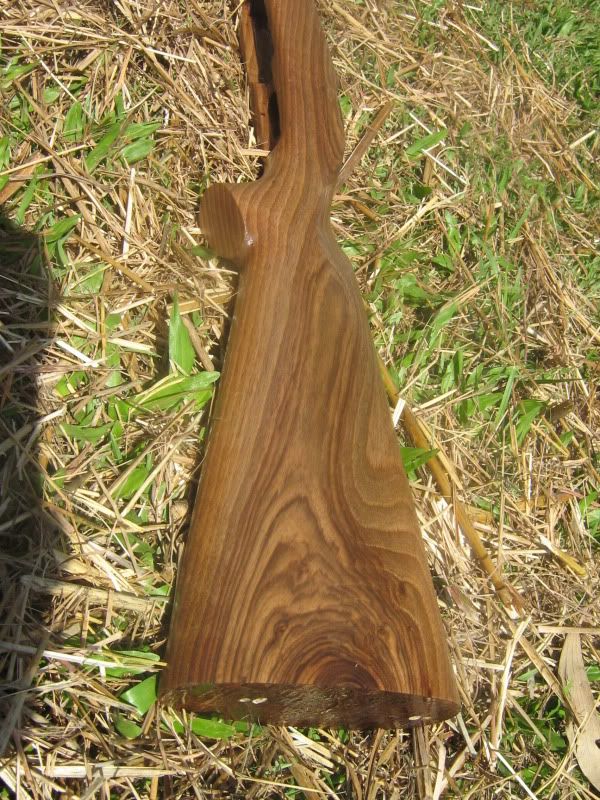 doing the inletting and fitting up the metal atm. see how it turns out. greg | ||
|
| One of Us |
no major work today, as a 3 and a half hour job finished at half five but i did prep some buff horn for the forend and grip cap. 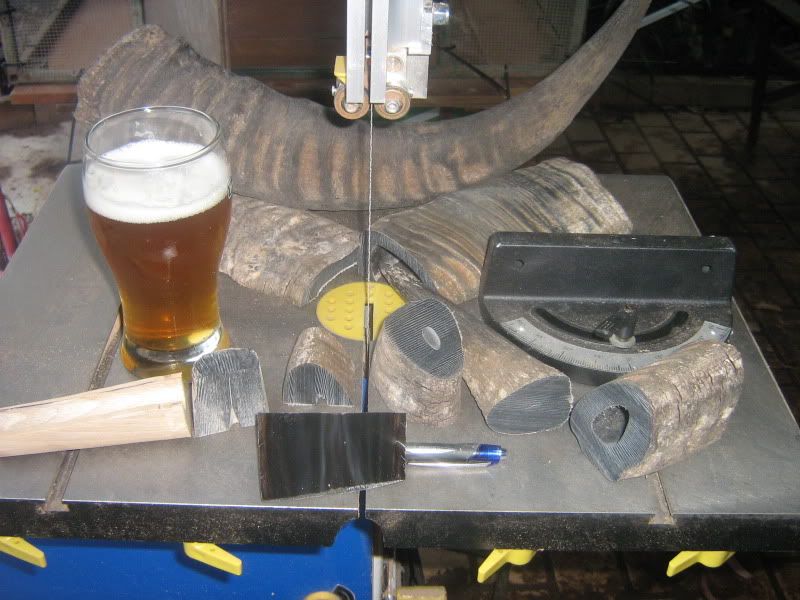 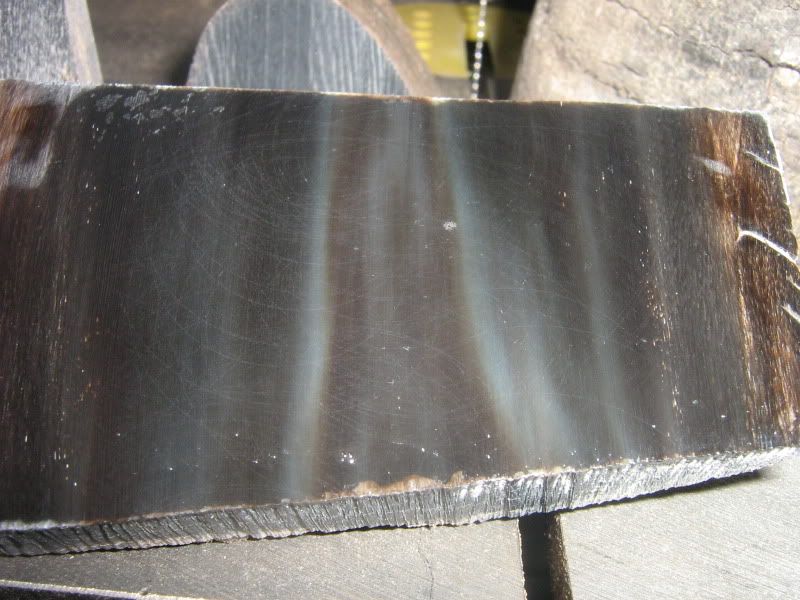 camping trip this weekend so i would like to atleast get the horn glued on before i go, will see. greg | |||
|
| One of Us |
i did manage to get the cap and grip glued before i set off on a camping trip so atleast it left the glue to set well before i got back this arvo. 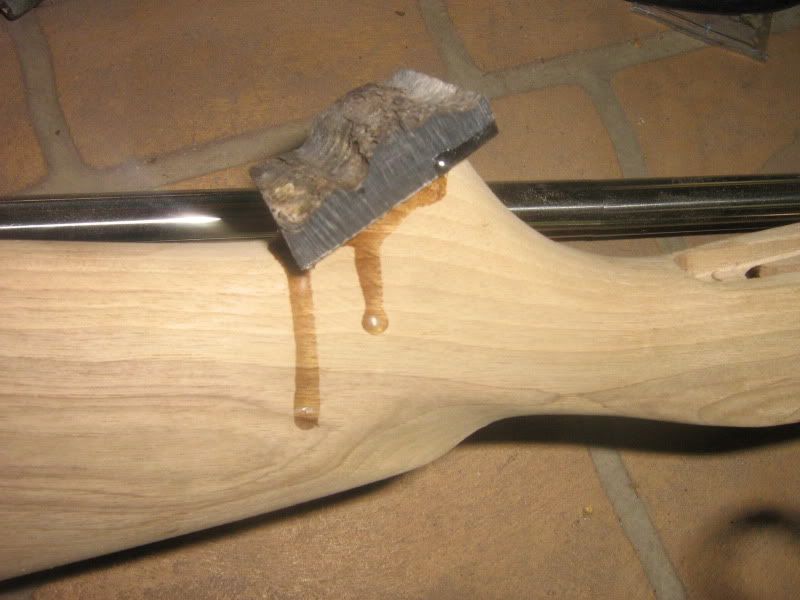 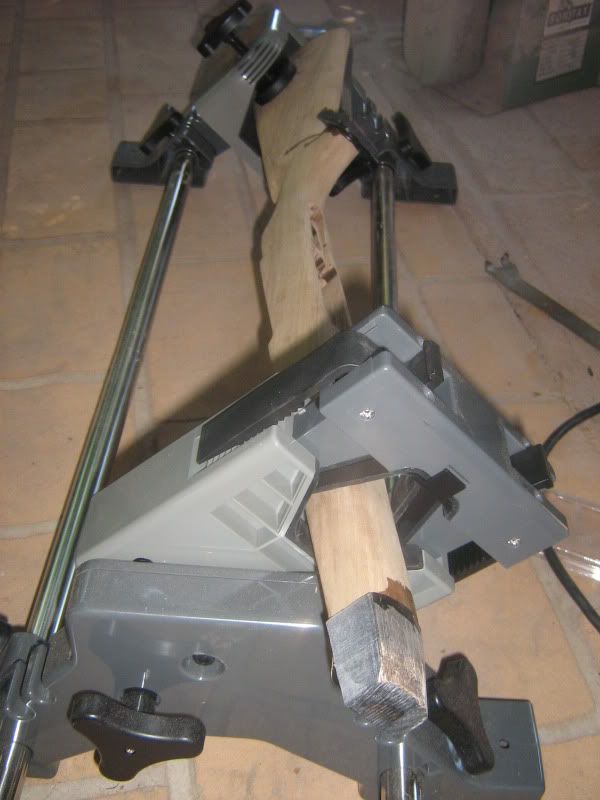 just about finished the barrel channel before i had a VIP visitor this arvo. 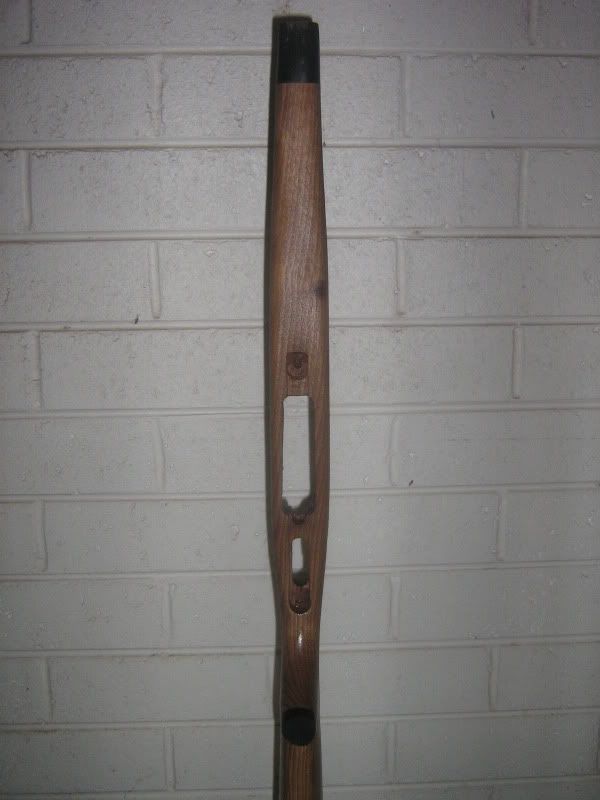 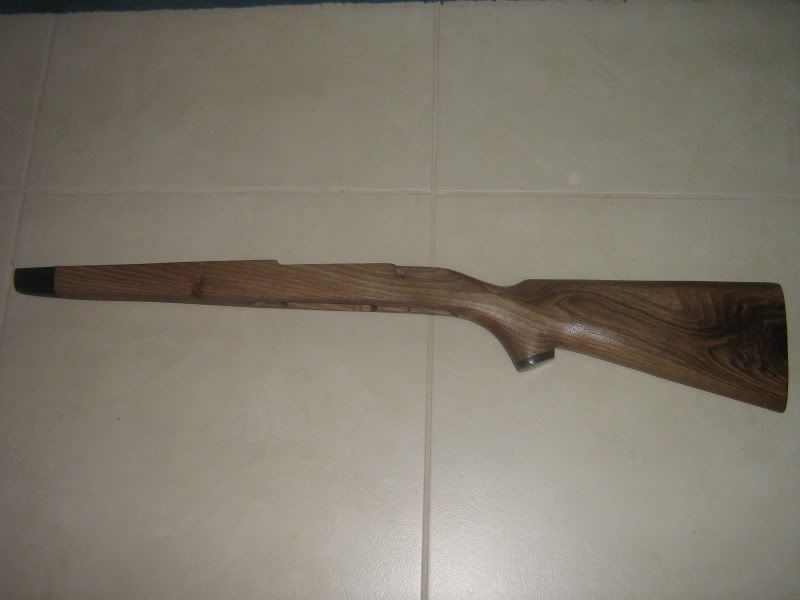 getting there atleast greg | |||
|
| One of Us |
ok, inspired by the delivery of pillars, bedding compound, pads etc... i have now got some pillars and cross bolts to fit and bed. 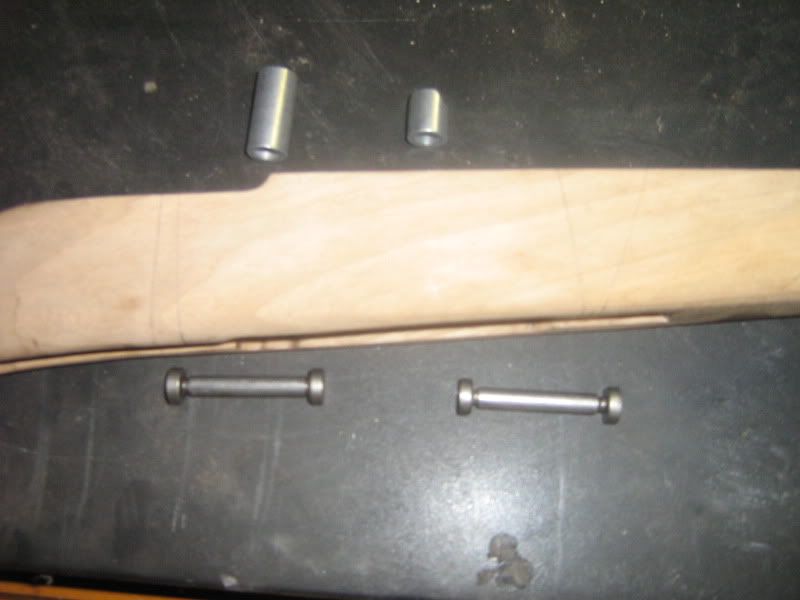 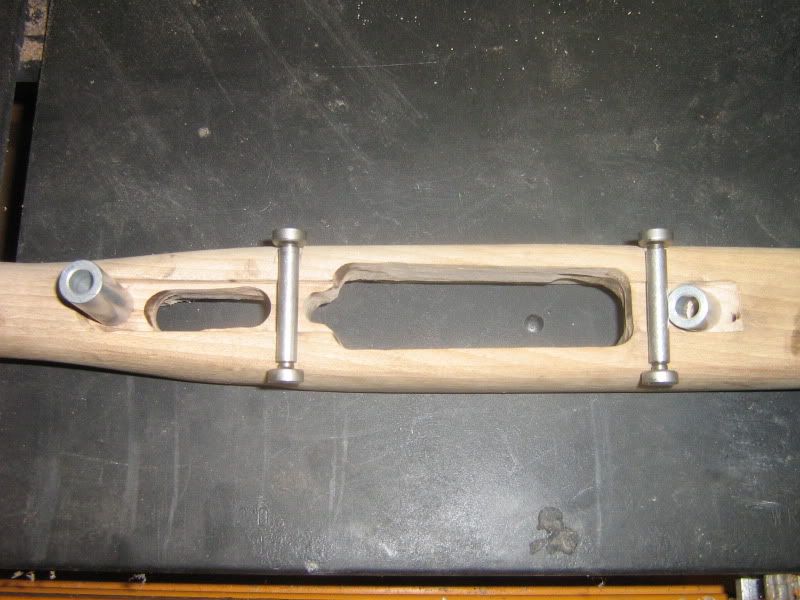 tally cross bolts are nice and small i will screw them down and bed them above flush then grind them down to flush. 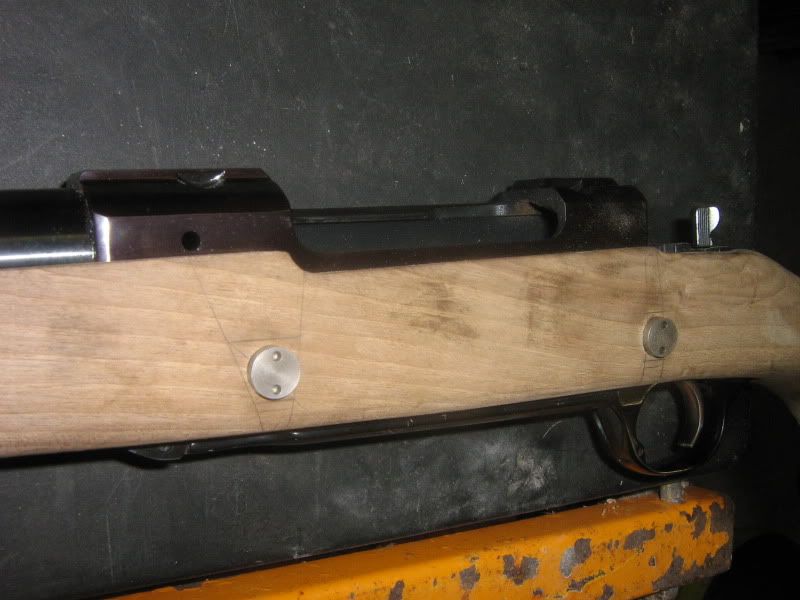 greg | |||
|
| One of Us |
ok, bedding and cross bolts installed i "keyed" the bedding area with the dremel to give the devcon a good surface to lock on to. 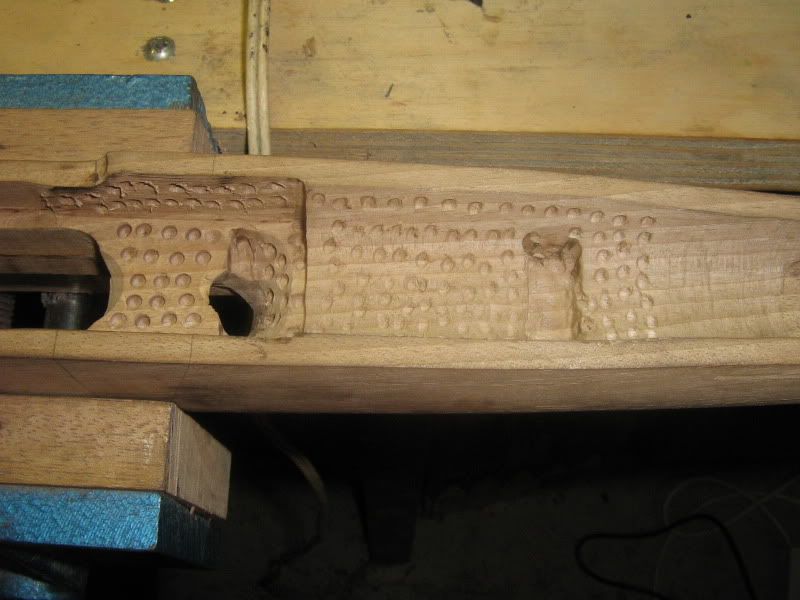 i ended up running the bedded area a bit further forward than what you see in the first photo so i keyed the stock out further allong the barrel channel than the first photo. due to the high temps we experence, i usualy use a smaller amount of hardener than is pescribed in the instructions, this gives me a bit more time to work with the compound, well it hardened up, but i went to bed and tapped it out this morning. set like a stone now. 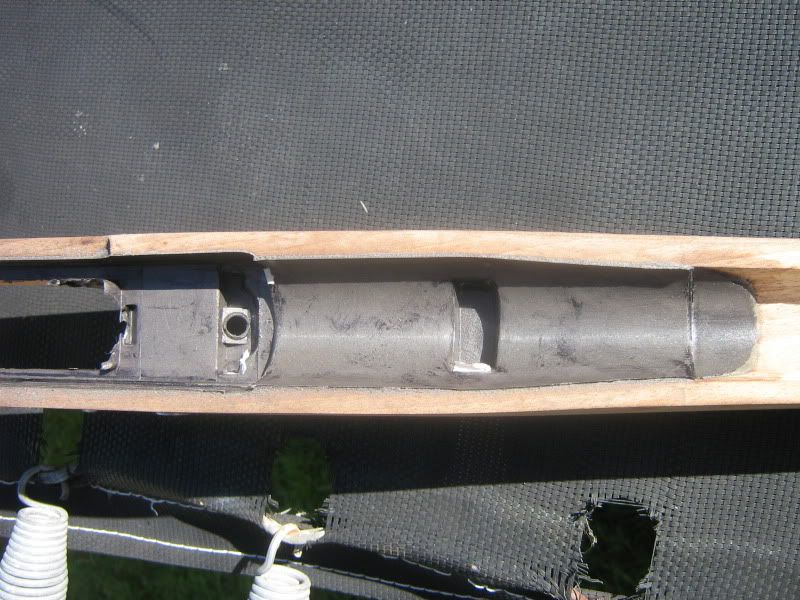 filing the cross bolts looks like a bigger mission than i first thaught, took to them with a file and it just slid over the top, mite need to use a bit of electrical help :devil: greg | |||
|
One of Us |
Looking nice! Jason Z Alberts “If ye love wealth better than liberty, the tranquility of servitude than the animated contest of freedom, go from us in peace. We ask not your counsels or arms. Crouch down and lick the hands which feed you." – Samuel Adams | |||
|
| One of Us |
Well done. I wish I had the talent to do such things. Damn I have trouble driving a nail without bending it. Mike | |||
|
| One of Us |
thanks for the kind comments. tidy'ed up the cross bolts, and spent most of the weekend sanding down to 320, then giving it a good rub over with a very fine foam sanding pad, acted more as a buff than sanding. once i was happy that the sanding marks were all out i gave in to curiosity and decided to go for a boiled linseed oil finish. no matter what i needed to put something on it because everyone has been coming over and they all want to touch it, but i didnt want finger marks in it. 4 or 5 coats now and it is realy starting to look nice. 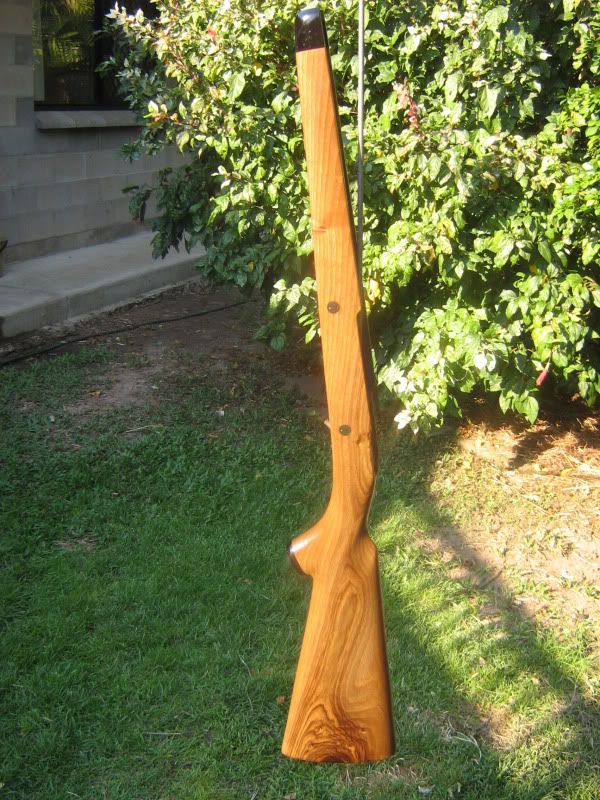 close up of the buff horn, adds a nice touch of character, i think. (especialy as it was from one i "collected" myself) 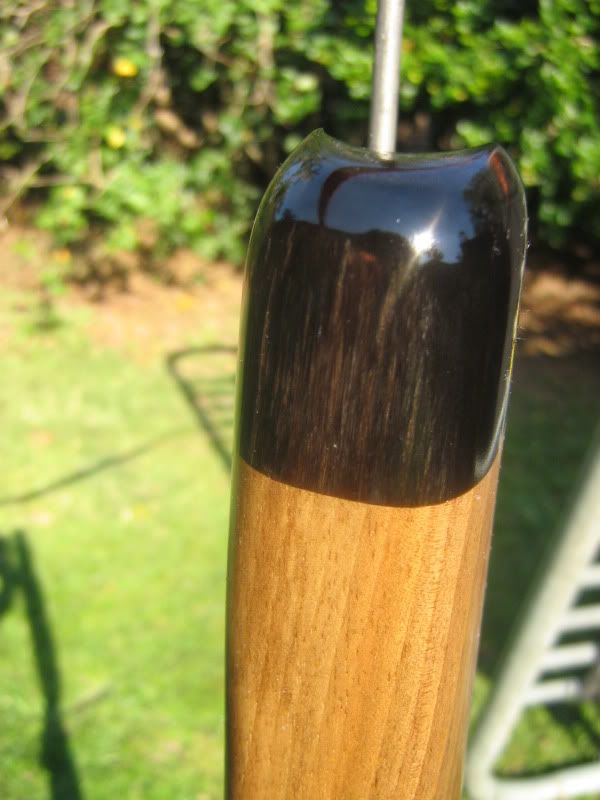 greg | |||
|
| One of Us |
took another pic after about an hour of soaking in the blo 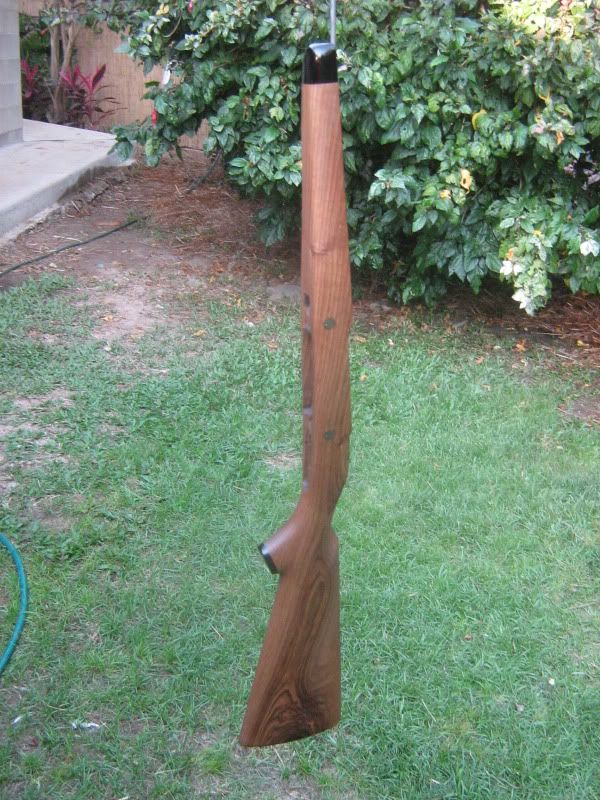 and a close up of one of the cross bolts, i installed them proud then filed them down to flush. 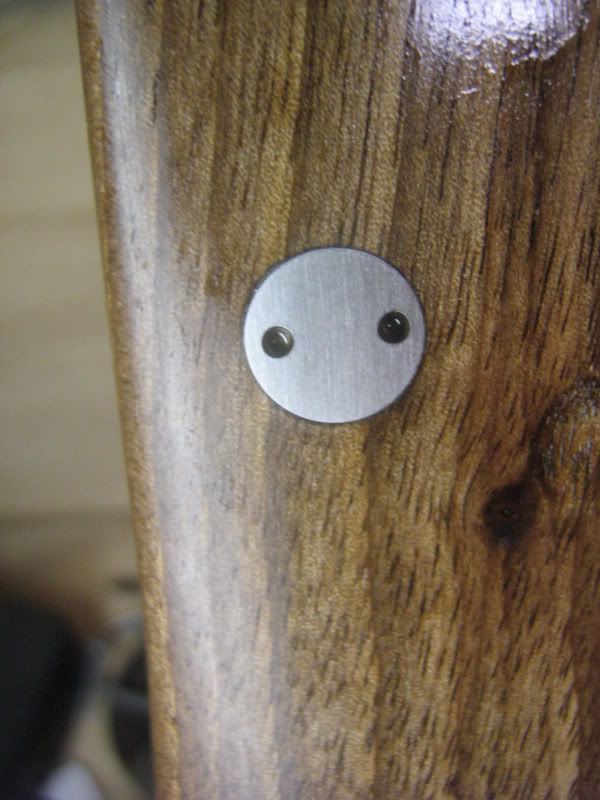 checkering to start soon, i hope your enjoing the progress. greg | |||
|
| One of Us |
checkering! i have had enough practice now to realise a good checkering cradle is worth its weight in gold, so spent the morning making one. that done i sat and pondered the style i wanted. i didnt want anything too garrish or over done, this is a hunting rifle so a practical and neat style was what i wanted. i ended up deciding on the "greghud swish" first fore end done, have to start cooking dinner so i mite make a start on the next one after i get the brats into bed. 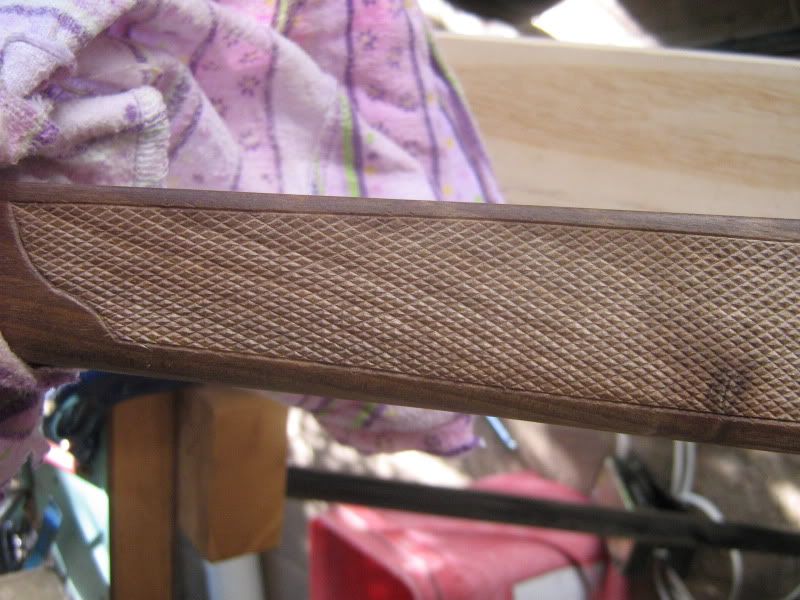  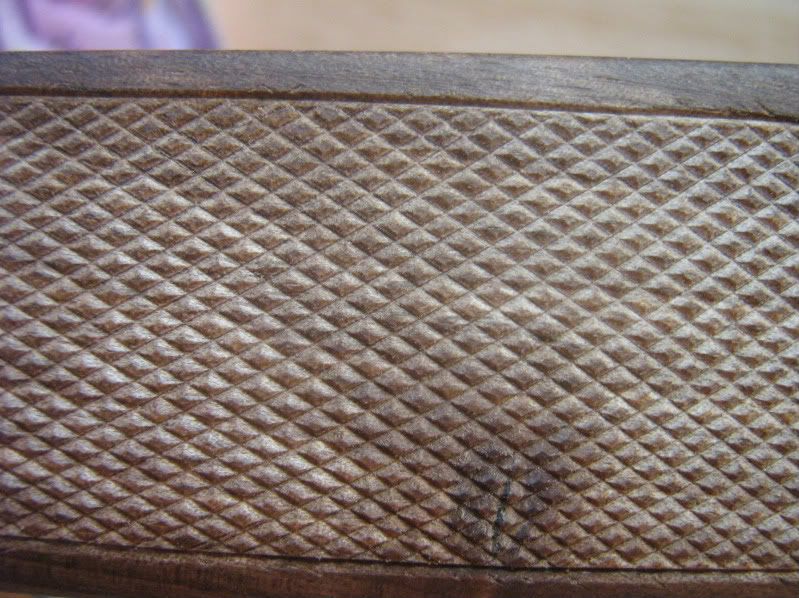 greg | |||
|
| One of Us |
Coming along very nicely! Jealous here. Jason Z Alberts “If ye love wealth better than liberty, the tranquility of servitude than the animated contest of freedom, go from us in peace. We ask not your counsels or arms. Crouch down and lick the hands which feed you." – Samuel Adams | |||
|
| One of Us |
bit of a run down with the prosess of checkering. first thing is to cut an out line, i dress this up last as you will usualy get a few lines where you over shoot the border. i then set a master line for each angle of the diamonds, 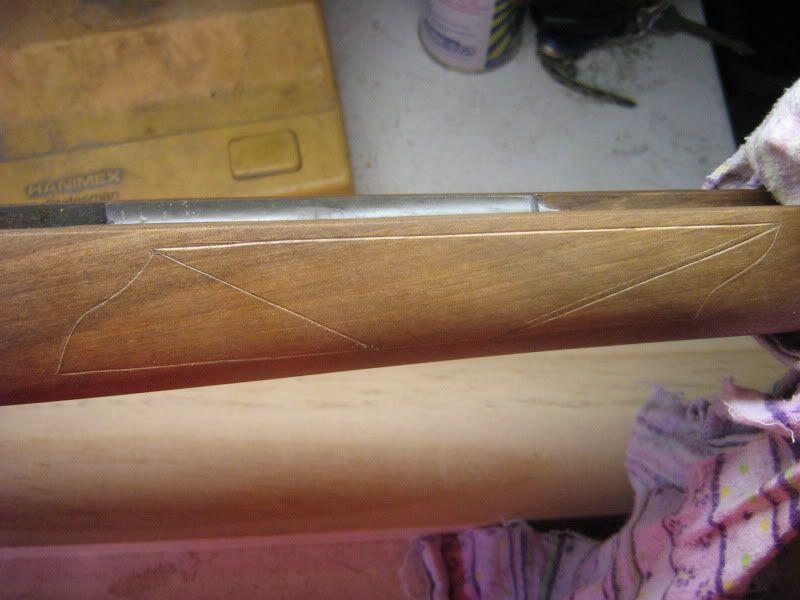 then its time to cut the lines, these are not very deep, you need to go back over them to cut the depth. 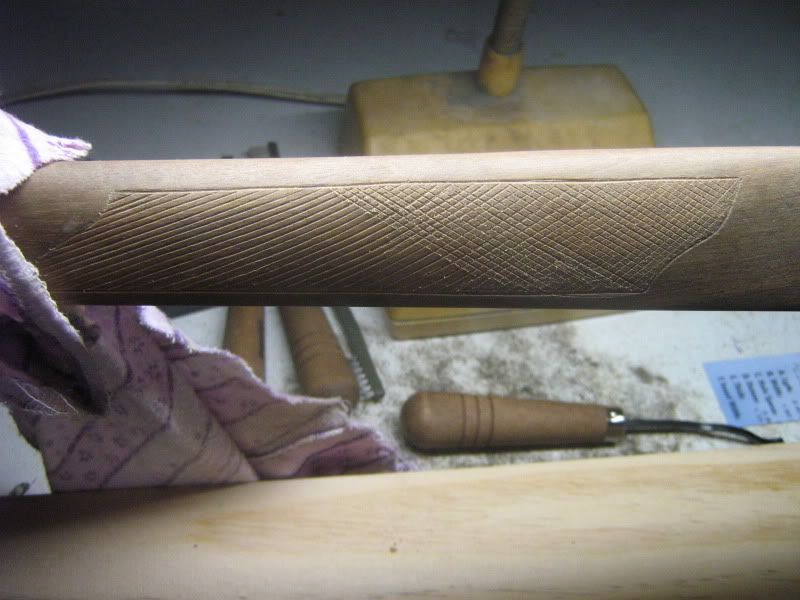 after i have cut these i use a 60% cutter to set the depth. when this is done i use a %90% cutter to form the diamonds. its a long prosess and as soon as you feel you are tiring you need to stop, or you will stuff it. the panel completed on the prevoius post took about 4 or 5 hours. i have taken a photo of the frame i made up to hold the stock whilst i checker. you will note the custom tail stock. very "darwin" solution. 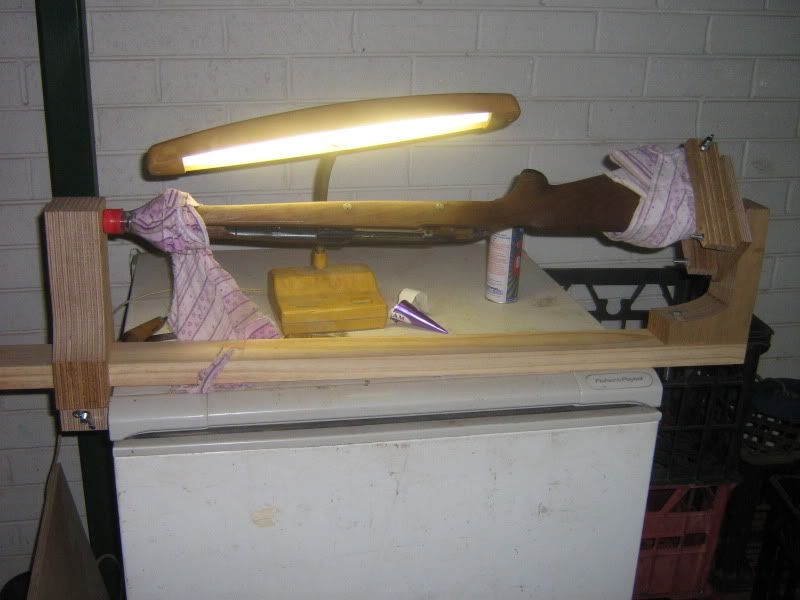 greg | |||
|
| One of Us |
i have done a vid of the prosess of cutting the checkering http://www.youtube.com/watch?v=XKXmGvM1QEw greg | |||
|
| One of Us |
put the action back into the stock and ran a quick funtion test to see that the 3 shot mag box mod has worked. [flash=200,200]http://www.youtube.com/watch?v=Ksx4rYoQe0g[/flash] all done! 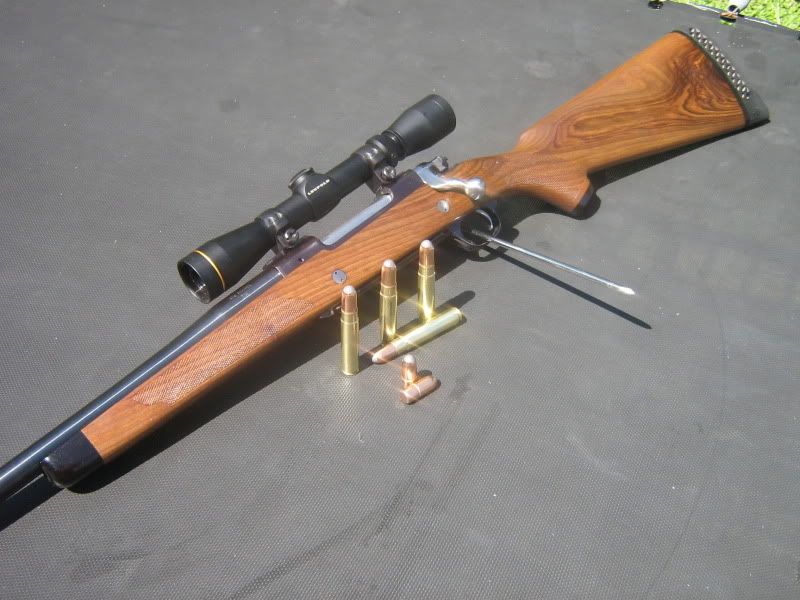 480 grain woodleighs should keep it well fed, i will need to do a little load development to get things set to go and then i will give it the final test. greg | |||
|
| Moderator |
outstanding .. fantastic work .. which would have worked with any number of rounds.. i am complimented that you chose the AccRel opinions vary band of bubbas and STC hunting Club Words aren't Murder - Political assassination is MURDER Information on Ammoguide about the416AR, 458AR, 470AR, 500AR What is an AR round? Case Drawings 416-458-470AR and 500AR. 476AR, http://www.weaponsmith.com | |||
|
| One of Us |
thanks jeffeosso, you have developed a fantastic cartridge, that my shoulder is regretting all ready we got a shooter!!!!!!!!!! ran the 2208 loads thru it and was quite impressed with the results. 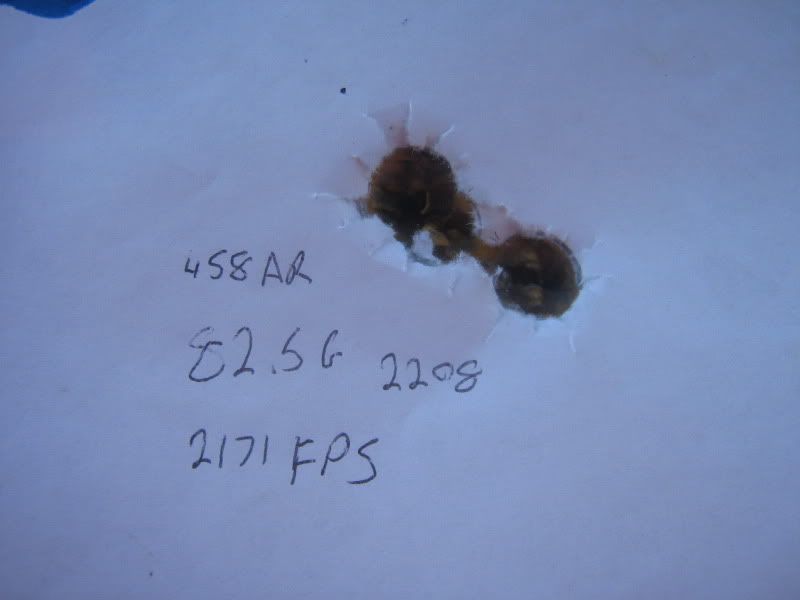 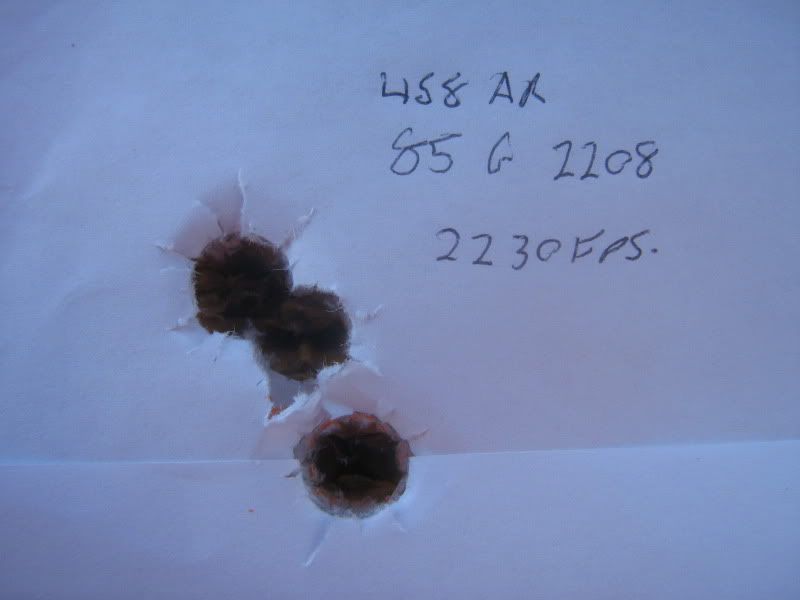 and dont it look fancy :P 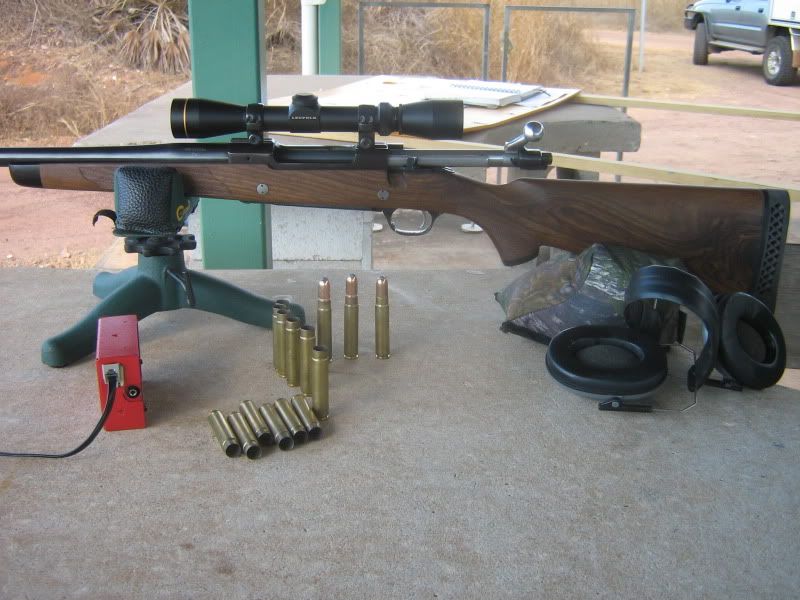 i think i mite run a few loads thru with a little more coal behind them just because i am a sucker for punishment but realisticly either of the above 2 loads will kill anything i am ever going to bump into. greg | |||
|
| One of Us |
For our USA friends 2208 is the same powder as your VARGET regards S&F | |||
|
| One of Us |
Very nice! | |||
|
| Moderator |
that's some great accuracy ... opinions vary band of bubbas and STC hunting Club Words aren't Murder - Political assassination is MURDER Information on Ammoguide about the416AR, 458AR, 470AR, 500AR What is an AR round? Case Drawings 416-458-470AR and 500AR. 476AR, http://www.weaponsmith.com | |||
|
| Powered by Social Strata |
| Please Wait. Your request is being processed... |
Rifles Custom Built Rifles

Visit our on-line store for AR Memorabilia