

 The Accurate Reloading Forums
  THE ACCURATE RELOADING.COM FORUMS
  Other Topics
  Recipes for Hunters
  Making Sauerkraut with FarmSteady's "Kraut Kit"
Go  | New  | Find  | Notify  | Tools  | Reply  |  |
| one of us |
Making Sauerkraut with FarmSteady's "Kraut Kit" I have had an interest in gardening as long as I can remember, even though I’m not very good at it. Some of my earliest memories involve my grandfather in North Dakota working on his garden, and of our family enjoying the fresh tomatoes and other produce that was grown in it. My parents, especially my dad, also did a lot of gardening when I was a child, and my dad still does. My thumb isn’t quite as green, but I keep trying to grow a garden each year, and I’ve tried to teach the importance of gardening to my own children; I have had some success in this with at least two of them. The tradition of working with the land runs quite deeply in my family, back through Montana, North Dakota, Ukraine, Germany and Alsace. It produces some of the best, most wholesome food that a person could ask for on this earth, and it is virtually free! All one has to do is invest a little time and effort. Hand-in-hand with gardening is food preservation, part of the ancient ritual of “putting food up” for lean times, be they winter, famine or some other adverse condition. When gardening, there is an added factor of surplus food to be dealt with; there is often more fresh, perishable food grown than one can eat in the limited time that it is available before it spoils. There are many ways to go about this, and virtually any food can be preserved - even milk, in the form of cheese and other products. With modern (and not-so-modern) innovations, food preservation methods include freezing, canning and other practices; however, before those technologies were developed, people engaged in other food-preservation methods such as dehydrating, curing…. ...and fermentation - in this case, lacto-fermentation. It is not my intention or desire to give a Chemistry lesson on the process of lacto-fermentation, but here is a brief summary as it relates to food preservation:
The website referenced above appears to be a great resource for learning more about lacto-fermentation; I know that I certainly plan on spending more time browsing around there. For further, more in-depth reading, it would be worth your time to follow the links above; additionally, if anyone has other links to post on the subject, they are encouraged to so do. Even though lacto-fermentation is a preservation method that is practiced around the world, for whatever reason - rightly or wrongly - I have always associated it in my mind with Germany and Eastern Europe; in particular, I have associated it with pickling cucumbers, peppers...and cabbage. As we all know, lacto-fermented cabbage is (drumroll, please) sauerkraut, a very good and healthy food that is a time-honoured staple in the regions I’ve mentioned, as well as many others. A few years ago, I tried making some home-made sauerkraut, using a method outlined in an old newspaper clipping that we found in the recipe files of the Slovak grandmother of The Beautiful Mrs. Tas. Here is the forum post relating to that find, if anyone is interested: http://foodsoftheworld.activeb...kraut_topic1349.html Both my #2 son, Mike, and I have used this method to make decent sauerkraut; I have no complaints about it, but in the back of my mind, I’ve always wondered if it was the “best” way to go about it, especially where food safety is concerned. Not long after, Rod Franklin did an outstanding pictorial on the concept, complete with a lot of really good information: http://foodsoftheworld.activeb...orial_topic1350.html I’d highly recommend reading his thread; not only is it packed with a plethora of knowledge, it is also very good, interesting reading! Anyway, last year, I discovered a line of do-it-yourself food kits from FarmSteady: http://farmsteady.com FarmSteady was founded by Erica and Stephen of Brooklyn Brew Shop: www.brooklynbrewshop.com I was already very familiar with their brewing products, as well as their contagious enthusiasm for these kinds of “DIY” food projects. At the time, these kits included pretzels, bagels and various fresh cheeses, so I scooped up one of each and have been working my way through them. Then, just recently, they released three new kits; among them was a kit for making home-made sauerkraut, as well as other lacto-fermented foods: http://farmsteady.com/shop/kraut-kit 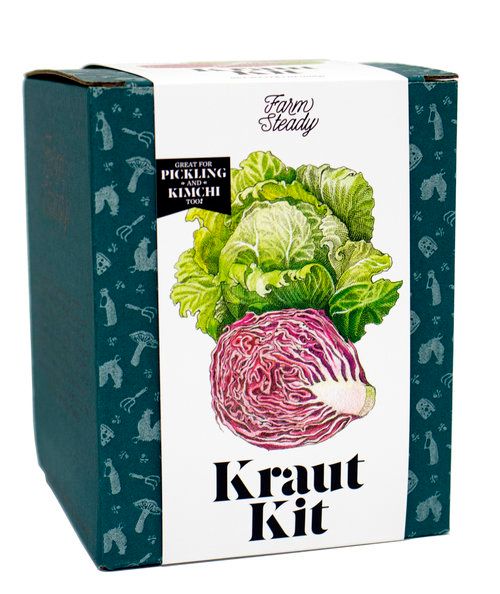 Here is the “blurb,” from the FarmSteady page:
The kit comes with everything you need, except the cabbage itself: 1/2 Gallon Glass Fermenting Jar Glass Fermentation Weight Lid with Airlock Glass Writing Pencil Kosher Salt Caraway Seeds If you add up the components of the kit, it might be a little over-priced, but as I’ve said before on other threads, I don’t care. I am very happy to support this endeavour; to me, the education, experience, convenience and the inspirational “get-it-done” enthusiasm that come with the kit are worth it. On top of that, the folks at FarmSteady (and Brooklyn Brew Shop) are very accessible, and always ready to answer questions or provide feedback regarding ongoing projects. They take a genuine interest in the progress that their customers have, and I cannot count the number of times that they have truly been excited and happy to see someone’s efforts come to fruition. To me, things like this are worth paying a little more, and I will continue to support them for it. With all of this in mind, I wasted no time ordering a “Kraut Kit,” as they call it, and eagerly awaited its arrival; my enthusiasm was pretty high, and I found myself actually tracking the progress of the shipping, which is something I normally don’t do. On the expected delivery date, I went to the local grocery and bought the biggest head of cabbage that they had at the time, which was about 2.35 pounds, or just a bit over a kilogram. Unfortunately, the post office was closed by the time we got home, so I had to wait until the next day to pick it up. That same evening, 2 May 2017, I began the process of making my sauerkraut, using this kit, which I think is pretty cool. Before getting started, I read (and then re-read) the instructions, which can be found here: http://farmsteady.com/instructions-how-to-make-kraut The following photos and commentary will summarize and dovetail with those instructions. Here is a list of all the equipment that you will need, including the components of the kit: Large Mixing Bowl Fermentation Jar Fermentation Weight Lid Airlock 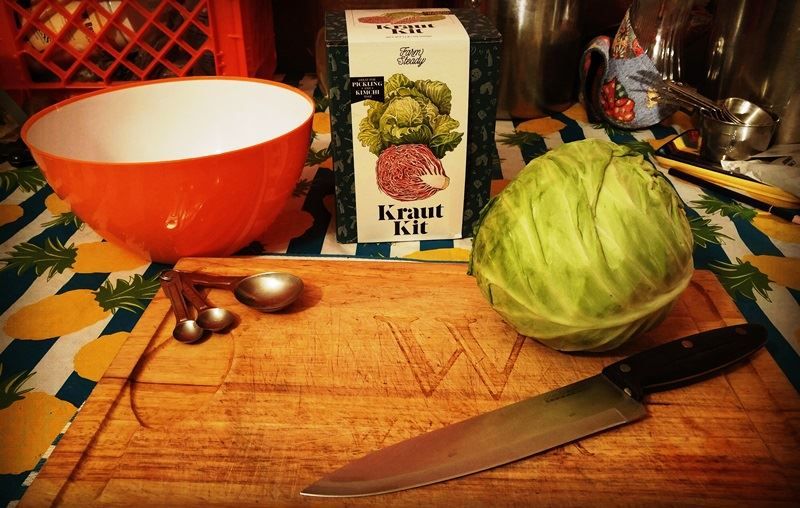 The only other equipment that you might want are a wooden spoon to stir the cabbage with and something to tamp the sauerkraut down with as you pack it into the jar; however, these are not totally necessary, and there can be much satisfaction found in doing this work with your (clean) hands. If you are like me, you will also need measuring spoons and a liquid measuring cup; I am not good at “eye-balling” things, and I generally like to have a measurement to use as a reference point, even if I don’t follow it. Oh, yes - you will also need a good, sharp knife, for slicing the cabbage. If you have a mechanical slicer or a mandoline that can slice cabbage, so much the better; but there is something very satisfying and “old school” about slicing it by hand. 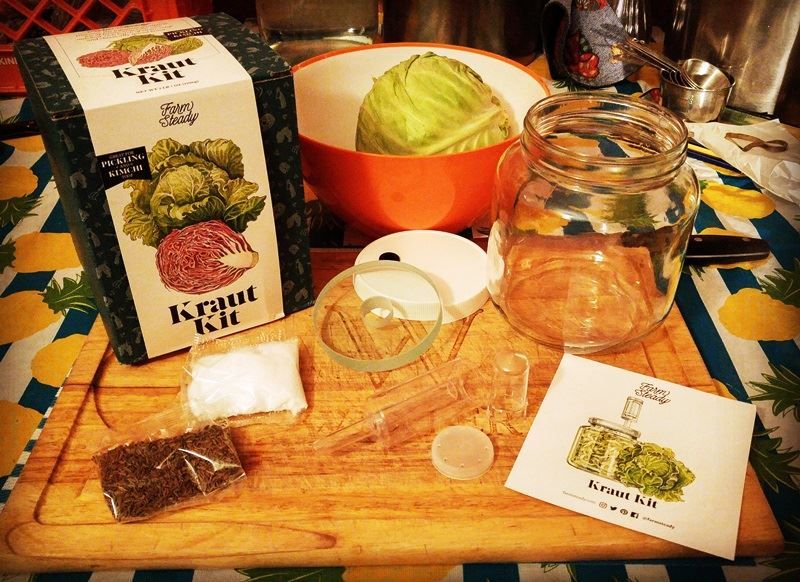 Moving along, here’s the short list of ingredients for making some good, old-tyme sauerkraut with this kit: 1 Medium Head of Cabbage 1.5 Tablespoons Kosher Salt 1 Tablespoon Caraway Seeds For this first attempt, I omitted the caraway seeds; but in the future, I plan to use them. There are, of course, many, many other ingredients that can be added just for sauerkraut alone, not to mention other fermenting projects. It seems to me that - with few exceptions - one could let his or her imagination go wild when it comes to this. One goal for the future is to add some chopped hot chiles. Let’s get started, shall we? First, I removed and discarded any damaged or wilted outer leaves; with this particular head of cabbage, this wasn’t really a problem. I also took care to reserve one large leaf, which will be used later. 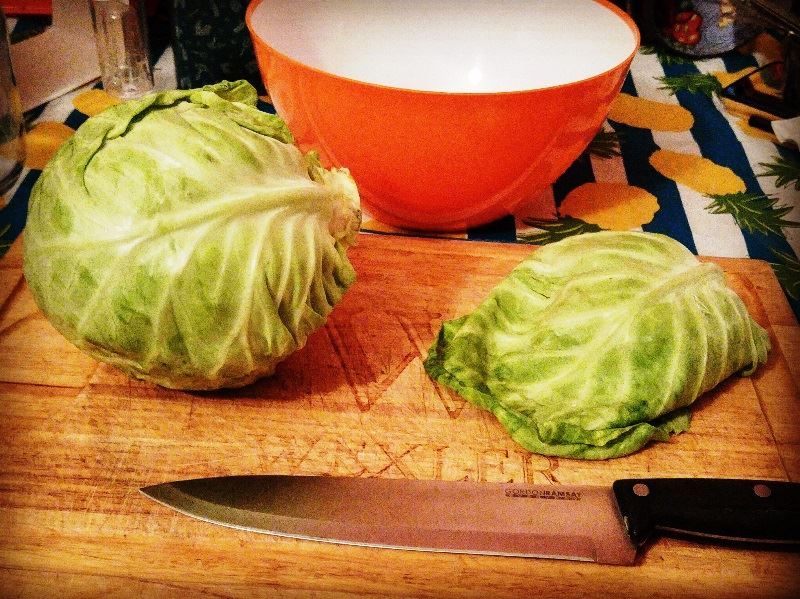 Next, I quartered the cabbage and cut out the core from each quarter: 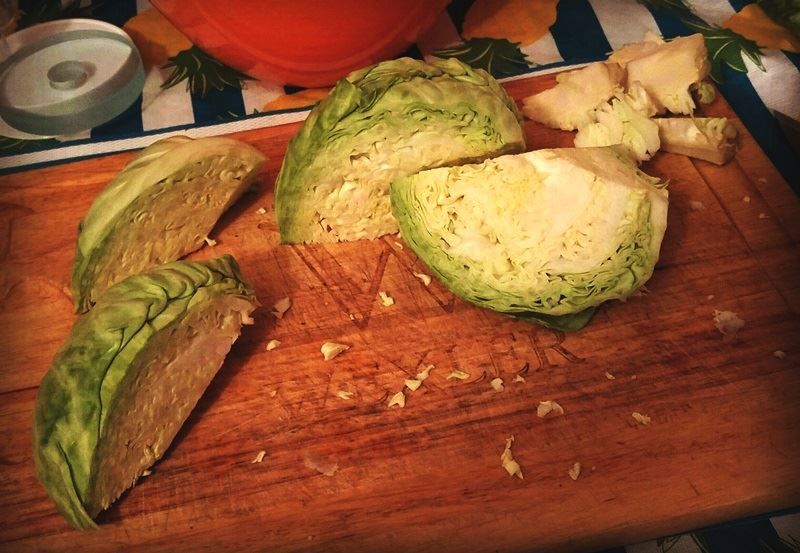 I then cut the quarters of cabbage into thin ribbons: 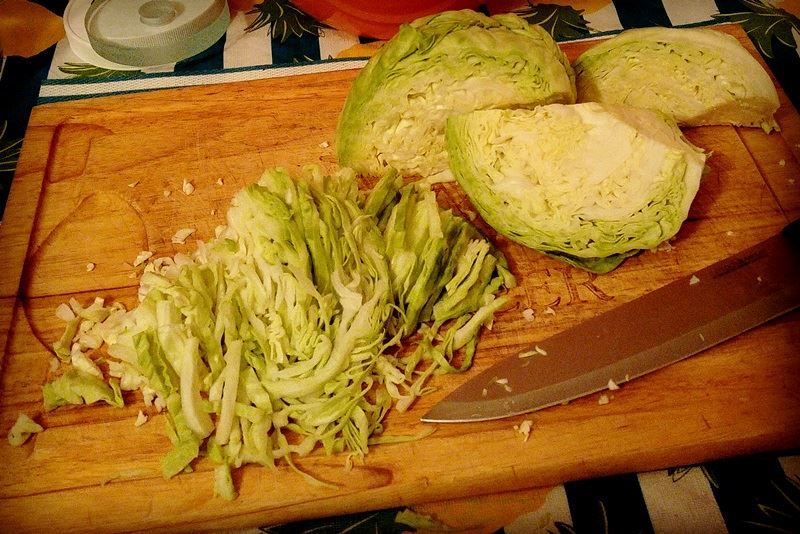 It’s amazing how much results from a seemingly small head of cabbage! 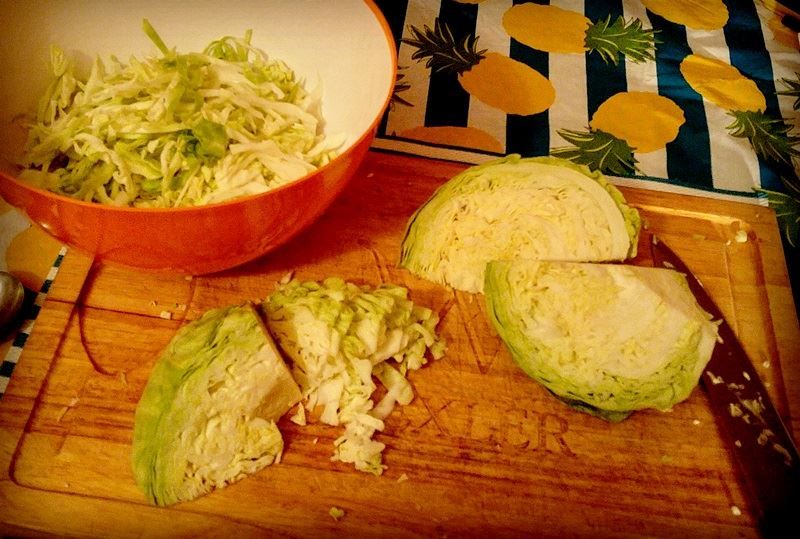 Here we are, all sliced and ready to proceed: 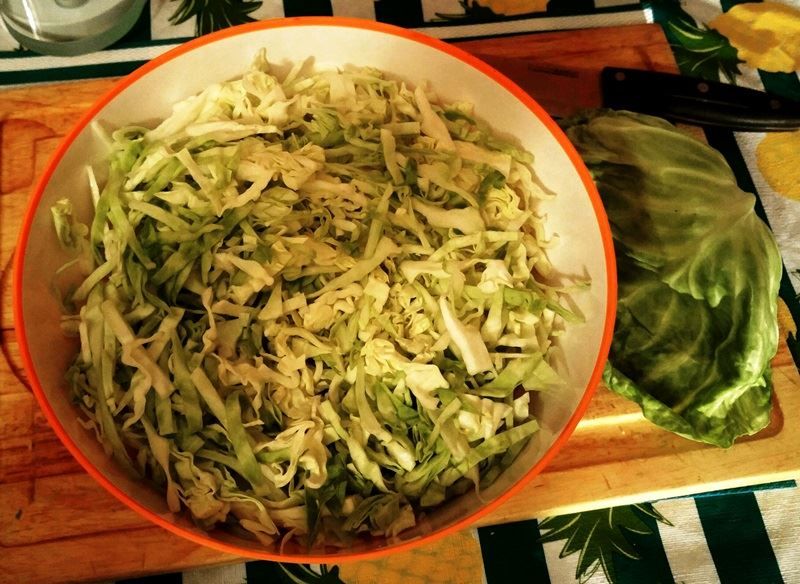 Now comes the fun part! Add your salt to the shredded cabbage; there is probably an “exact” ratio by weight, but for those of us who are less precise, it seems to be about half a tablespoon per pound of the original head of cabbage. 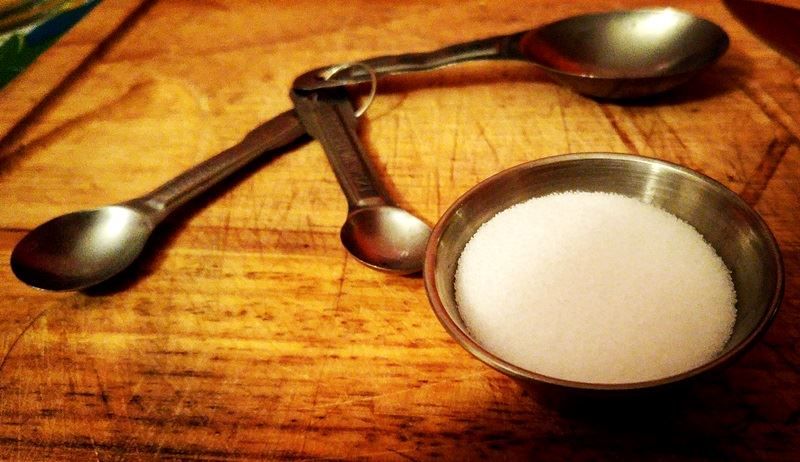 Next, you need to mix the salt and the cabbage; this can be done with your hands or by tossing it around with a wooden spoon. The idea is to “massage” the salt into the cabbage, so that it (the cabbage) softens and releases its liquids, which will be instrumental in the fermentation process. With this in mind, don’t be afraid to show both the cabbage and the salt who the boss is, in this regard. The next time I do this, I plan on not being quite so gentle as I was this time; indeed, this sauerkraut-making thing might be rather therapeutic, I think, but it’s all good. This process will probably take about 8 to 10 minutes; you will know when you are finished because the “cabbage juice” will start to pool in the bowl, and the cabbage shreds will drip when you squeeze them. The cabbage will have also wilted quite a bit: 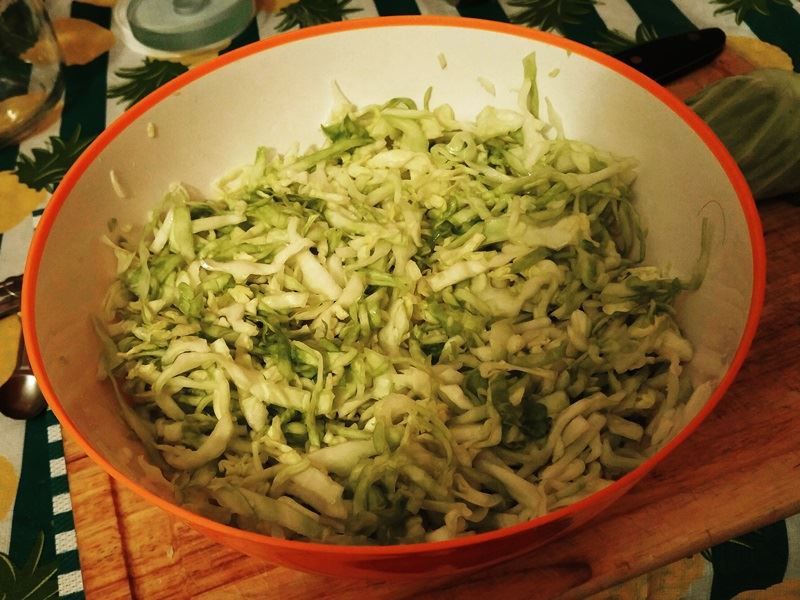 If you are using caraway seeds, now would be the time to add them to the mix and combine them; FarmSteady suggests 1 tablespoon per batch of sauerkraut; if I ever use them, I’ll probably cut that amount in half, at least the first time. Moving along, pack your cabbage into the fermentation jar; once again, there’s no need to be gentle when doing this.You want to pack the cabbage tightly, pressing it down and squeezing more liquid out. This can be done by hand, or with any utensil that will help tamp the cabbage down. I used this wooden pestle from a cone-shaped strainer/juicer commonly used for making jelly: 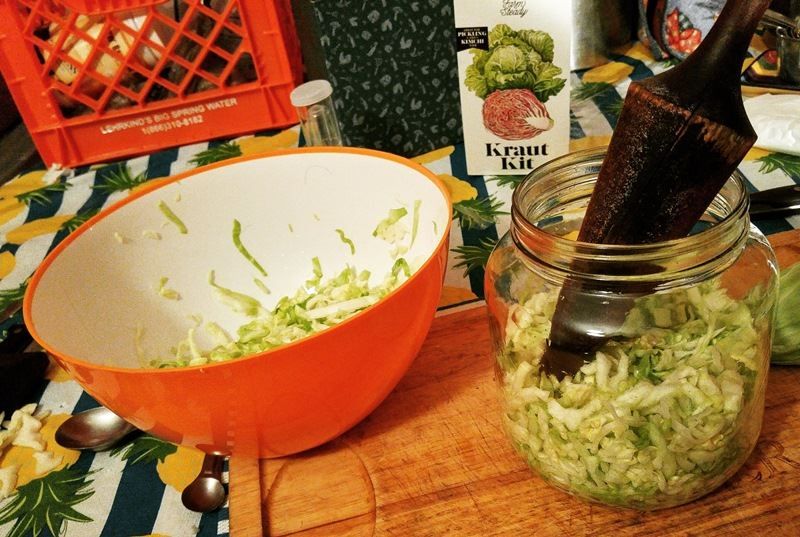 Once all of the cabbage is packed into the fermentation jar, be sure to add any liquid left in the bottom of the bowl before proceeding to the next step. 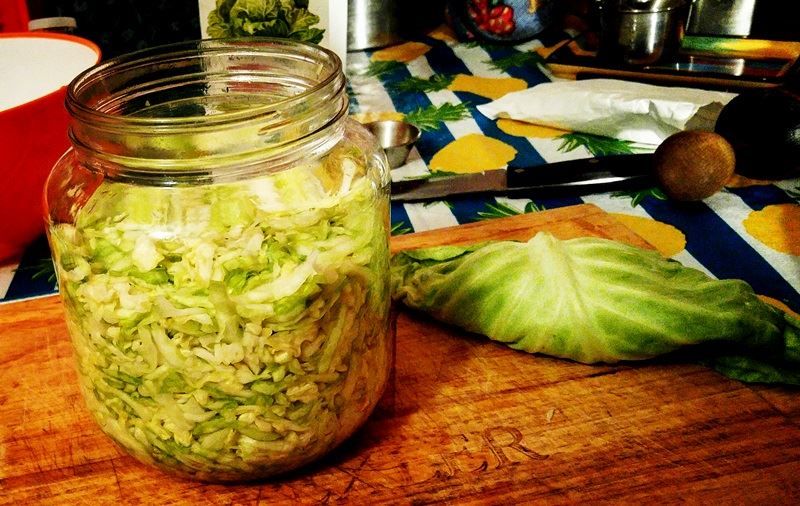 Speaking of the next step, this is a part that I personally found to be really cool; it seemed to me to reach pretty far back into the art of sauerkraut making, and as simple as it was, I really enjoyed it. Remember that large cabbage leaf that we reserved, way back when we began this project? What you need to do is to trim that leaf into a circle, using the the base of jar or the lid as a guide. If it’s a little larger, that’s okay, too. 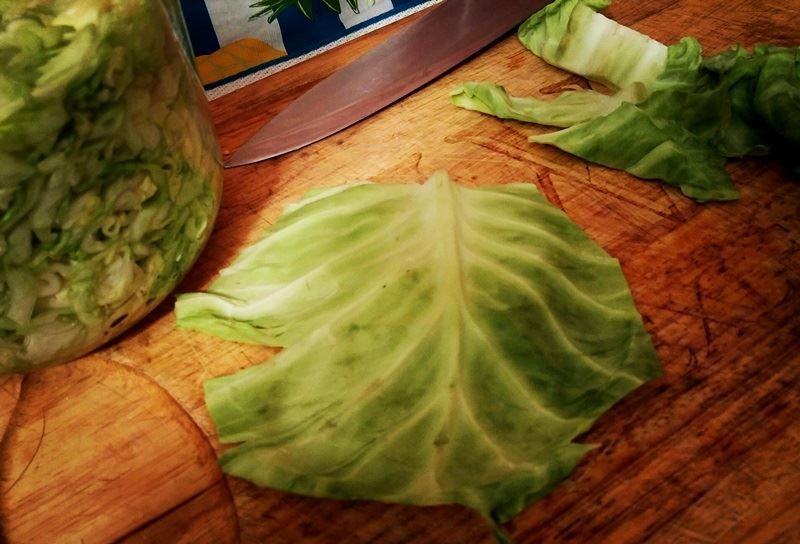 Next, place your cabbage leaf circle on top of the packed cabbage; here, you can see that I used a bit of the trimmings to cover a spot where the cabbage leaf had split: 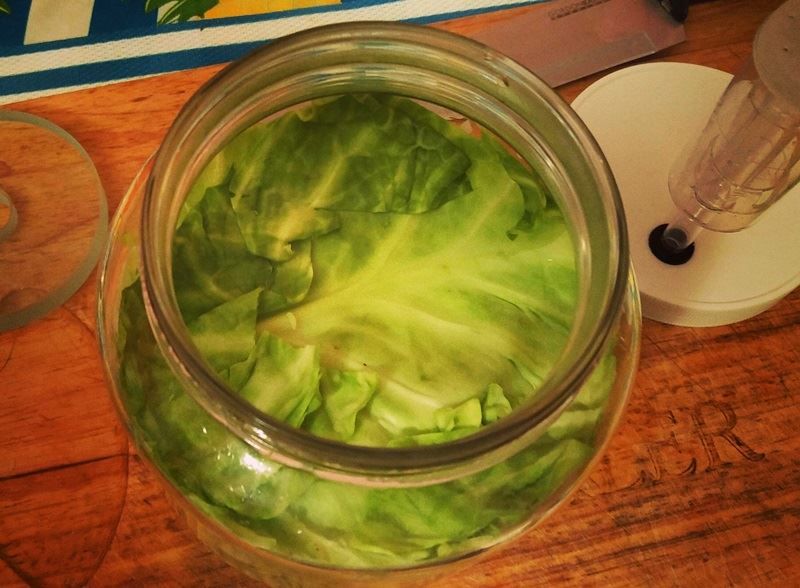 By the time you have completed this step, you want to make sure that the packed cabbage is completely submerged in the liquid that has been released from the cabbage. If there is not enough liquid, you can make a brine consisting of 1 teaspoon of salt dissolved in 1 cup of water, and add as much as necessary to cover the cabbage. Because I was probably too gentle with my cabbage, I did end up adding some brine; that won’t be the case next time, but it all works well, either way. Next, add the fermentation weight that comes with the kit: 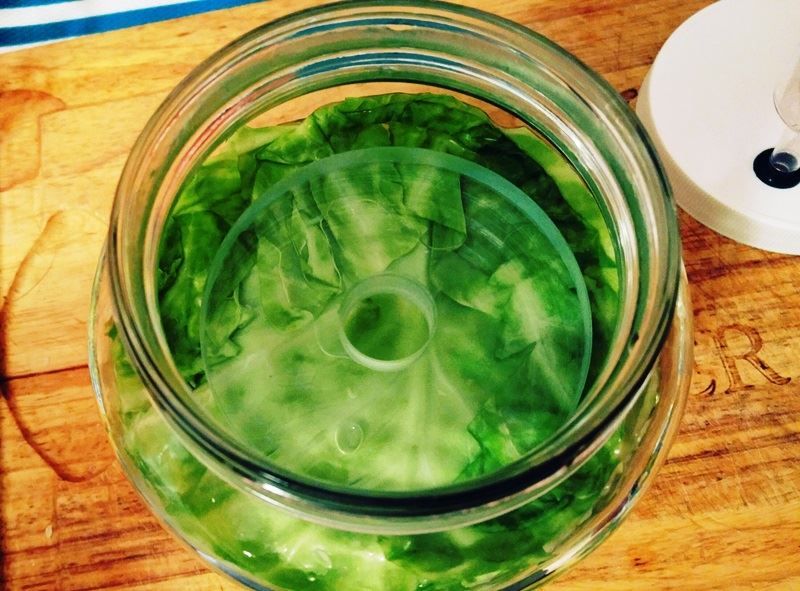 This holds everything down and keeps the cabbage submerged; it ensures an anaerobic environment so that the “good bacteria” can work without any harassment from the “bad bacteria.” Finally, screw the lid onto the fermentation jar, fill your airlock up to the line with water and insert it into the lid: 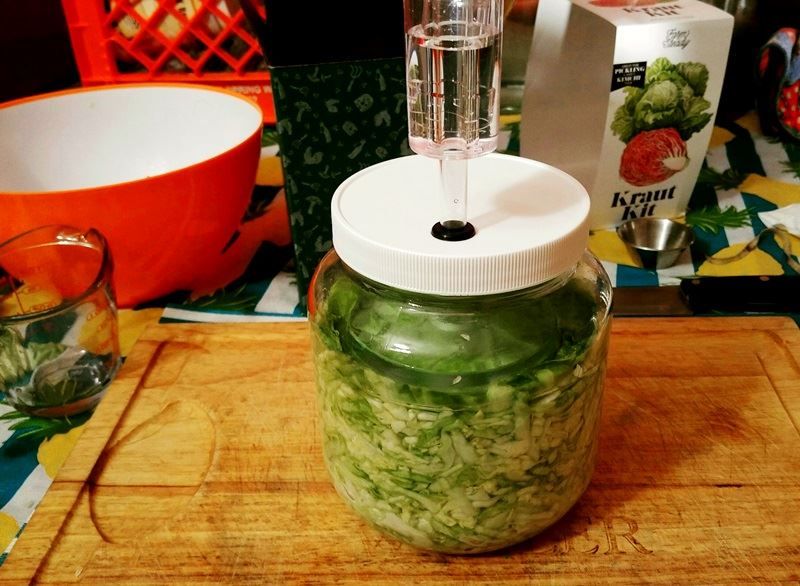 If you want to, you can use the glass writing pencil (my dad would call these “grease pencils”) to mark the date that you began the sauerkraut. That’s pretty much all there is to it! All you need to do now is to put the jar someplace out of direct sunlight, where it can ferment for 7 days. This time might need to be extended, if the temperatures are a bit low; I will do some research and see if I can find some good visual indicators that show the progress of the sauerkraut. Once your sauerkraut is fully fermented, it can be enjoyed fresh; any surplus sauerkraut can be packed into jars and kept in the refrigerator for up to 2 months, according to FarmSteady. Alternately, you can also process the finished sauerkraut in a boiling water bath for 15 minutes, or in a pressure canner according to the manufacturer’s instructions; you will lose some of the fresh crunchiness, but the flavour will all be there. I hope you enjoyed reading about this project as much as I enjoyed doing it; I also hope that you learned a few things and are inspired to give this a try, with or without the kit. I will continue to post my progress as this project continues, and will note any significant happenings. My guess is that this sauerkraut project will only be the beginning of some great things; I am already looking forward to lacto-fermented dill pickles, peppers and possibly even some Korean Kimchee. If anyone has any questions, comments or other feedback, please feel free to post them here, and I will be sure to reply. Enjoy! Ron | ||
|
| One of Us |
Kind of touches home; I made kraut for many years but did it in a crock. Basically the same system as yours but you only need cabbage and salt. It has to be packed and "wilted" in the crock to draw the water to the top for a seal against oxygen getting to the cabbage so it won't rot. Definately need the weight, a top cover I made out of wood and a large rock for weight. I finally stopped making it because it made quite a smell in the house while it fermented. I know of one outfit that packs it directly into the quart mason jar and then seals it and lets it ferment in the jar. Jim Kobe 10841 Oxborough Ave So Bloomington MN 55437 952.884.6031 Former Professional member American Custom Gunmakers Guild | |||
|
| One of Us |
Great post, must have taken days of your time just to inform us readers.I am the only one in my family left that remembers the process ( and it took days back then) and still enjoys the taste of kraut. Anyway, thanks for the good read. | |||
|
| one of us |
My grandmother did it much as Jim describes except she used a particular size crock and turned a plate upside down with a weight on top of it...a clean smooth rock, as I recall. They didn't have much on the farm. They couldn't even afford (or see a need for) electricity or running water until I was about 5 in 1960. That outhouse was damn cold in the winter. Larry "Peace is that brief glorious moment in history, when everybody stands around reloading" -- Thomas Jefferson | |||
|
| One of Us |
If you ever get to the point of growing your own cabbage in order to make your own kraut try the variety called Kaitlyn. My brother grows about 4 - 500 of these every year for sale and most of his customers come back year after year to buy more. If you try it, make sure that you use a good quality natural fertilizer if you want large (15-20 pound) heads. | |||
|
| one of us |
Hi, guys - I'll reply more as soon as I can, but here's a quick update: I took a peek at my developing sauerkraut this morning; it looks like the colour of the cabbage is changing, and I do think that the brine is starting to get a bit of that milky, lacto-fermented look. It was a bit dark in the room and I was in a hurry, but I think we are right on schedule, here. Also, my friend Brook and I were discussing this project, and he brought up a great point: This particular kit includes hard goods you can use over and over again. Think in terms of amortizing that through usage. The first time you make a batch, it costs 35 bucks plus the cabbage. Second time, it’s down to $17.50 plus cabbage, etc.... Looking at it like that, the cost-effectiveness of this kit shot way up, in my opinion. I sincerely hope that some folks who read this are inspired to give it a try. I highly recommend this kit, as it can become a gateway into some really interesting things. This, to me, goes beyond just getting a head of cabbage and cutting it up. There are a lot of avenues that can be explored with different food - and this, to me, leads to a greater interest in gardening...or, at the least, local farmers' markets etc. It's pretty cool over-all, I've decided. | |||
|
| One of Us |
Great info, Ron. Sauerkraut is the only proper thing to do with cabbage, IMO. Both my folks grew up on farms during the depression and gardening and putting up food, whether canned, frozen or dried, was essential, so I get it. Kraut was made in a 5-gallon crock in the basement. Awesome stuff! Thank you for your posts, they're part of the best part of AR. Best of luck with the kraut! Doug Wilhelmi NRA Life Member | |||
|
| one of us |
Larrys , grandma was right !! Hope for a cold fall as the colder it is the longer the fermentation the better the product !!! That means don't put it in the house . only an unheated basement or somewhere where it won't freeze. I was never involved in a kraut project that used more than just cabbage and salt ! Seasoning ?? Only an experienced little old grandma ! | |||
|
| one of us |
Following up, my sauerkraut fermented for an extra week due to my lack of good time management in life...no big deal, everything seems to have turned out fine! I had some pint-sized jars, so I loaded up the sauerkraut into them: 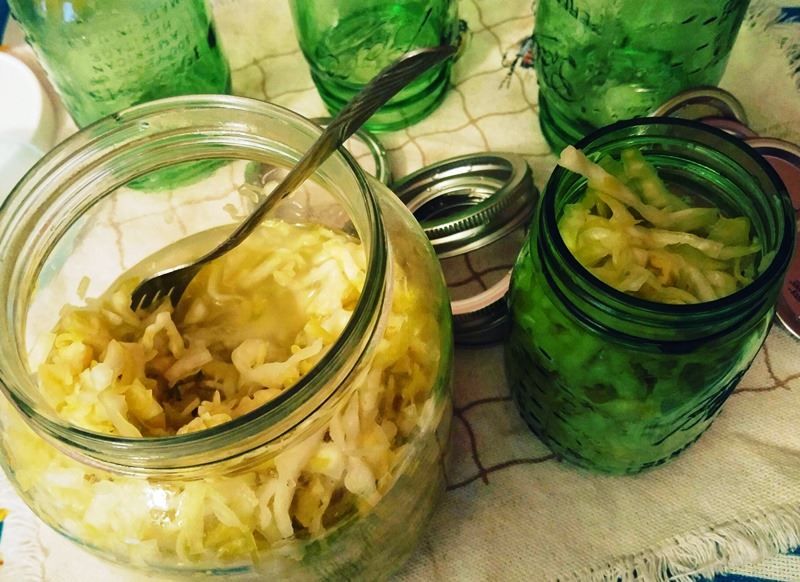 Worthy of note: a 2.35-pound head of cabbage yielded three pint-sized jars, filled up to 1-inch from the brim. The packing into the jars was neither loosely nor overly-tightly; just a happy medium. With this room to spare, I am guessing that a 2.5- or possibly even three-pound head of cabbage would have made enough sauerkraut to fill them completely. 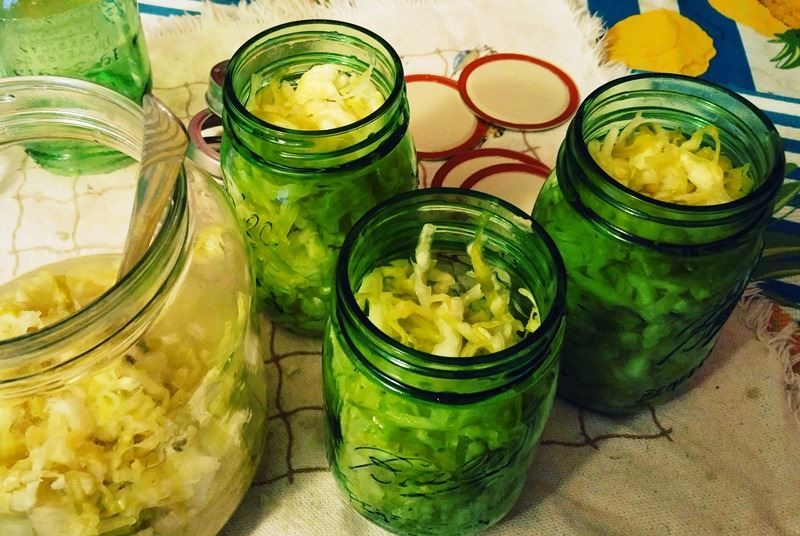 I tried a bit of the sauerkraut and it was...GREAT! I was very impressed with the crispness, the lacto-fermented tang and the whole experience over-all. This was really incredible stuff, and almost no work was required by me to achieve it. When I finished packing the canning jars, I divided the liquid in the fermenting jar between them, and put the lids on. 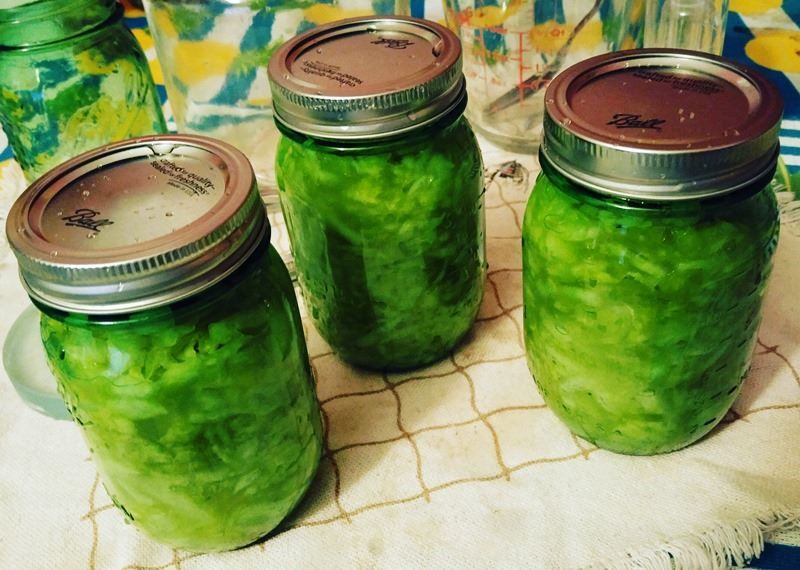 I then put the jars in the back of the refrigerator, where they hopefully will not disappear too quickly. Another option, of course, is to process them in a boiling water bath; however, considering the long shelf-life in the refrigerator, I don't think this will be necessary. If anyone does decide to process their sauerkraut for room-temperature storage in the pantry, let me know, and I will provide the details. Based on the experience, and the fact that I can use this equipment over-and-over, I am 100% satisfied with this kit, and I do strongly recommend it. I had a lot of fun, it was easy, and I can't wait to try a few more projects with it. Once thing is for sure, I probably won't be buying sauerkraut at the grocery store any time soon! Ron | |||
|
| One of Us |
Try it with rutabega, you will like that also. We used to do that many years ago on a regular basis Jim Kobe 10841 Oxborough Ave So Bloomington MN 55437 952.884.6031 Former Professional member American Custom Gunmakers Guild | |||
|
| one of us |
Tas I would never attempt the culinary projects you take on in a million years. I'm somewhere around peanut butter & jelly, and you are somewhere between Leonardo da Vinci and Michelangelo. I will say this. I wrote off sauerkraut when I was a kid, but now eat it every Thursday. Granted it's in the $1.50 hot dog at COSTCO, but I'm slowly moving up the ladder; stepping up in class as it were. I would imagine what you are concocting here is a 9 at least, compared to COSTCO's 3. I bet the flavors stand-out. | |||
|
| one of us |
Ken - I strongly recommend giving this a shot. It's too bloody easy not to try, and there is a lot to be said for the fresh, fermented sauerkraut over the store-bought stuff. I was rummaging around in my refrigerator last week, and found my jars of sauerkraut, still waiting for me. In the hustle-and-bustle that was the previous year, I completely forgot about it. Cry After a quick look-around through the internet to confirm what I already expected to be true (that the sauerkraut should be just fine for at least a year, kept in the refrigerator), I tried it, and was pretty impressed with how it has matured. There was a really nice, unique tang going on that was neither too salty nor too sour. I was pretty amazed to see such depth and complexity of flavor that resulted from nothing more than cabbage, salt...and time. The sauerkraut also was still quite crisp - much more so than I expected. In all ways, it was superior to the jarred or canned stuff available at the grocery store, and the experience has left me wanting to make more. As has been mentioned, sauerkraut is only the beginning; this kit can obviously be used to make a lot of lacto-fermented things...even a sourdough starter for some great bread, pancakes and biscuits! I started some cucumber pickle chips the very next day with this method, and am re-committed to doing some other projects. As an aside, for those interested, here is FarmSteady's video on making sauerkraut: https://youtu.be/1k-LDM5TUu8 Ken, take a look and see just how simple this is. Caraway seeds are optional, of course. | |||
|
| Powered by Social Strata |
| Please Wait. Your request is being processed... |
|
 The Accurate Reloading Forums
  THE ACCURATE RELOADING.COM FORUMS
  Other Topics
  Recipes for Hunters
  Making Sauerkraut with FarmSteady's "Kraut Kit"

Visit our on-line store for AR Memorabilia

