

 The Accurate Reloading Forums
  THE ACCURATE RELOADING.COM FORUMS
  Other Topics
  Recipes for Hunters
  My Attempt at Canning Trout
Go  | New  | Find  | Notify  | Tools  | Reply  |  |
| one of us |
This is something I have been wanting to try for quite a few years, but I always thought it was difficult and complicated. When I saw WoodyWoodDuck’s posts here: http://foodsoftheworld.activeb...do-you-like-sardines and here: http://foodsoftheworld.activeb...title=trout-sardines showing just how easy it was, I resolved to make an attempt this year. It was a pretty slow fishing season this year - we didn’t get out nearly as much as we wanted to, and when we did, we didn’t catch very many fish, even though we had a good time. But in late August, the beautiful Mrs. Tas and I did manage to catch two nice rainbow trout each, so I used them for this project. Here they are, cleaned and scaled: 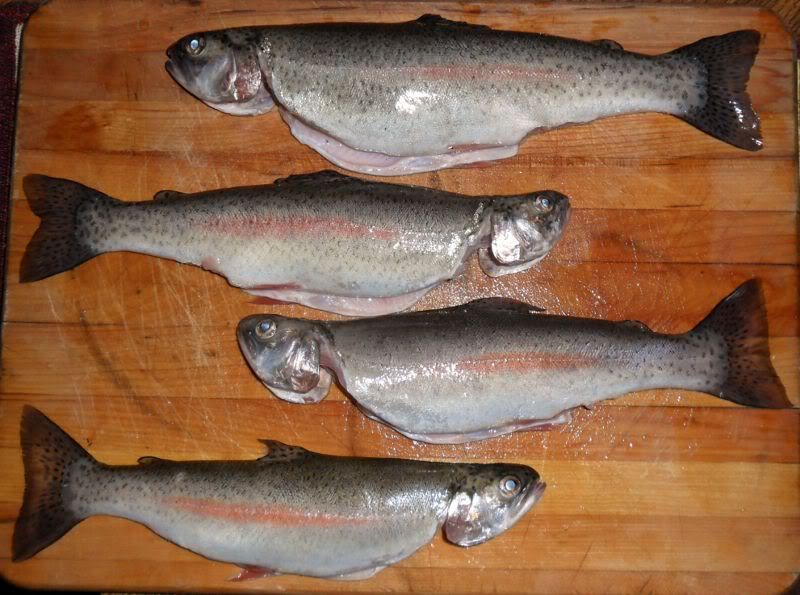 I figured that the four trout would be good for two pint-sized jars. As it turns out, five trout would have worked better, but this was adequate. As Woody’s method states, all one actually needs for this project is trout and salt (a half-teaspoon per pint, or 1 teaspoon per quart); however, flavourings such as mustard, ketchup or nearly anything else can be added (1 tablespoon flavouring recommended, regardless of the size of the jar). For this project, I wanted to try an Asian twist, so I decided to incorporate honey and ponzu, which is soy sauce with an infusion of lemon or other citrus. I figured that the savory ponzu and the sweet honey would provide a great counterbalance to the salt that would be used, and to the flavour of the trout itself. After some consideration, I decided to try 3 tablespoons of ponzu and 2 tablespoons of honey, to be divided between the two jars. In order to get the ponzu and honey to mix well, I heated them slightly. Here’s a picture of the ponzu/honey mixture, along with the salt that I used and the fourth seasoning component in this project: red pepper flakes, which I figured would provide a little kick: 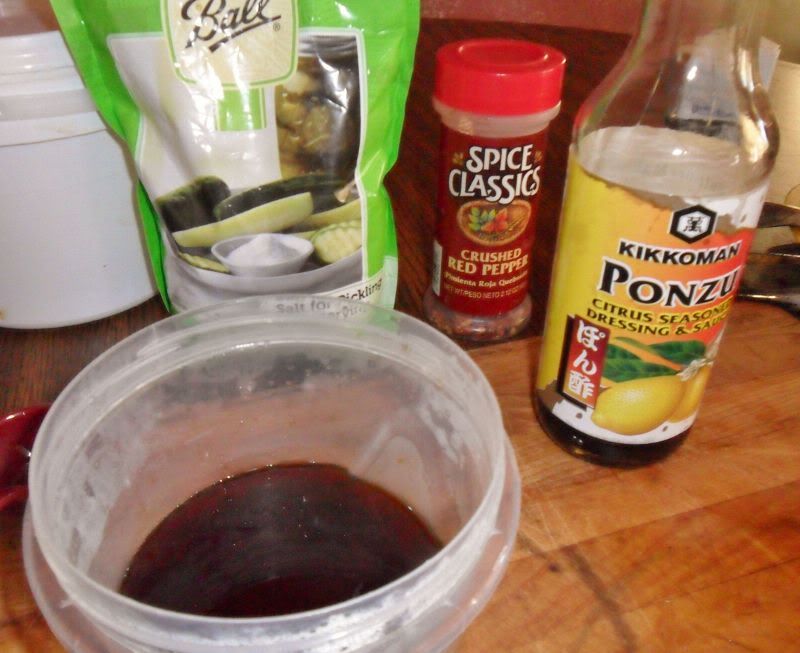 While the ponzu/honey mixture cooled, I prepared the fish themselves. First, I cut off the tails and fins: 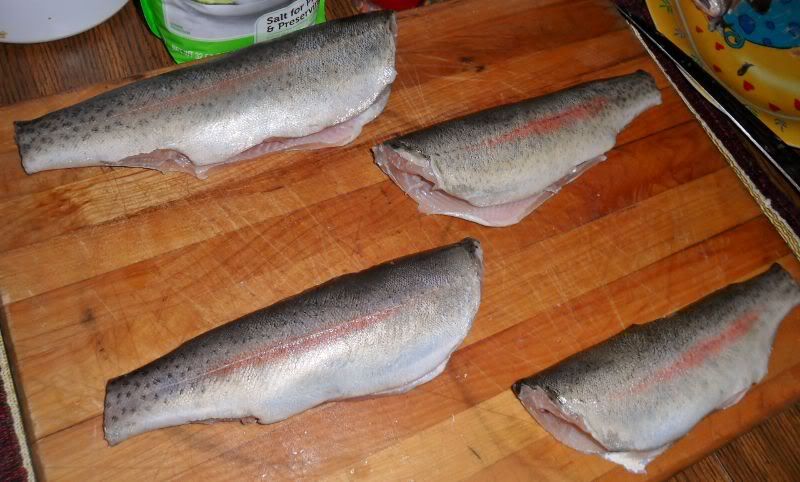 You can skin them if you want, but i prefer not to, as long as they are scaled. Then, I cut them into steaks around 1-inch thick: 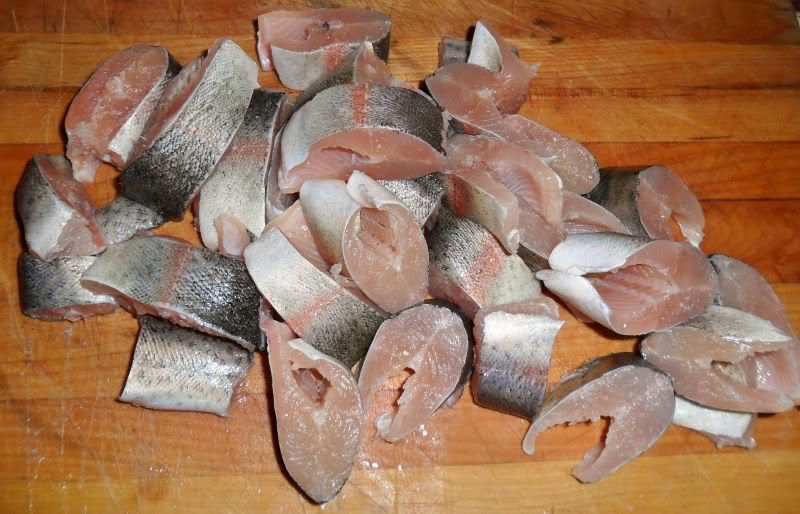 No worries about the bones - they will be dissolved during the canning process! Next, I proceeded to pack the chunks into the jars. When the jars were halfway full, I added a teaspoon of salt: 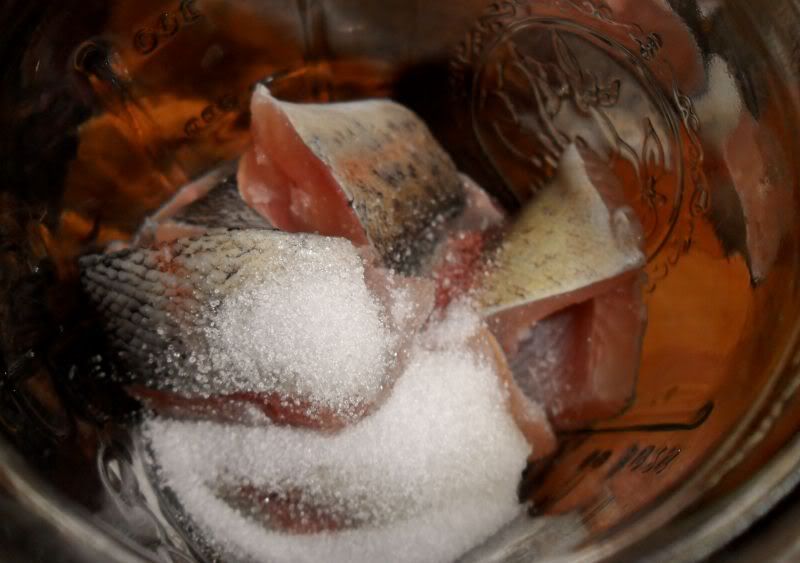 And half the honey/ponzu mixture to each jar: 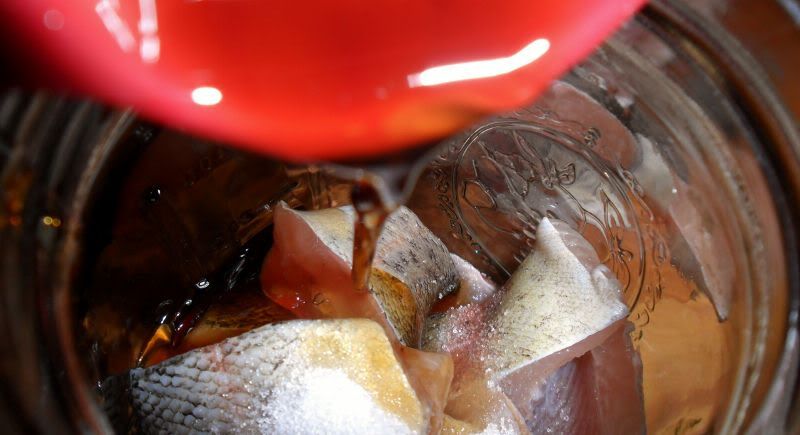 Here’s how the jars looked when I finished filling them: 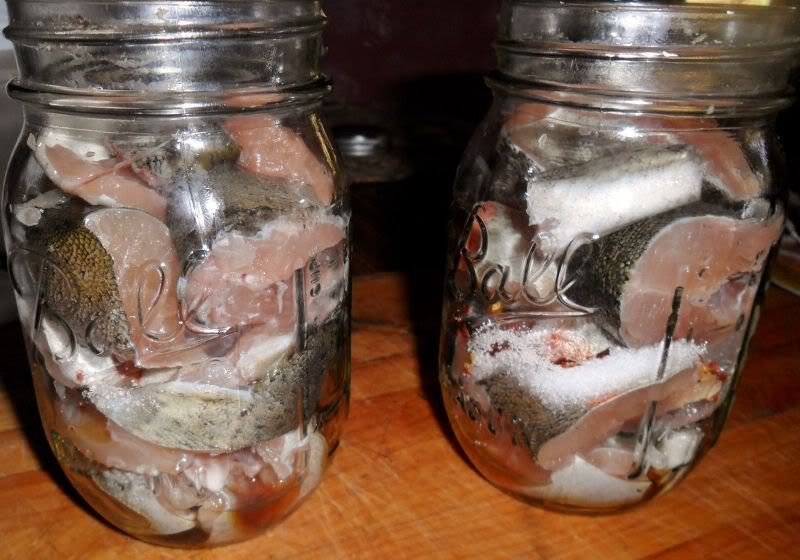 As you can see, they are not quite full enough, so one more trout divided between them probably would have been just right – but this worked. Next, I added the final component: a half-teaspoon of red pepper flakes: 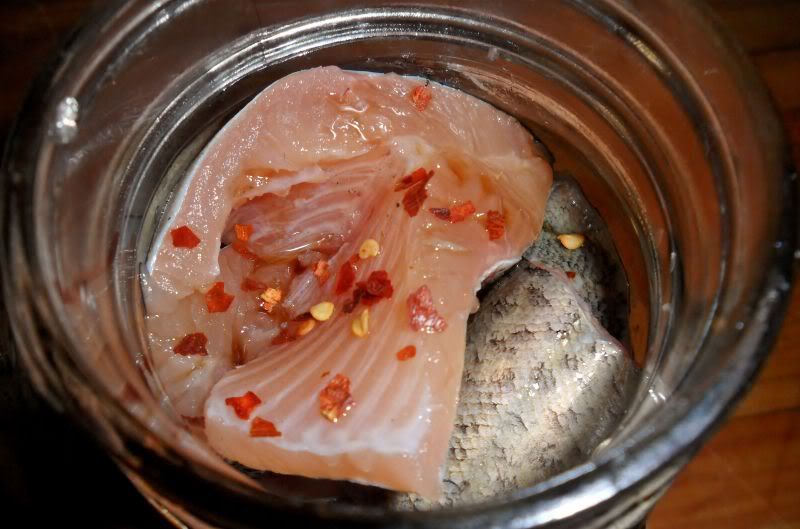 After that, I screwed the lids on tightly. From here, you have two options: a) You can process them in a pressure cooker. Check your pressure cooker's instructions for specific instructions, times and pressures. I am absolutely no expert on canning anything, let alone with a pressure cooker, but my reading indicates that you process at 10-12 lbs. pressure for 90-100 minutes. ONCE AGAIN, consult your manufacturer's instructions for the correct procedure. b) Your other option is to do as I learned from Woody, and process them in a water bath at a slow boil for four hours. Note: In doing my research, I did find this method from a few sources, and I have read of this in at least one one of my old canning books, either Ball or Kerr. The four-hour slow boil evidently has the same effect as pressure-canning, in that any creepie-crawlies are destroyed. Having said that, this method is no longer recommended in "modern" canning books, at least since 1985. Based on that, make the decision that is right for you when it comes to processing. Using the water-bath method, I placed the jars in a stock pot and covered them over with plenty of water for a four-hour boil. It took a while for the water to heat up: 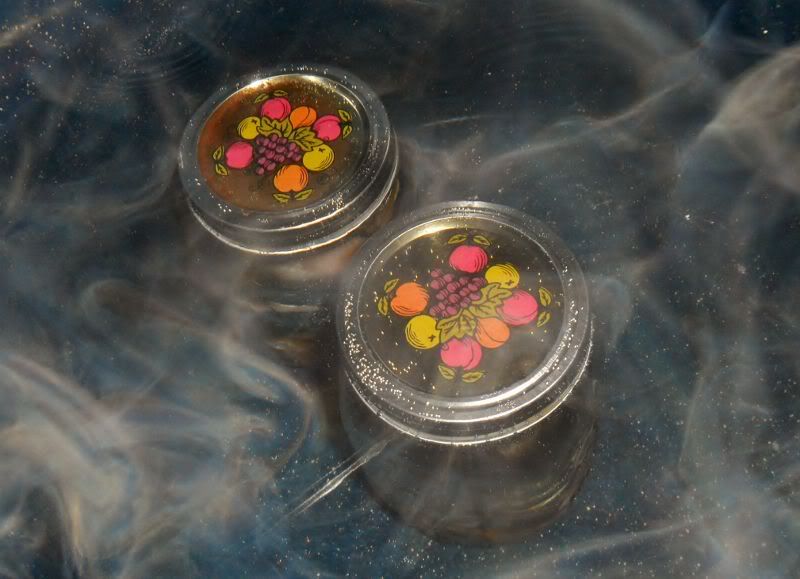 But before long, we got the beginnings of a boil. Once this happened, I reduced heat for a slow boil, and began the four-hour count. At the end of the four hours, I set the jars in a draft-free place to cool overnight: 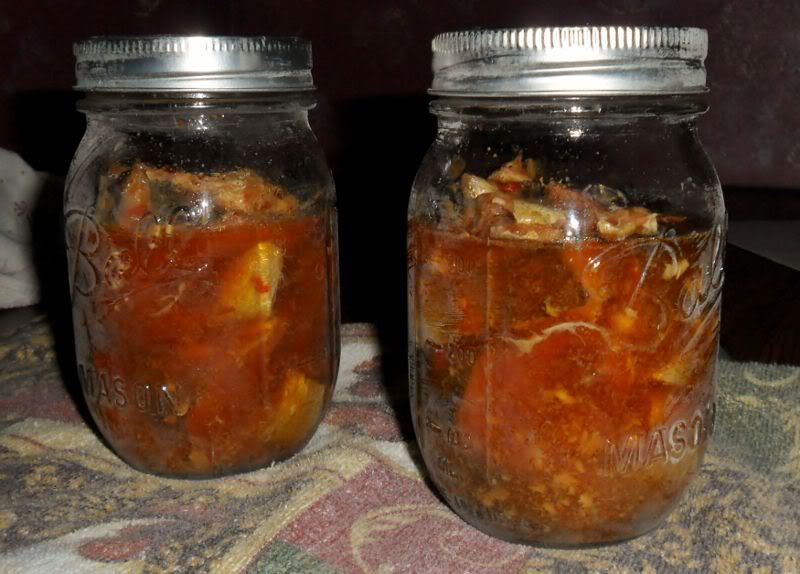 As you can see, there is some mineral deposit on the jars from the water we used, but it wiped off easily enough once the jars were cooled. You can also see that the trout settled and produced quite a bit of their own broth, which imparted a nice colour due to the soy sauce. Because of the settling, I was not sure what the shelf life would be on these, so I resolved to try them soon. Note - The ones I did in the pictures above definitely needed to be packed tighter and closer to the top - unfortunately, these were all the fish I had, so I went with it. They were eaten soon after canning, so in this case, it didn't matter; but when packing for longer shelf life, do indeed pack tighter and up to within an inch of the top. Once they have cooled, it is very important to check and make sure they sealed by pressing down with a finger in the center of the lid. If there is no popping sound, then they are sealed and can be shelved in a cool, dry place for up to a year. If you do hear a popping sound, it means that the jar did NOT seal properly. It should be put in the refrigerator and used as soon as possible. In this case, the jars sealed with no trouble, so I kept one and gave the other to my dad. A couple of days later, I cracked a jar open to give these a try – here’s what I saw: 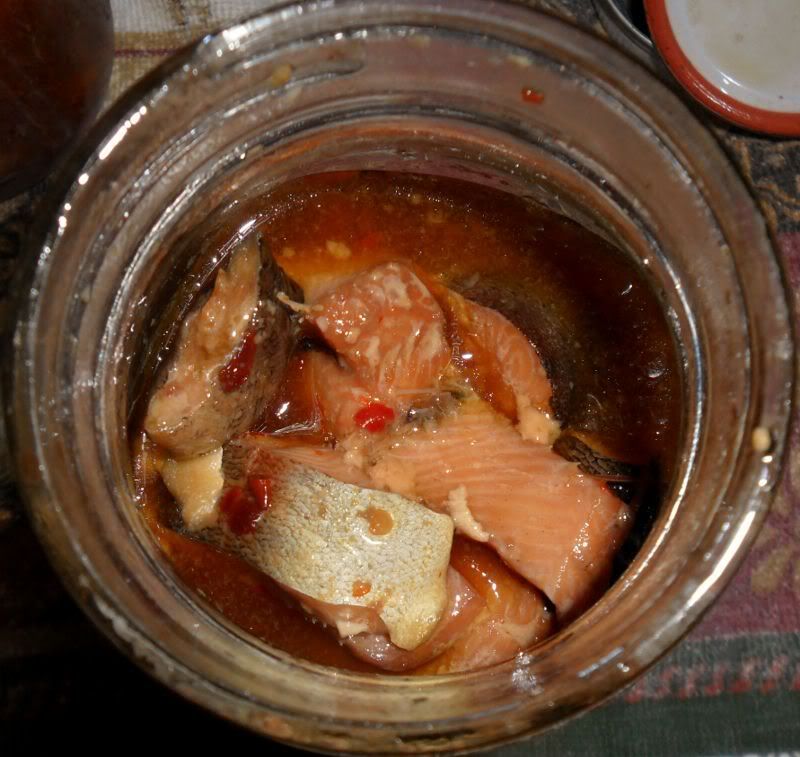 Looks pretty good! I forked some out and onto a plate: 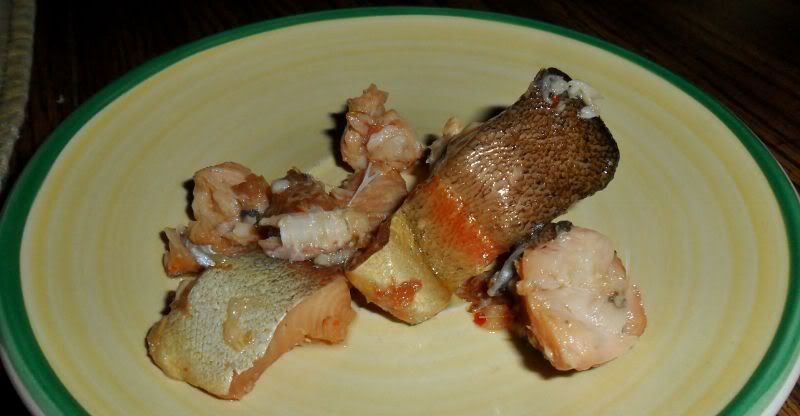 And was impressed with the colour and aroma; I had chosen the components well, it seemed. I flaked the trout with a fork: 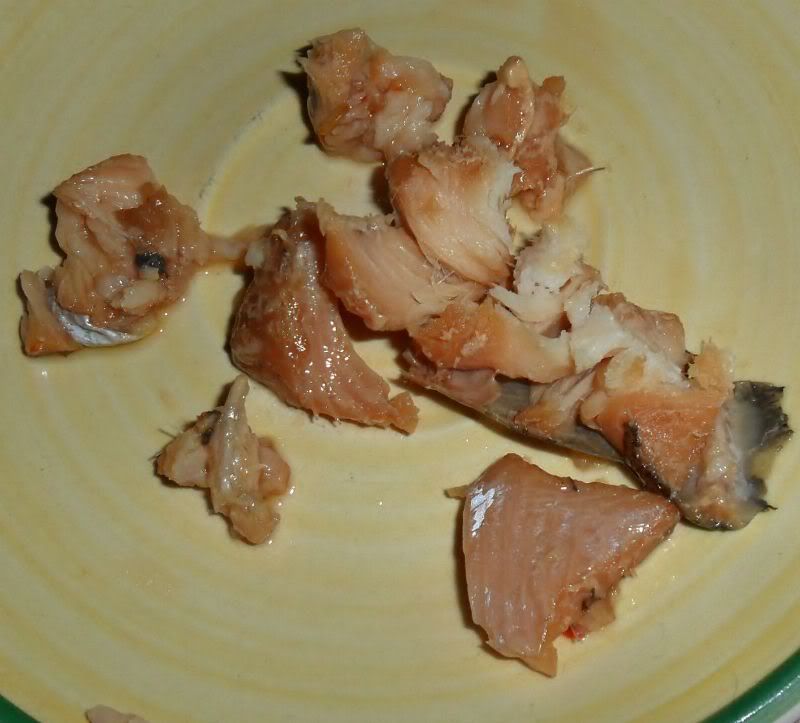 And saw that it appeared to have good texture as well. I thought I had bought some crackers to try these with, but as it turned out, the kids (or someone) had run off with them, so for the first try, I was only able to try the trout as-is. This was no problem, but a cracker would have been nice! Anyway, the texture was very good; firm, flaky and just right. I had been worried that the trout might be mushy, but this was not the case. Also, the flavor was great ~ the ponzu, honey, trout and red peppers all worked very well together and I was suitably impressed. I had worried that they might be too salty, what with the salt and soy sauce; but if anything, they could have used just a little more salt. The bones were not noticeable at all, due to the salt and the boiling dissolving them. A few days later, I was able to try these on saltines, and they were even better than before. I asked my dad how he liked them, and he said they were pretty good. In all, this project was a success. For next time, I will use slightly more salt, and also make sure to pack the jars fuller and tighter. I’m tempted to try some other flavours added, such as slightly smoking the trout, or perhaps one with pepper and dill added for a Scandinavian theme - but this was so good, I don’t see any reason to mess with a good thing, for now. | ||
|
| one of us |
Tasunka: That's some good looking trout. Have to admit I prefer mine smoked, but if I ever get the itch to can some, I'll try your method. There is hope, even when your brain tells you there isn’t. – John Green, author | |||
|
| one of us |
bill - take the best of both worlds and can some after giving it some time in the smoker! | |||
|
| one of us |
The instructions I posted are for people who don't have a pressure canner, and as far as I know, it is just fine. The shelf life MIGHT be a little shorter than pressure canning - I am trying to find out about that now. If anyone wants to try this and you have a pressure canner available, you might want to do it that way, since all the "new" books say a pressure canner is necessary. I know that the older books say the boiling method is fine, so i am sure there aren't any problems. Here's an alternate recipe from "500 Game and Fish Recipes, by Michael Galen (1985, page 40) that mentions the boiling method. It also mentions an "oven canning method," but I wouldn't recommend that....  | |||
|
| one of us |
after talkng with mark, the friend who shared this recipe and method with me, we settled on a shelf life of up to a year, which sounds about right - of course, if you open a jar of these and find any sign of spoilage, then discard immediately. i have edited the original post to include the shelf life and a few other little tidbits here and there. it should now be a complete "pictorial!" | |||
|
| One of Us |
You are the very best.....and this brought another "canning" method to mind. My good friend, Guillermo Amestoy (South American thread), while visiting me last month, made me a batch of eggplant escabeche and "canned" it using the boil in the pot method. Did not need 4 hours as this was not fish. Delicious. "When you play, play hard; when you work, don't play at all." Theodore Roosevelt | |||
|
One of Us |
You need to buy a pressure canner and follow the USDA guidelines, your method isn't safe regardless of what you're told or what you've read. Botulism is a real possibility and is often fatal. Pressure canning is the only really safe method for canning fish, meats and other low acid foods since it exposes the contents of the jar or can to 240+ degrees for an extended period of time. Which will kill any bacteria or microbes. Besides which you'll get a much better product with a lot less time and hassle. I process raw pack tuna at 10lbs. for 100 minutes, I'm at sea level so that's the correct pressure, at elevation you need to go to 15 lbs. I've canned fish for many years, including custom packs for commercial resale. So I learned it from pros whose product had to be certified. It's very safe when done correctly. I just did 150+ 1/2 pints of albacore tuna packed in olive oil for my own consumption and need another 50, which will be lightly smoked and then canned. I do sardines when I have a chance to pick up an ice chest full from one of my seiner buddies in Moss Landing. Pickled herring. Pickled octopus. Salmon when I get sea lion chewed ones. As well as lots of picked Dungeness crab meat. The home canned albacore will utterly ruin you for commercially canned tuna and it's better in glass than a metal can, I've done both since the custom packs are done in cans, which can be shipped. You'll find a lot of uses for a pressure canner, particularly with wild game. I do venison, bear, feral pigs, squirrels, rabbits, birds and sausage made with any of them. Lot's of variation too, I make a 'burgundy bear' which is a beef burgundy recipe with cubed bear meat substituted for beef then packed in 1/2 pints or pints and processed in a pressure canner. Renders the bear meat absolutely tender and makes fantastic sandwiches. Or as a stew over mashed potatoes. Put up jars of venison chili, Boston baked beans, green beans, tomato sauces, soups, stews, sauces, stocks, all kinds of things, it'll open up a whole new world to you. The best pressure canners for home use are made by All American, which are heavy aluminum with a metal to metal seal and both a dial gauge and a weight. They're what I use and are around $300 new for the larger capacity ones, much less used. Even a new one made by Mirro, which work fine, can be found online for under $75 with free shipping.  | |||
|
| one of us |
good timimg, skinner - i bought one today. nothing so fancy as that one, but it will be good for my uses. looking to try canning cubes of deer meat with it as wel as fishl. as for the canning of fish without a pressure canner, i spoke about it with a guy who was working for quality control at krafty at the time, and had access to all the food safety science. i'd known him for a few years, so i am assuming he is trustworth. he said that the length of the boil compensated for the not getting to 240 degrees. that advice, plus the fact that baal/kerr and other publishers were recommending a 4-hour boil at least until 1985, is why i did it the way i did. i'm guessing that botuloism hasn't changed since 1985, so either the research did, or more lawyers got involved - not sure which. | |||
|
One of Us |
No, just people got sick and some died, so the guidelines are there for a reason. There has been a whole lot of research done on this since then. You can get huge amounts of info online from the Feds, the states and university extensions. Lots of really great info, and recipes. Alaska has a lot on canning game and fish, in print and on videos you can watch online. And remember, there's a difference between a pressure canner and a pressure cooker. You can use a pressure canner as a pressure cooker, but not a pressure cooker to do steam pressure canning since you really don't know if the proper temperature is reached and maintained. People have gotten sick from that too.
Which is a damn good use for venison, particularly neck meat and trimmings or even other cuts that's been in the freezer for a while. Or roadkill if it's freshly run over. Start out simple, with a raw pack of cubes and a small amount of salt, like 1/2 tsp per pint, its easy to oversalt because pressure canning can magnify the taste. I do raw pack venison like that, or brown the cubes in olive oil to enhance flavor, not cooking them through, just carmelizing the surface to enhance flavor. I'll sometimes add small amount of garlic powder and/or an onion slice on top.. You need to check before adding anything because some things do not can well or develop a bitter or off flavor, like sage. Never add flour or cornstarch to the jar before canning, you can use those as thickeners after canning and opening a jar to heat through. Canned venison, bear or feral pig makes great tamale meat too, which I make in batches of 100 or so, vacuum pack and freeze 4 to a pouch. Canning is kinda like handloading, it's safe when done right, but maybe not when done wrong. | |||
|
| one of us |
sounds good, especially about the venison. thanks for the advice! | |||
|
| Powered by Social Strata |
| Please Wait. Your request is being processed... |
|
 The Accurate Reloading Forums
  THE ACCURATE RELOADING.COM FORUMS
  Other Topics
  Recipes for Hunters
  My Attempt at Canning Trout

Visit our on-line store for AR Memorabilia

