

 The Accurate Reloading Forums
  THE ACCURATE RELOADING.COM FORUMS
  Other Topics
  Recipes for Hunters
  Cream Cheese Kit from FarmSteady
Go  | New  | Find  | Notify  | Tools  | Reply  |  |
| one of us |
Cream Cheese Kit from FarmSteady Cheesemaking is something I’ve wanted to do for a long time, probably since childhood, if I think about it. The couple of times that I picked up a book on the craft, however, it seemed like a very esoteric process, involving certain equipment and ingredients that I knew little or nothing about. The interest waxed and waned over the years, and eventually withered on the vine in favour of other pursuits. In 2010, I created the "Foods of the World" forum and watched with renewed enthusiasm as some members reported on their efforts at making various cheeses. Once again, I became interested, and even took the step of buying a used book about home cheesemaking. After trying to read it, however, I was once again lost in a sea of jargon, the “necessity” of specialised equipment and dire warnings about what would happen if something went wrong. At the time, it appeared to me that this is something that simply involves too much commitment, so the book was put on the shelf, where it collected dust. A few years after that, The Beautiful Mrs. Tas got a birthday present for me that I really enjoyed: a beer-brewing kit from Brooklyn Brew Shop: www.brooklynbrewshop.com You might be wondering what brewing beer has to do with this, but please bear with me! Brewing beer is another activity that I had long wanted to do, but had held off on, for many of the very same reasons that precluded me from diving into cheesemaking. However, when I looked into the details of this brewing kit and did some looking around on Brooklyn Brew Shop’s website, I discovered a couple of things that quelled this self-imposed intimidation. The first is that this kit brewed genuine, all-grain beer. It was not some sort of “toy” or “novelty” product; it was the real thing, scaled down to a manageable size and presented in a way that was understandable. It made such an endeavour accessible and opened my eyes to the fact that brewing doesn’t have to be complicated unless I want it to be. Further, it got me to thinking about just how old this ancient process is, as Brooklyn Brew Shop takes an approach that accentuates the art and craft of brewing, rather than the science; more monastery than laboratory; more monk than engineer. This increased the appeal to me even further, as the fundamentals, traditions and and the self-sufficiency involved in homebrewing resonated loudly with my “rustic” or “peasant” approach to anything to do with food and cooking. It also opened a very enchanting door into my family’s own past and traditions, but that is a story for another thread. The second thing that I couldn’t help but notice was the sheer enthusiasm that Brooklyn Brew Shop has for brewing beer, which immediately translated to me as helpful encouragement. Aside from the general love of beer and brewing, there was the unmistakable message that “we made this, and you can, too!” Every point in the instructions, every video describing their beer varieties and the process of brewing beer...even the labeling on the box that the kit came in was calling, motivating and inspiring one to go forth, brew beer and share it with the world. They not only showed a person that brewing beer could be easy; they also removed any and all doubts that a person might have about brewing beer. The only thing that one had to do was simply toss those doubts to the dustbin and Make Some Beer. And that is just what I did. I brewed my first beer - a Chocolate Maple Porter - and it was great! Oh, it wasn’t perfect, by any means, but the few things that were wrong with it were nothing compared to what was right with it...and, it tasted great! Based on that success, and with growing confidence, I brewed some more - an Oatmeal Raisin Cookie Stout, a Smoked Wheat, a Grapefruit Honey Ale...the list goes on…. Now, I’m brewing beer regularly, which is something I’ve always wanted to do; better yet, I’m loving it, not frustrated with it, which inspires me to learn more, to brew better beer...and to keep brewing beer. I’ve progressed from brewing pre-packaged ingredient mixes to following recipes to coming up with my own creations, and it is all thanks to The Beautiful Mrs. Tas for getting me started, and to Brooklyn Brew Shop for the inspiration and motivation. So, when Brooklyn Brew Shop launched a new endeavour centered around gardening, foraging, baking and (here’s where we come full-circle) cheesemaking, it was only natural that I would be interested. This project is called FarmSteady: www.farmsteady.com FarmSteady currently offers three kits to introduce these concepts; a kit teaching one how to make four Italian cheeses (Ricotta, Mascarpone, Mozzarella and Burrata), a kit for Soft Pretzels and Beer Cheese, and a kit for Everything Bagels and Cream Cheese. I ordered all three kits as soon as I was able to, and now that the hustle and bustle of summer travel has subsided, I will work my way through them, using the information and skills that I acquire to hopefully grow in the art of cheesemaking even further, just the same as I did with the beer kit. After reading the instructions and asking a few questions, I determined, rightly or wrongly, that the Everything Bagel and Cream Cheese kit would be the best (read that as easiest) place for me to start. The first step, then, is making the cream cheese, so that its tangy goodness will be ready to spread on those savory, freshly-baked bagels! Cream cheese as we know it appears to have originated in England, but it quickly spread (no pun intended) to other places. This, from Wikipedia:
During this period of North American colonisation, it was only natural that cream cheese would travel across the pond and - as so often happens here - eventually grow into a thriving industry:
The rest, as they say, is history. Following is my account of making my first batch of cream cheese; I would count it as a pretty substantial success, so hopefully my experience will inspire others to pick up one of these kits and give it a try. Making this cream cheese was very, very easy; even better, it consumed almost no time at all, on my part, as the cheese itself did nearly all of the work. I’d be surprised if I put in an hour’s worth of total time, and that includes taking the photos. The entire process is broken up into three parts, separated by hours-long periods that leave a busy person such as myself to attend to family, household and work duties. Once again, I will apologise in advance for some of the photos; the camera on my phone alternates between taking some of the best photos I’ve ever seen...and some of the worst. In all cases, I’ve done my best to illustrate the steps of this process with the best pictures possible, and for every photo that you see here, there are about 5 or 6 that I deleted. With that, here’s all you need to take your first step into making cream cheese: 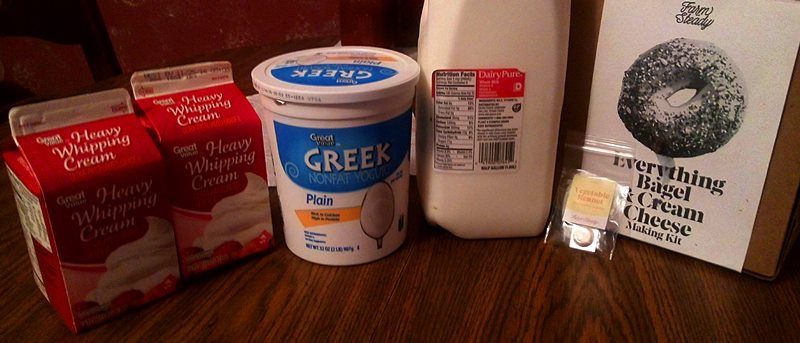 1 quart of whole milk (avoid ultra-pastuerised) 1 quart of heavy cream (avoid ultra pastuerised 1/2 cup of plain yoghurt with live cultures 1/2 of a rennet tablet 1/4 cup of non-chlorinated water 1 teaspoon of kosher salt (or to taste) Not pictured is a square of cheesecloth that is 18 inches on each side; it is, I believe, made of cotton cloth woven at about 90 threads per inch. Alternately, of course, you can use the gauzy-looking cheesecloth that is often sold in grocery stores; a double layer of this (each layer placed perpendicular to the other) should work just as well. Additional equipment includes a double boiler (I used a cooking pot placed inside my Dutch oven), a rubber spatula or scraper, measuring spoons and cups, and - most importantly - a kitchen thermometer. Let’s get started! The first thing I did was to set up my improvised double boiler, floating a cooking pot on some water in my Dutch oven. I then heated the water to 100 degrees before adding the milk and cream to the pot inside: 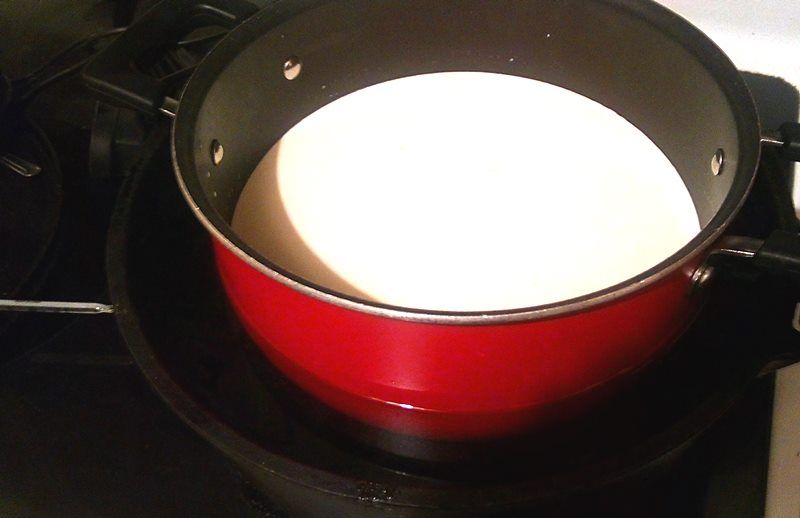 Once the milk and cream is added, you want to gently mix them together for half a minute or so. The heat of the water slowly raised the temperature of the milk and cream mixture, taking about 20 minutes to bring it to 90 degrees. I adjusted the heat on the stove as necessary in order to maintain a slow, steady rise. If you happen to reach 90 degrees before the 20 minutes have passed, remove the pot from the stove and let both the milk/cream and the water cool a bit, then maintain it as well as you can. While this was happening, I broke off half of a rennet tablet and dissolved it in 1/4 cup of non-chlorinated water. The water that I used from a local spring just south of town, but you can use any bottled water, or leave out some chlorinated tap water overnight, if necessary. When the 20 minutes had passed and the milk had reached 90 degrees, I mixed in 1/2 cup of plain yoghurt with live cultures:  You want to gently stir the ingredients together for half a minute. I then added the dissolved half-tablet of rennet with the water, and gently stirred the mixture for another 30 seconds. That’s about it for the first stage of this process! At this point, I removed the pot from the water bath and put the lid on: 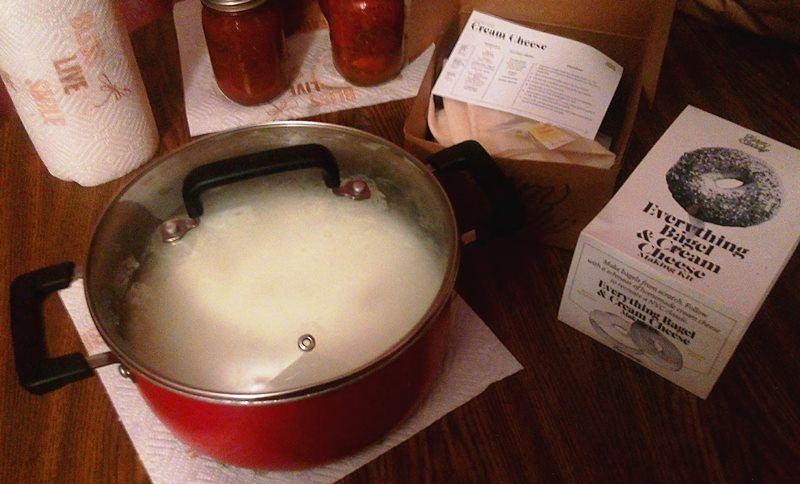 I then covered the pot with a tea towel: 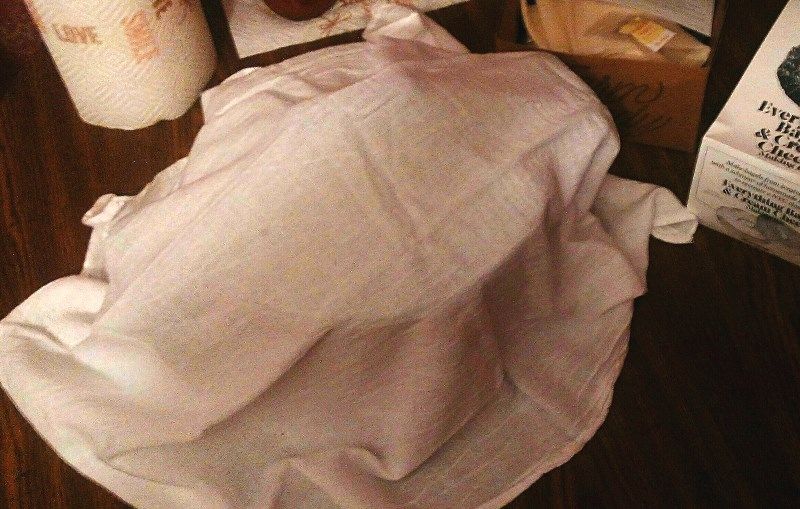 It was late, so I set a timer on my phone for 12 hours and went to bed, allowing the curds to form undisturbed at room temperature. After a productive morning around the house, my phone reminded me that 12 hours had passed, and that it was time to resume the making of the cheese. To begin, I lined a small colander with a dampened cheesecloth:  I set the colander into a mixing bowl, in order to catch the whey. I then took a look at how my cream cheese was developing, and was pleased to see that it had thickened up very well: 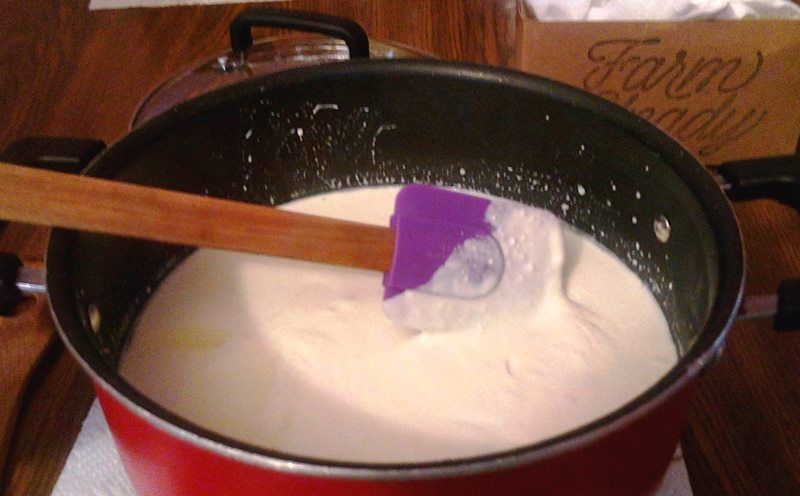 Next, I poured the curds into the cheesecloth in the strainer, allowing the whey from the mixture to drain into the mixing bowl. 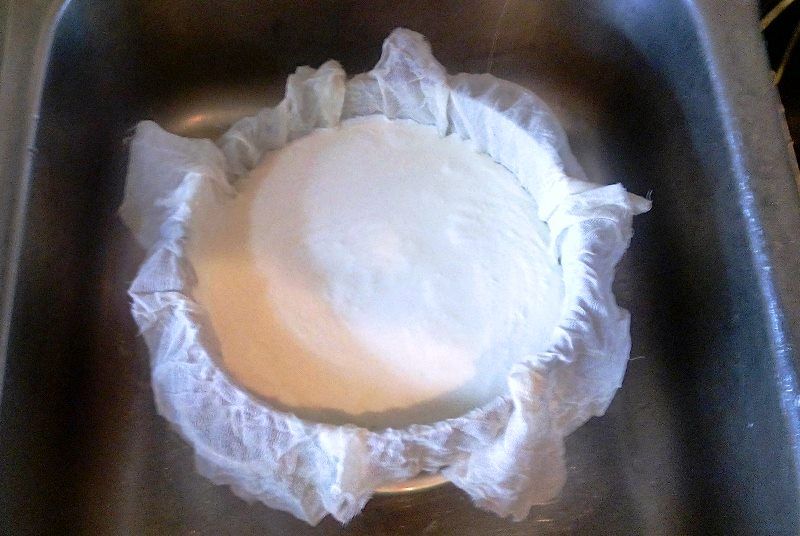 Once the draining slowed down to a slow drip, I gathered the four corners of the cheesecloth and tied each opposite corner together, forming something like a bag. Next, I suspended the cheesecloth (and the curds) over the bowl in the sink: 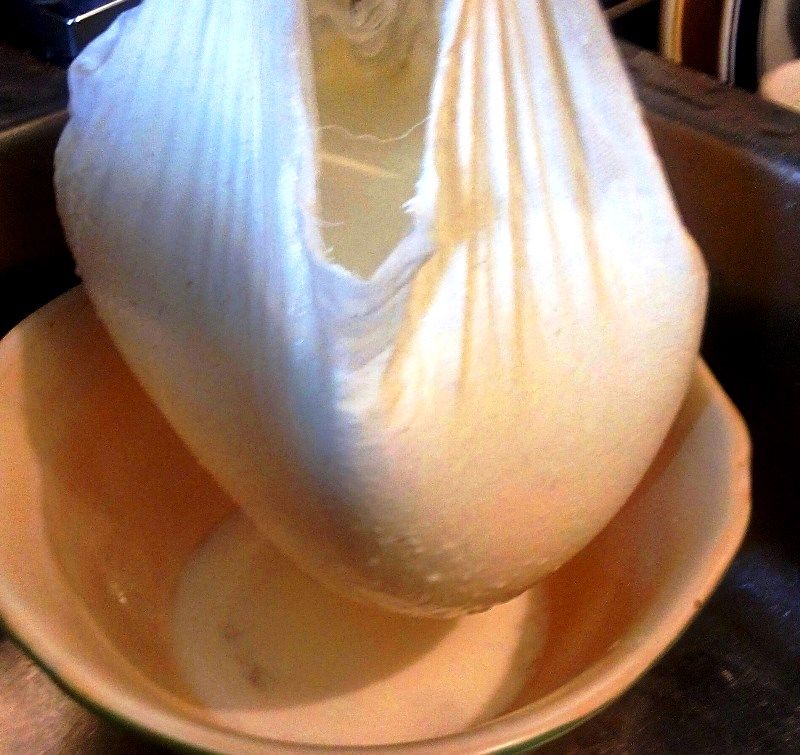 As you can see here, I wasn’t able to close up the gaps, due to the amount of curds and whey; more on that in a moment. From this point, you want the curds to hang, drain and dry for 6 to 8 hours. Since I had some gaps that were exposed, I covered the cheesecloth with a tea towel for about half of this time. Later on, the draining and drying had continued to the point where I could re-tie the corners more closely together so as to completely close up the “bag” created by the cheesecloth:  As you can see, I also moved the hanging cheesecloth to the table, suspended beneath a wooden spatula. In my case, the draining and drying appeared to take about 8.5 hours; at this point, I moved the drained whey to another container (to save for some other purpose), then washed and dried the bowl. I then set the cheesecloth into the bowl and uncovered it, revealing this: 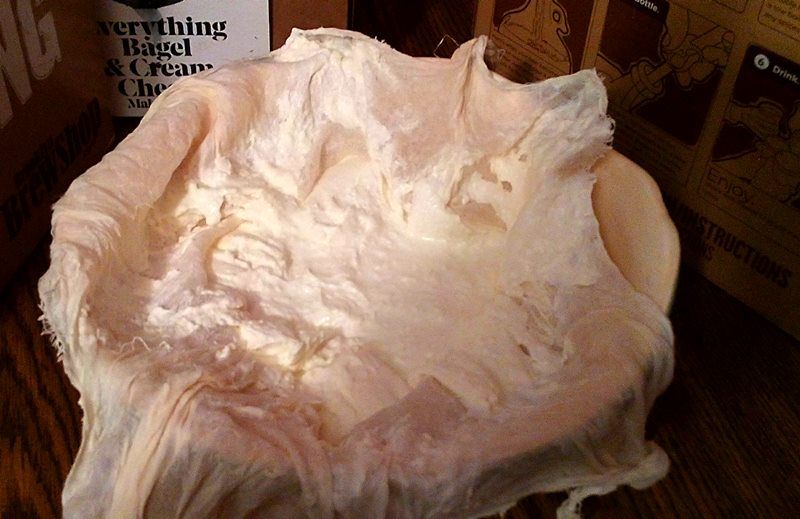 I am no expert, of course, but that looks to me like some beautiful, luxurious home-made cream cheese! The rest of the process was just as easy as everything else had been up to this point. I poured, scooped and scraped the curds into the bowl, getting as much as possible off the sides of the cheesecloth. I then gently stirred in one teaspoon of kosher salt until it was well-incorporated. With that, I was essentially finished: 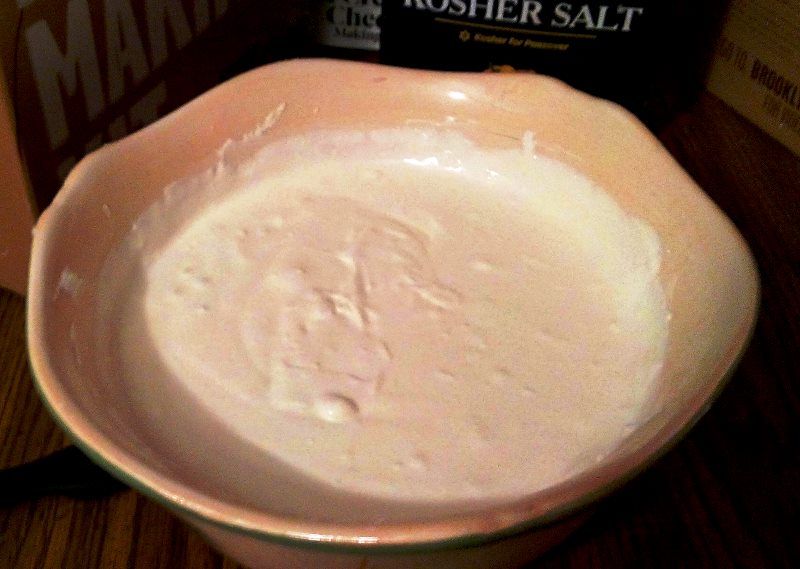 At this point, you can - if you wish - add any number of goodies to the mix. Some suggestions from FarmSteady include diced scallions, dill, and jalapeños; I am guessing that the possibilities are endless and limited only by your imagination and tastes! The cheese was still a bit soft at this stage, but it was definitely much thicker and “cheesier” than it had been before hanging and drying. I snatched a wee taste, and it was as good as...no, it was much better than any cream cheese I had ever had. It was tangy. It was creamy. It was addicting! I had to stop myself from sampling it again and again, because I knew that if I got started, I might not stop, and I needed it for the bagels I was going to make! With great discipline, I portioned the cream cheese into two containers: 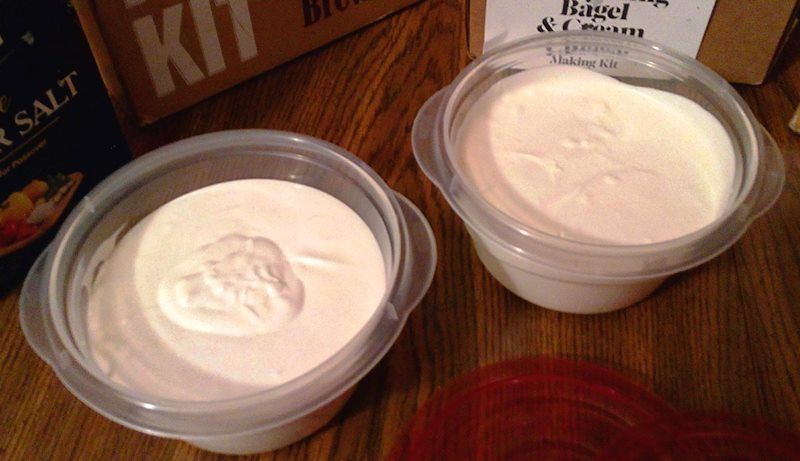 I then put the containers in the refrigerator. You want the cream cheese to chill for a couple of hours, at a minimum, before using for using or eating it, so that it can firm up and become spreadable. To confirm this, I checked on the cheese the next morning, and found that it was indeed firm, yet soft enough to spread, just like the cream cheese that we have bought before. This cheese will keep in the refrigerator, covered, for up to two weeks, but I am guessing that it won’t last that long. And with that, my first foray into cheesemaking came to a victorious end! I hope that you have seen how easy this is, and that you learn from my mistake! If you’ve been wanting to try making cheese, simply do it. Period. Don’t put it off, don’t wait until things are “just right,” and above all, don’t be intimidated. This kit (and the others offered by FarmSteady) can help you take that first step to actually getting it done. Everything to make this cheese (and others, if you choose) is there, including something wonderful to spread it on. It’s pretty hard to beat that, by itself, but what you don’t see in the kit might be even more valuable: inspiration. It’s easy, it’s rewarding, and it’s a great way to take a first step into a world of self-sufficiency. Thanks for taking the time to read this. As always, comments and feedback are welcome and encouraged. Above all, if you want to give this a go and have any questions, please post them here; if I don’t know the answers, I will find them for you. Enjoy! Ron | ||
|
| One of Us |
| |||
|
| one of us |
What effect, if any, does air temperature have on the process, we are in Texas, and our air conditioned interior is somewhere between 72 and 80 degrees? xxxxxxxxxx When considering US based operations of guides/outfitters, check and see if they are NRA members. If not, why support someone who doesn't support us? Consider spending your money elsewhere. NEVER, EVER book a hunt with BLAIR WORLDWIDE HUNTING or JEFF BLAIR. I have come to understand that in hunting, the goal is not the goal but the process. | |||
|
| one of us |
Somewhere in there he mentions 90 F for the mixture .The mixture in a pot [stainless steel or ceramic ] in a water bath is then covered with a clean cloth and left to ferment .This is just like bread .As long as you have the mass of mix and bath it shouldn't change much. In winter if I have the wood stove going I just put the mix near the stove [not ON the stove ] and monitor the temp. Over heat and the mix goes too fast, under heat goes slow . More obvious with bread as you readily see the texture. The mix + water should be protected from drafts. BTW, if you use goat milk -that's difficult to start so adding a bit of cow milk corrects that to a normal time ! | |||
|
| one of us |
Gato - Mete said it better than I could! I think that your temperature range should be just fine. It was a little cooler when I made it, and it seemed that the process was somewhat slowed-down. Hope this helps - Ron | |||
|
| Powered by Social Strata |
| Please Wait. Your request is being processed... |
|
 The Accurate Reloading Forums
  THE ACCURATE RELOADING.COM FORUMS
  Other Topics
  Recipes for Hunters
  Cream Cheese Kit from FarmSteady

Visit our on-line store for AR Memorabilia

