

 The Accurate Reloading Forums
  THE ACCURATE RELOADING.COM FORUMS
  Other Topics
  Recipes for Hunters
  Slavic Easter Cheese (also known as Sirets, Hrudka or Ciruk)
Go  | New  | Find  | Notify  | Tools  | Reply  |  |
| one of us |
Slavic Easter Cheese (also known as Sirets, Hrudka or Ciruk) NOTE - scroll down for a complete, step-by-step pictorial on making this. This recipe is from the kitchen of Maria Macejko Milot, my wife's grandmother, and enjoys a long history in the family with happy memories. It is very easy to make and is an authentic, old-world recipe. 1 dozen eggs 1 to 2 teaspoons vanilla 1 quart milk 1/2 cup sugar Combine all ingredients in a white, enameled pan, whisking until well blended. Cook over medium to low heat, stirring/whisking gently and constantly, until the mixture curdles. This will take a long time, around 30 minutes, but keep with it. You will know you are getting close when the curds start breaking up into a consistency like oatmeal. When everything sort of "breaks loose," and the whey turns from white to the color of broth, as the cream from the milk is used, it will be just about ready. Pour the mixture into a colander that is lined with several thicknesses of cheesecloth. Once mixture is drained, pick it up, cheesecloth and all, and it shape into a ball by twisting the top part of a cheesecloth. Use a pencil or the handle of a wooden spoon as a tourniquet to squeeze out the whey.* Tightly tie the open end of the cheesecloth with string; tie the string very close to the top of the ball. CAUTION! this will be hot! Hang the cheese over sink to drain and cool. Remove cheesecloth when cool; wrap and refrigerate over night. To serve slice into serving-sized portions and enjoy. *The whey from the hrudka can be saved and used when making pascha (paska). To conserve the whey, place the colander over a large pot before pouring mixture into cheesecloth. Here is a picture of our efforts, which turned out very well: 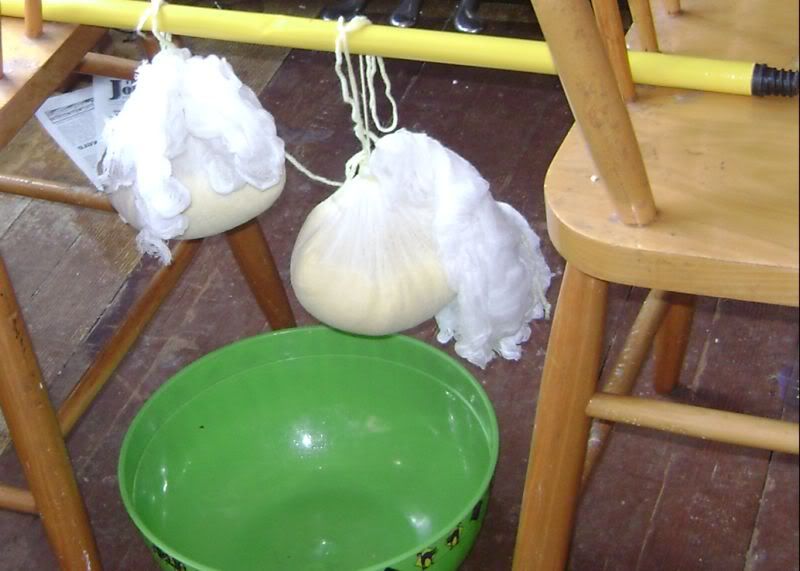 Here's a little more history - my wife's grandmother, Mary, emigrated to the United states from a village called Žakarovce. This village was in the Slovak regions of the Austro-Hungarian empire, which became Czechoslovakia right around the time she left the country. | ||
|
| One of Us |
Just like my grandma used to make. She was from the same area in the Austro-Hungarian empire. Thanks for bringing back the memory. Would you mind sharing your (her) recipe for pascha? | |||
|
| one of us |
When I make the Italian version of Easter Bread I make it in the shape of a rabbit with an egg inserted . | |||
|
| one of us |
hi, marty - i checked with my wife, and she said shee can't recall her grandmother ever making pascha - however, i did find a recipe for pascha that looks traditional to me. you can find it here: http://foodsoftheworld.activeb...p?TID=53&title=paska and a couple more links here: http://foodsoftheworld.activeb...reads_topic1249.html should be some good stuff! | |||
|
| One of Us |
Thank you! The red cabbage pie is new to me, definitely will try. | |||
|
| one of us |
no problem - i'm guessing that if you have ties to easter cheese and pascha, then you will also REALLY enjoy these: http://foodsoftheworld.activeb...pusta-alebo-tvarohom http://foodsoftheworld.activeb...tuffed-cabbage-rolls take a look, but be prepared to fall in love! | |||
|
| One of Us |
I may have to tie on a babushka to make these! I have made haluska with cabbage for years, using frozen egg noodles from the store. My mother never used potatoes, but my grandma probably did. | |||
|
| one of us |
i think using (or not using) potatoes in the halsuky dough is probably a thing that varied between regions or villages, or maybe even from house-to-house. i've found that the potato in the dough really adds a nice flavour, kind of hits you on the side of the tongue, for lack of a better word. it also resluts in very nice, light-textured, almost fluffy halsuky. if you ever want to give it a shot, and have questions, send me a PM or email. this is one of those grandma-digging-potatoes-behind-the-cottage, old-world peasant dishes that just can't be beat. | |||
|
| one of us |
Alright - here is how my wife's Slovak grandmother would make Easter Cheese, which she would also call hrudka. She passed this tradition down to my wife, and I am sharing it with you in honour of both of these Slovak women. Making Easter cheese is very easy to do, with only 4 ingredients and no complicated procedures; however, you do need to pay attention to what's going on, or you might have a few problems. To begin with, here's what you need to make hrudka: 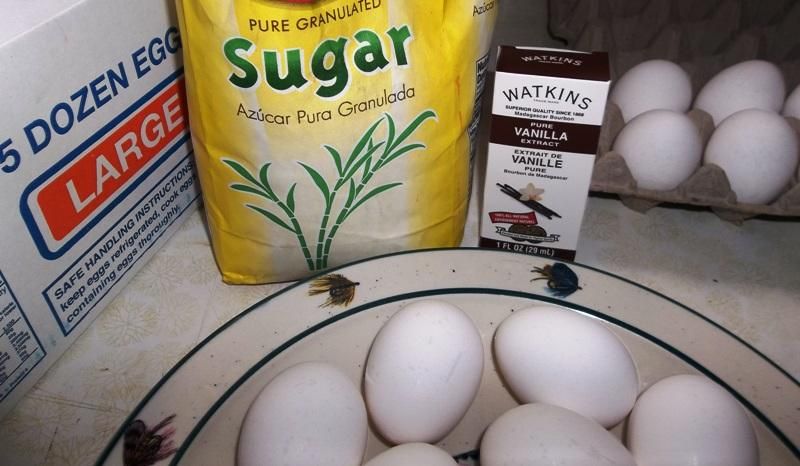 Whole milk (not pictured), eggs, sugar and vanilla - it doesn't get much easier than that! From what I can see, the literal translation of the Slovak word hrudka is "blob," "nodule" or "nub;" another word that can be used is "cake," but not like a birthday cake - it's more like a "cake" or lump of soap. Thus, "hrudka syr" would be "lump of cheese," and that's how each batch of Easter cheese is made. To make one hrudka syr, you will need 1 quart of whole milk (mlieka) and 1 dozen eggs (vajcia): 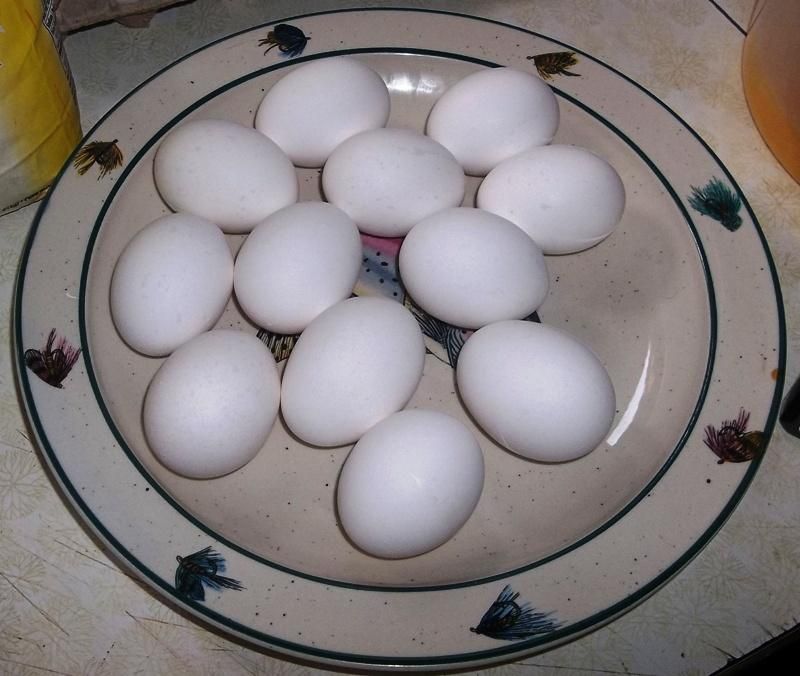 First, break the eggs into a bowl: 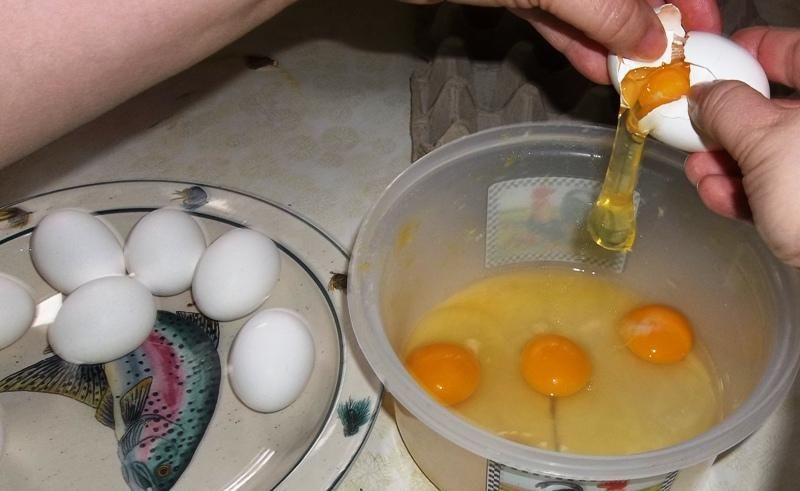 During the Middle ages, and for centuries afterward, The Catholic Church had many various dietary prohibitions; among them was a prohibition against consuming meat, cheese, milk and eggs during Lent. 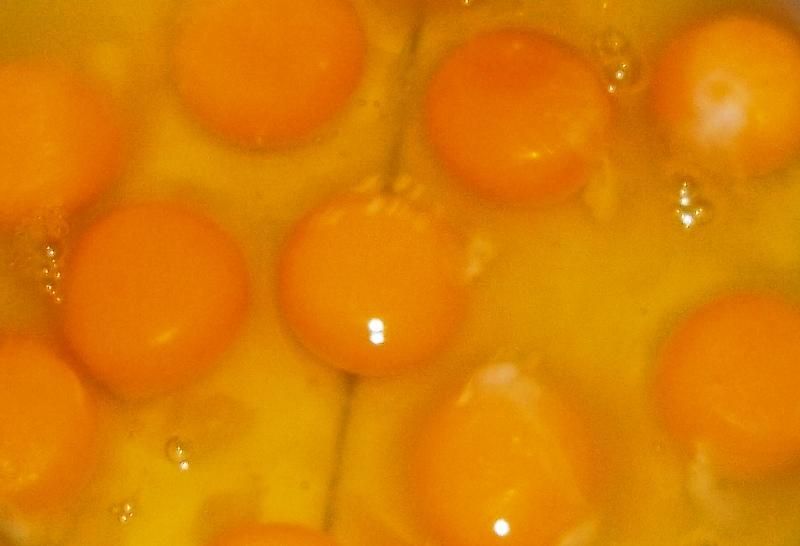 Easter, of course, marks the end of this 40-day fasting period, and Easter cheese is a beautiful Slavic celebration of the return of these wonderful foods. Once all of your eggs are cracked into the bowl, mix them up with a whisk or a forK: 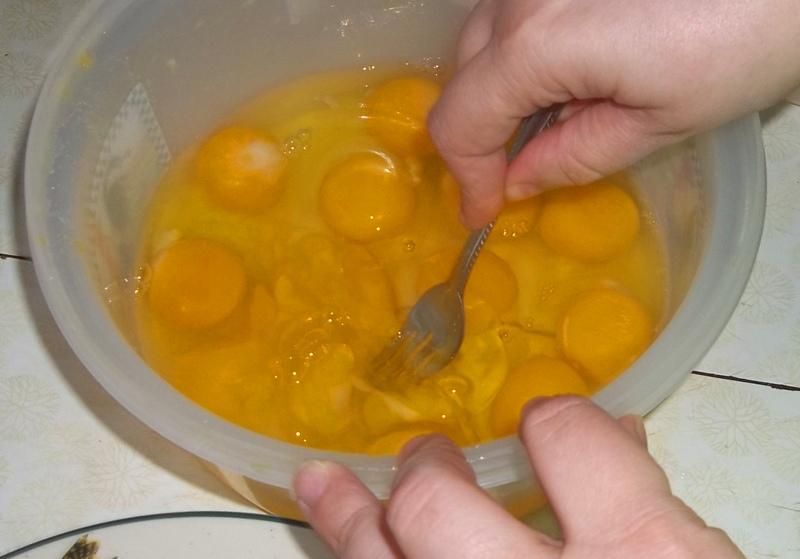 Then, add a quart of milk: 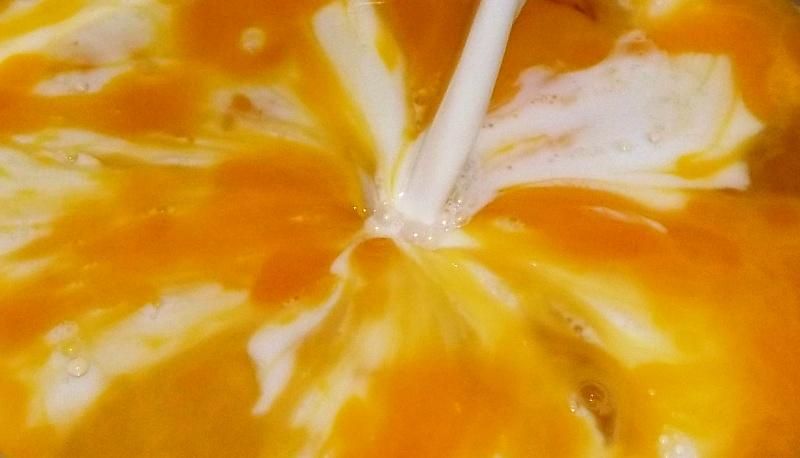 Give the contents of the bowl another good stir with a whisk or fork; it doesn't have to be perfect, because you're going to be doing plenty of whisking and stirring in a few minutes. It's also a good idea to run a rubber spatula around the edge of the bowl, just to make sure everything is in one place: 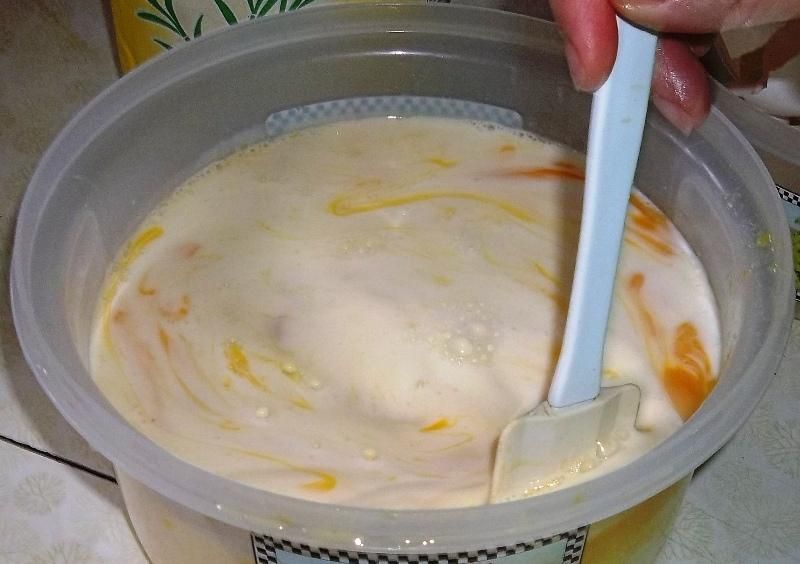 Next, add a teaspoon of vanilla (vanilka): 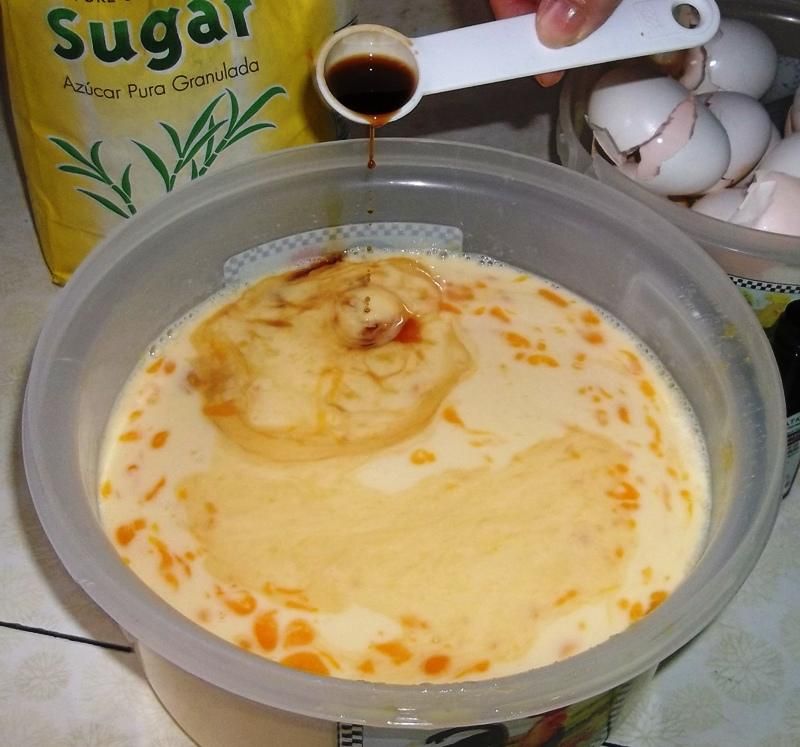 I like to add a little extra vanilla, because I like what it does to the flavour profile. You're almost ready to begin the actual process of making the hrudka, but first you want to make one final preparation; lay two criss-crossed thicknesses of cheesecloth in a colander over a big bowl, so that you can separate the whey from the curds: 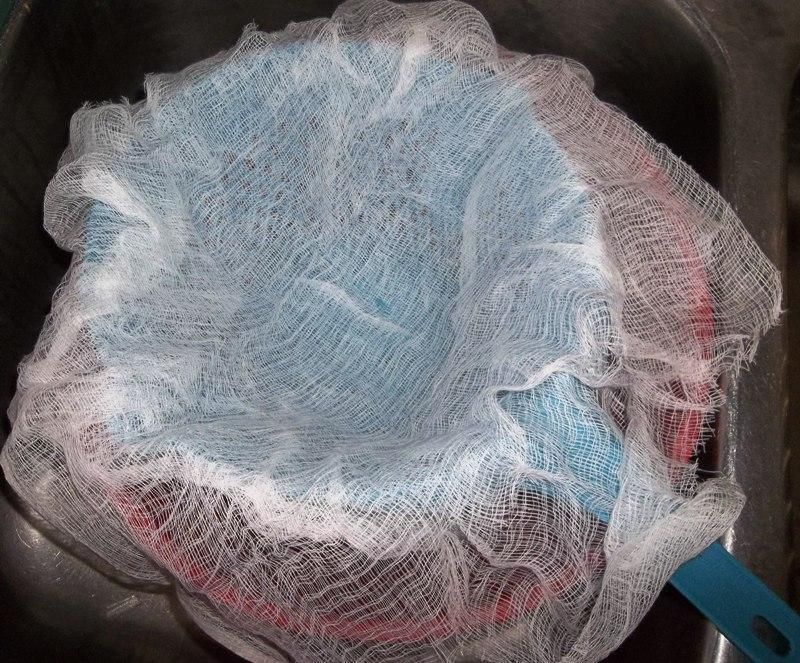 You want a bowl underneath the colander so that you can conserve the whey for use in any Easter bread-baking project that you might be doing. You're now ready to turn this milk-and-egg concoction into Easter cheese! Simply pour it into an appropriately-sized, non-reactive pot or pan of some kind: 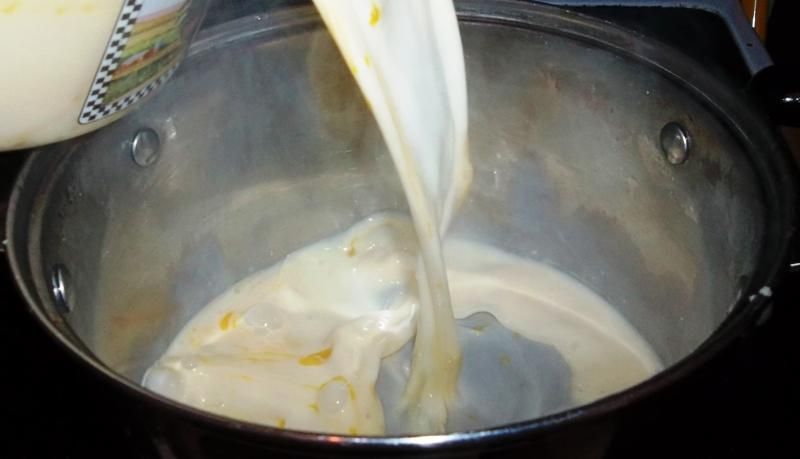 Stainless steel, enameled, it doesn't matter, as long as it isn't cast iron, it seems. Next, stir in 1 cup of sugar (cukor): 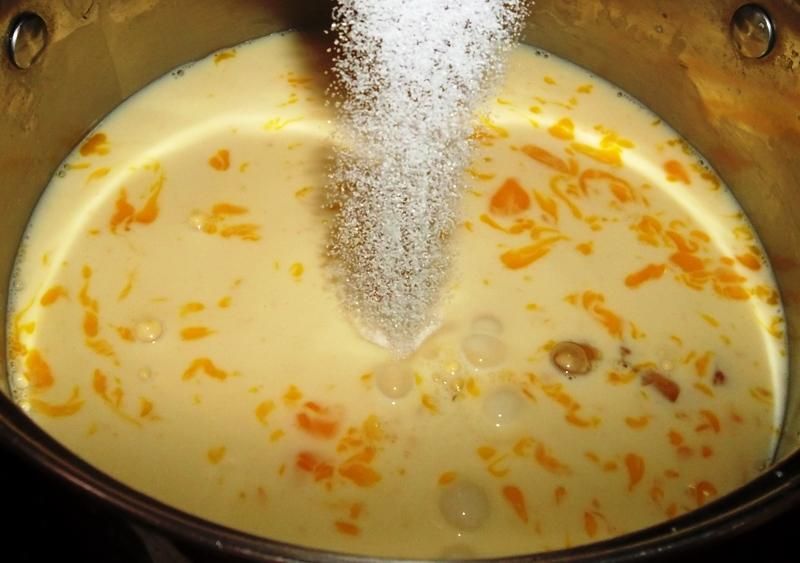 And begin heating over medium-low heat. There is some leeway where the heat is concerned; the Beautiful Mrs Tas usually makes Easter cheese at closer to medium heat (about 45%), and I usually make it closer to low heat (about 33%). Something in-between is probably a good place to start, and then as you make this more and more, you will find a level that is comfortable for you. I scorched a batch once, and since then, I've taken a more cautious, conservative approach. Of key importance is that during this process, no matter how long it takes, you want the mixture to be constantly in motion, either by stirring or whisking: 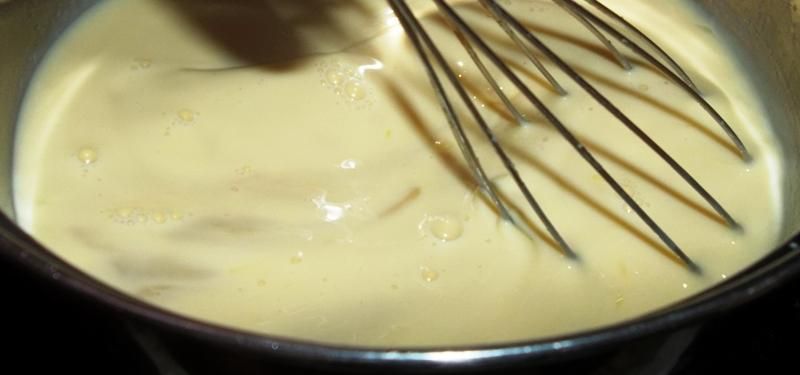 The length of time required for this can and will vary; I'm going to take a shot in the dark and say that you will be standing in front of the stove for at least half an hour. Having said that, my advice is to not go by time, but rather to rely on observing what the mixture is doing as it heats and transforms; you should let these visual cues be your guide as the process goes through several stages. I will re-cap these stages once we get the cheese made, so no worries for now - simply read on! First, it will be thin and runny, as shown above; however, before too long, the mixture will just start to thicken up a little and resemble a sort of custard: 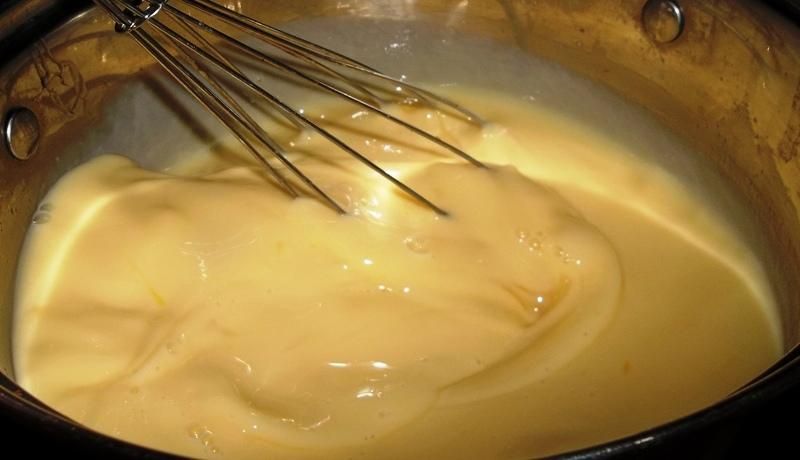 If you are whisking, it's a very good idea to occasionally sweep the bottom edges of the pot once in a while with a paddle or spatula, in order to move around anything that might be in the corners: 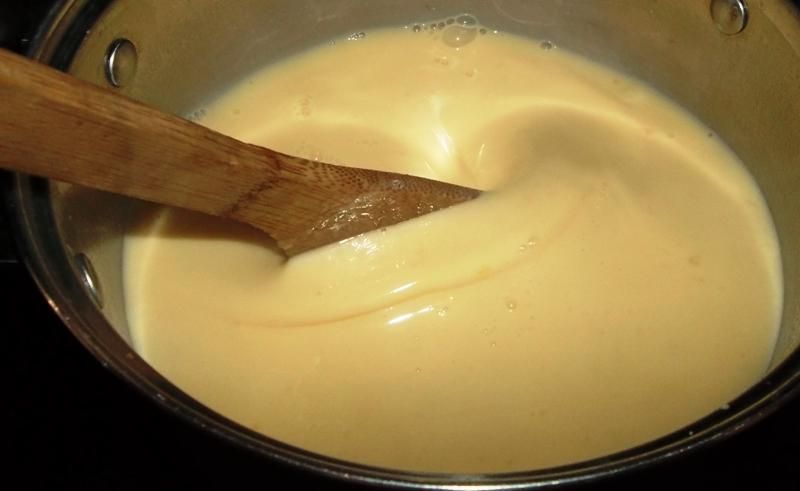 I've often thought that a cinnamon stick added to the mixture as it heats would really be something good with this; just be sure to remove it before you strain the curds out! I plan to give it a try next year and will report on results. As you continue heating the mixture, it will eventually get thicker and start to resemble pudding; also, lumps will start to form as the curds begin to develop: 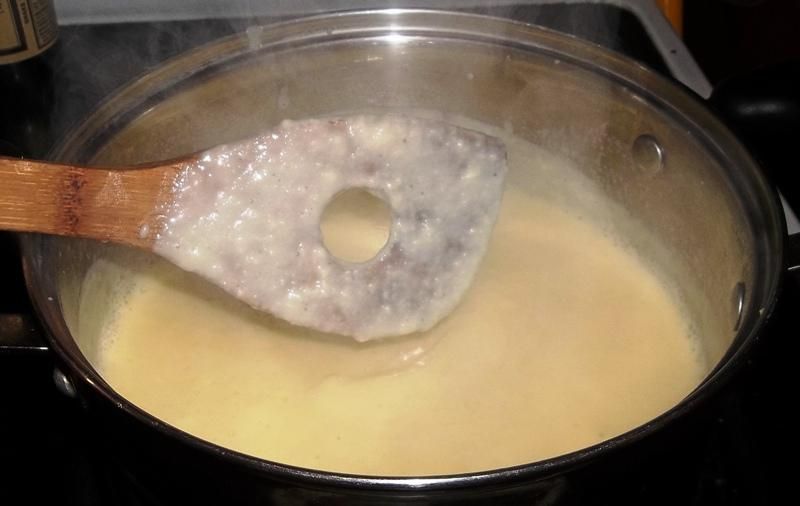 Keep whisking or stirring - you've got a ways to go! The custard will continue to thicken and get lumpy as time passes: 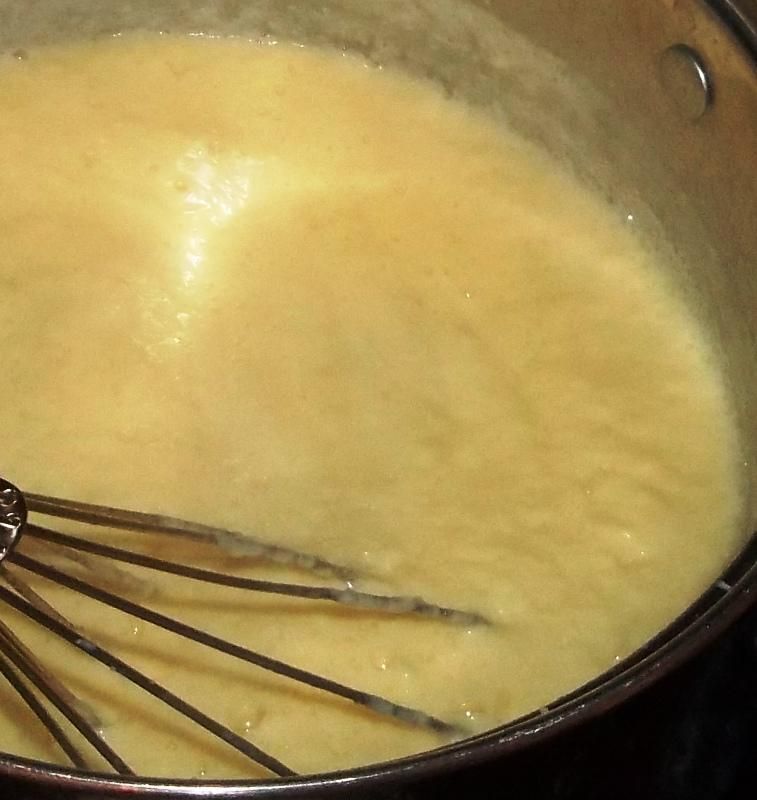 As the curds form, the action of stirring or whisking will cut them up and keep them small, which is what you want. Eventually, it will begin to resemble oatmeal or porridge: 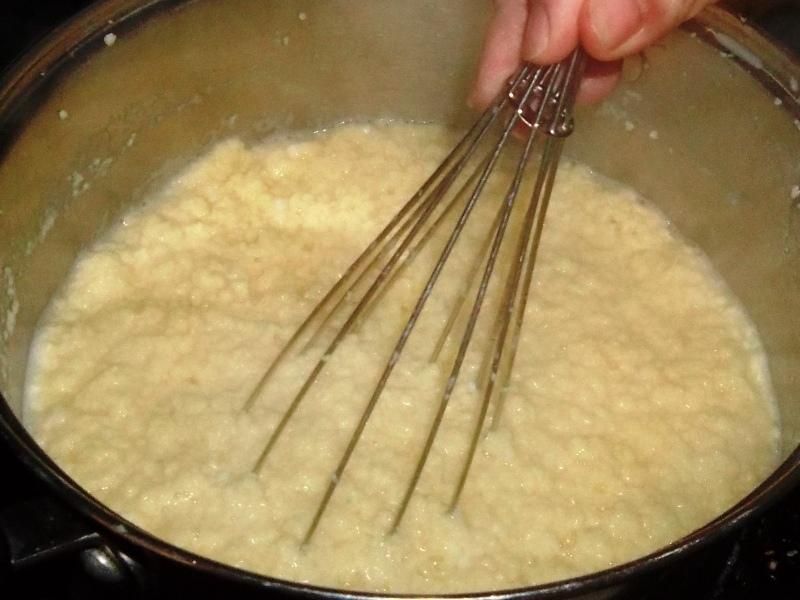 Keep going! You will think you're getting close, but not yet! After a while, you will come to a point where the curds really start to become a separate thing in the pan, and will start to pull away from the whey, which will begin to get liquidy. It will seem almost like you have scrambled eggs swimming in milk, but not quite: 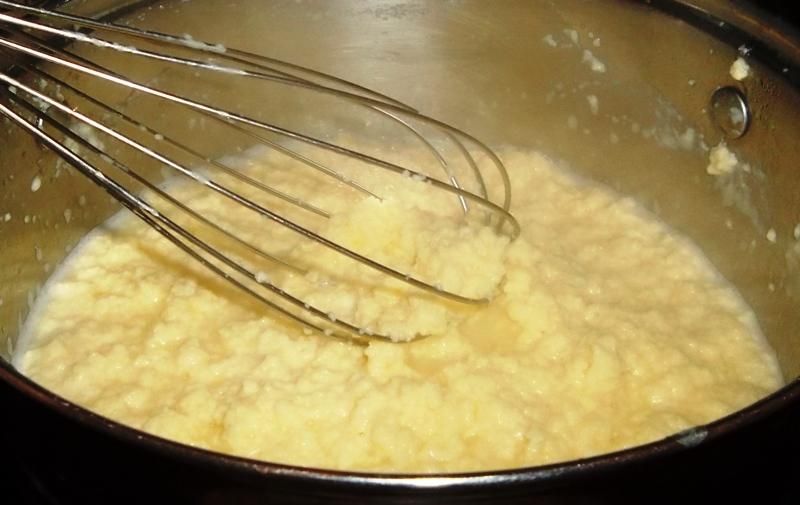 Don't even think that you're finished yet! Experience tells me that you've got maybe another 7 or 10 minutes to go, maybe a little longer - it will be ready when it's ready, so have patience, keep stirring and do not relax in your vigilance! Sooner or later, before you even realise it, there will come a clearly-defined moment when everything just sort of "breaks loose," and you will see a defnite change: 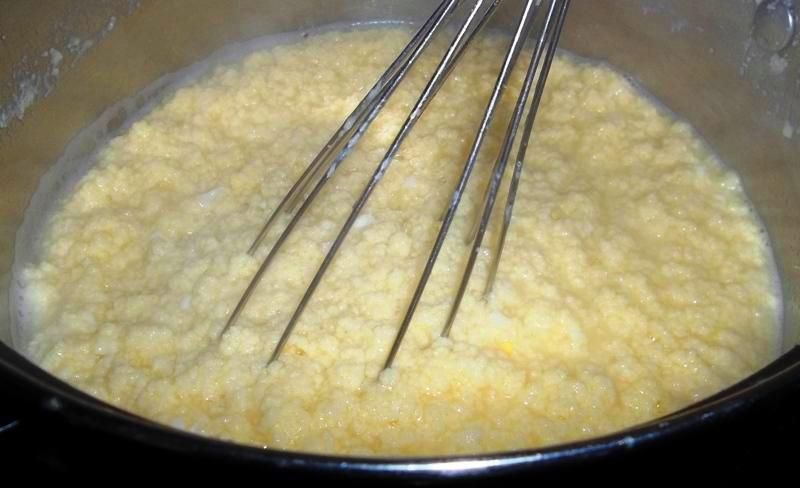 The whey will cease being thick and milky, and instead become almost clear and watery; the curds will seem thicker and more solid. Unlike the previous, "scrambled egg" stage, you won't wonder if it's ready, you'll know it's ready. When this happens, give it a few more stirs for a minute or so, just to make sure everything is ready, and then pour the entire thing into the cheesecloth: 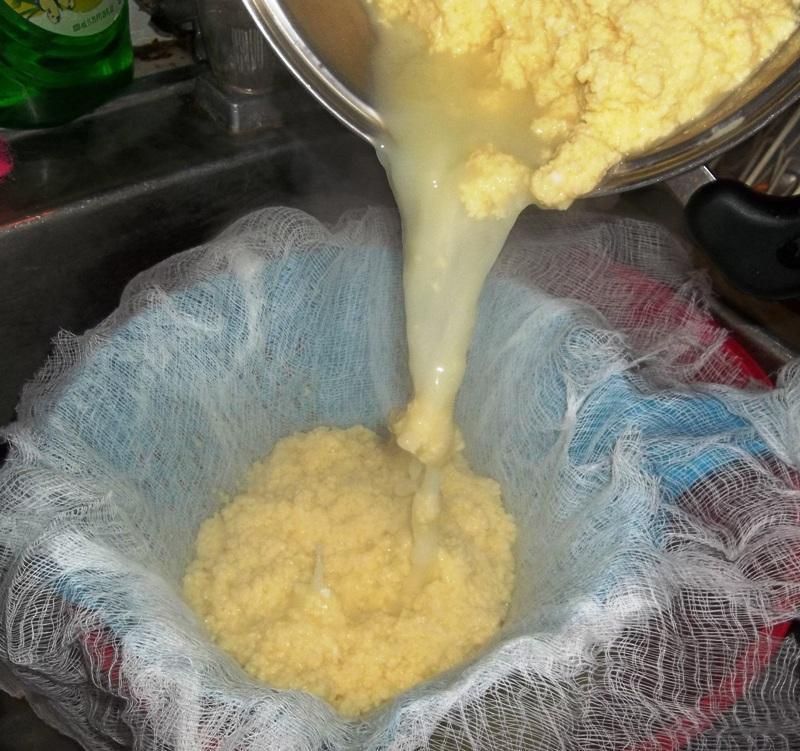 As you stare down into the mass before you, you will immediately ponder the notion that I might be insane, or that I could be playing some sort of sick, twisted joke on you: 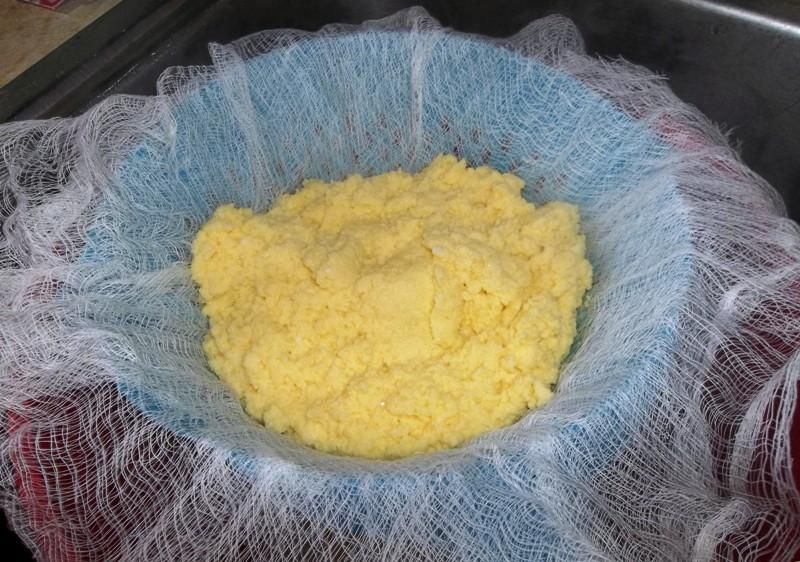 But I'm not! Believe me, this blob (hrudka!) of coagulated eggs and milk will indeed become cheese! To see for yourself, simply take up the corners of the cheesecloth: 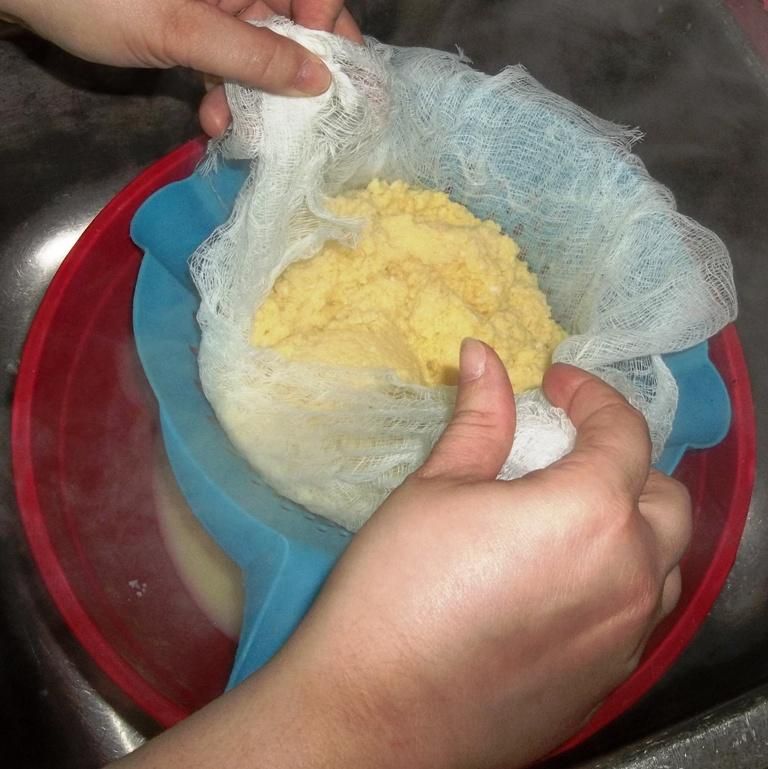 And begin twisting the bottom in order to form the cheese as you press out the whey: 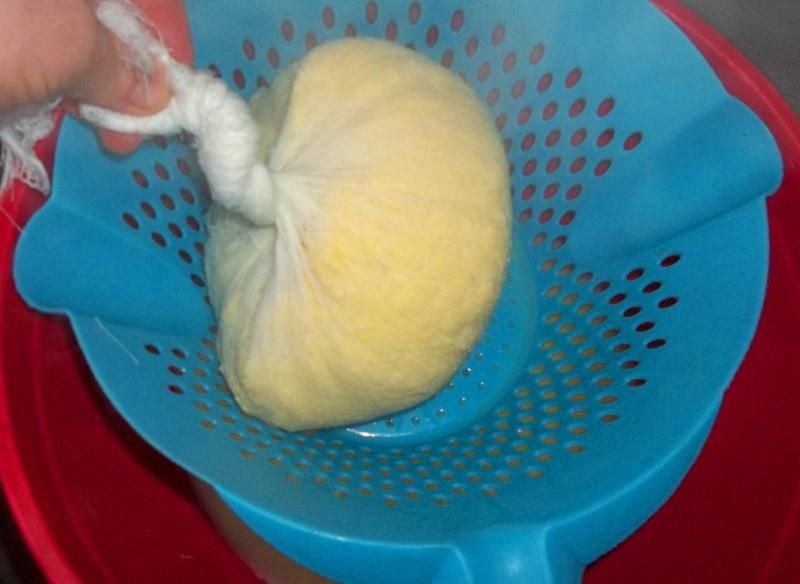 CAUTION: This will be hot! Be careful, and try to use only the tips of your fingers, if necessary. Once you have a tightly-twisted cheesecloth, have a helper (or grow a third arm so that you can) tie a piece of string or yarn at the base of the twist: 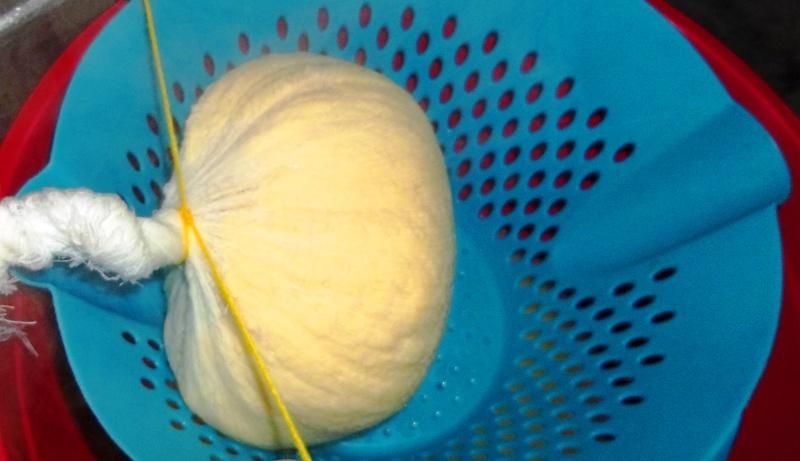 I never have much luck with this step, because when I let go of the cheese after tying, the cheesecloth always seems to unwind a bit, depending on how close I got to the lump of sheese and how well I twisted and tied the cheesecloth. If this happens, twist it up again and tie it again, until it is as tight as you can make it without actually squeezing cheese out of the cheesecloth: 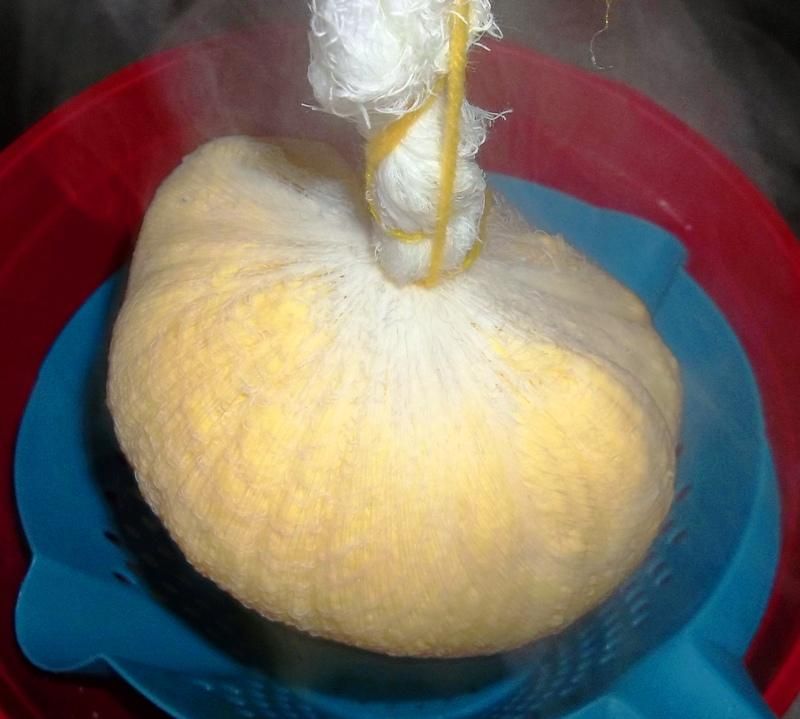 Even then, it will probably still unwind a little bit, but do what you can. The idea is to squeeze the very last of the whey out of the cheese and to compress the curds together so that it forms. Once you have the cheesecloth tied as well as you can, hang it up somewhere so that gravity and time can finish the work for you as the cheese forms and cools: 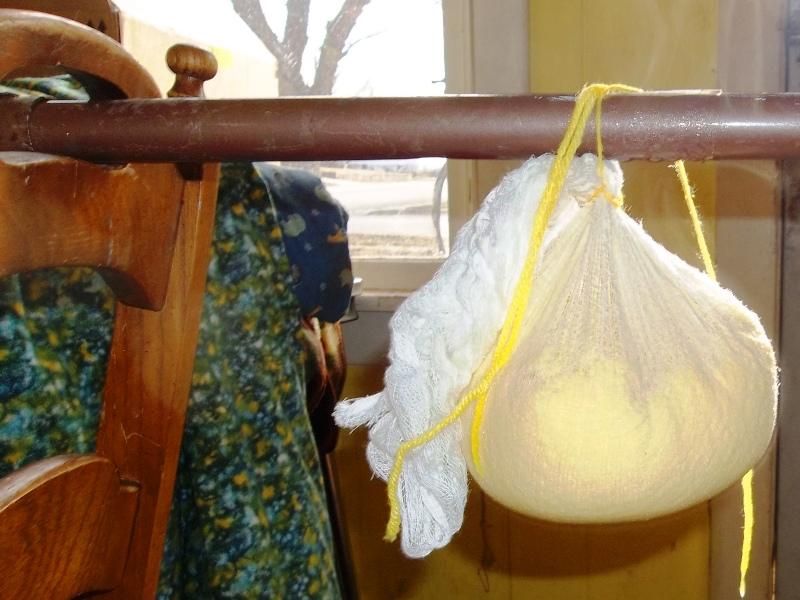 You can hang it anywhere - over a sink, from some rafters - it really doesn't matter. We usually hang it out in the cold front porch that is usually still sealed off from the rest of the house because of winter. We usually tie it to a broomstick between two chairs so that it is suspended over a bowl, so that we can catch the last of the residual whey as it weeps out. Speaking of the whey - save all of it! 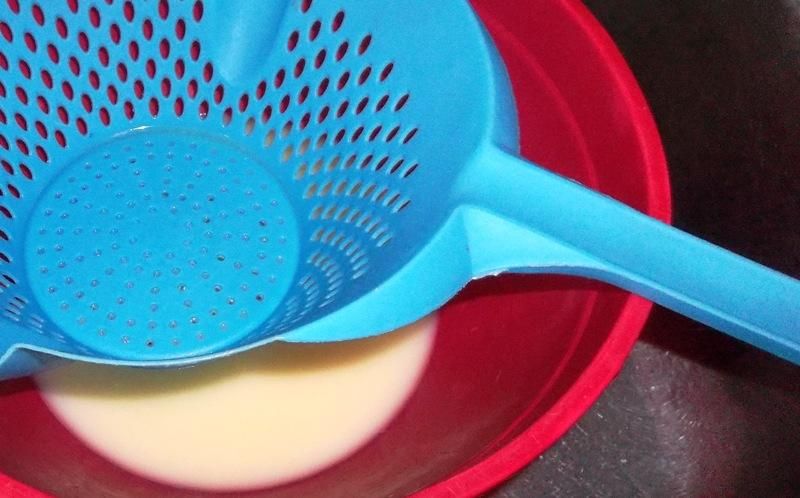 If you're taking the time to make this, then you will probably be interested in using the whey for other Easter baking projects, such as bread or pastries. This whey will provide good colour and great flavour for those projects, and will produce something that really and truly announces that it is Easter - yet another way to celebrate the end of Lent fasting! After about an hour or so, your Easter cheese will be formed and you can put it into the refrigerator until Easter morning. We keep it wrapped in the cheesecloth until we are ready to open it, but will cover it in the refrigerator (in a ZipLock bag or TupperWare bowl) in order to keep it fresh and moist. To re-cap, when you are making your hrudka, it will go through several stages over time until it is ready: The "thin-and-runny" stage The thicker, "custard-like" stage The thicker, "pudding" stage as the curds begin to develop The "oatmeal-or-porridge" stage The "scrambled-eggs" stage And finally, the "breaking loose stage Be sure to keep your whisk, spatula, wooden spoon or whatever in motion at all times, in order to help get the best final product possible. On Easter morning (or whenever you're eady to eat it), simply take out your lump of cheese, still in the cheesecloth: 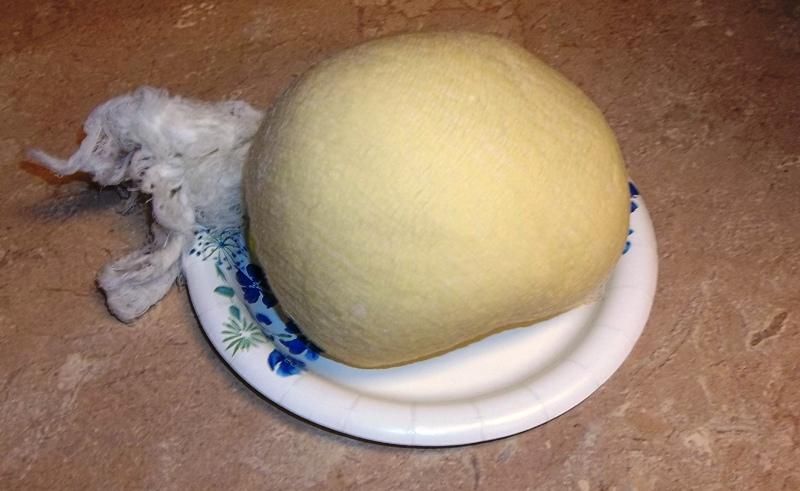 And cut it open underneath the place where it is tied, releasing the cheesecloth: 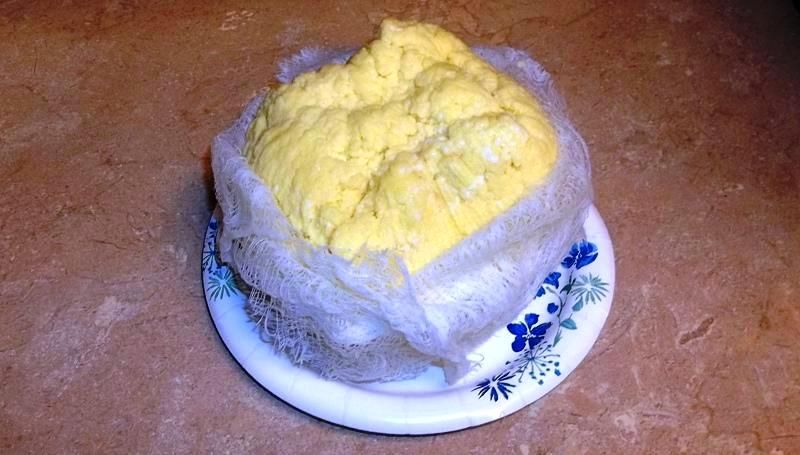 This "top" is actually going to be the bottom, but it's always interesting to see what shape it takes as a result of the cheese-making process. Flip your Easter cheese over, and take a look at it - no two are exactly the same! For the most part, your hrudka will be a creamy-yellow colour; a few white flecks here and there are normal, and if it appears a little bit mottled between light and dark yellow, that is also fine. One characteristic I've always liked is the pattern of criss-crosses that will form on the surface from the pressing of the cheesecloth: 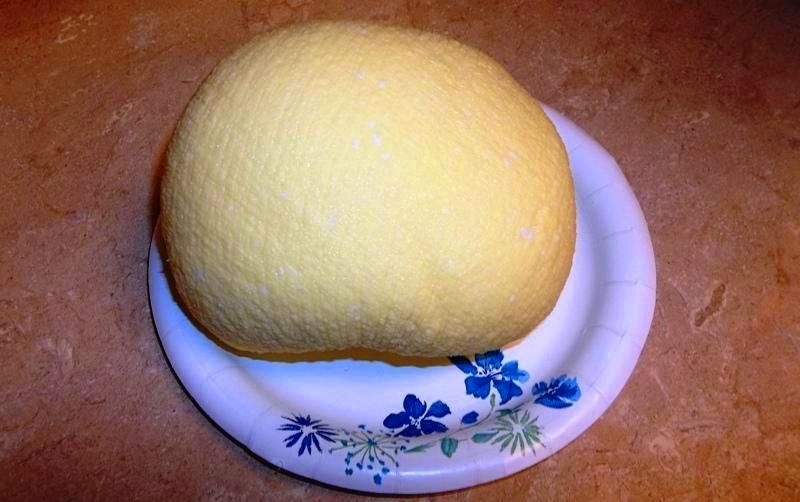 Alright, enough looking at it, let's eat it! Usually, it is simply sliced to a desired thickness and served; sometimes, I also slice the slices in half, like this: 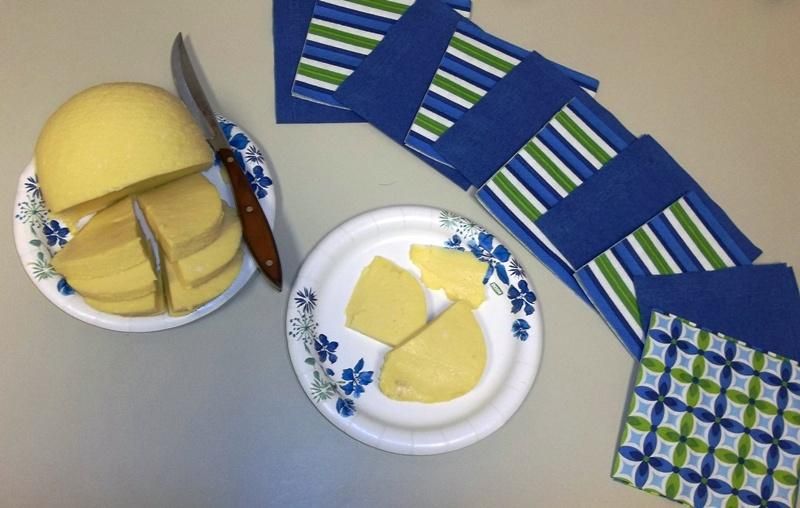 Easter cheese is unique and wonderful stuff - the perfect thing to enjoy on a bright morning as you are celebrating renewal and new life. The texture is firm, soft and silky; with a sweet, vanilla-tinted flavour that will remind you of French toast. Many people will absolutely love it, and a few will hate it; and a good number will simply appreciate it for what it is: a beloved, time-honoured Easter tradition. A very lucky few will also enjoy some very fond Easter memories at Grandma's house, as my wife does. Up until this year, we've always simply sliced and served Easter cheese as it was, and it was always very good this way; however, this year I learned a new way to serve it. Shortly after Easter, I was browsing through my Culinaria Spain book and came across something that looked interesting: leche frita. This name translates literally as "fried milk," but as I quickly learned, there's more to it than that; in fact, as I read the recipe, the first part of it seemed a lot like making Easter cheese! I took a closer look, and confirmed that the ingredients and method were similar - not exactly the same, but very close. The Spanish specialty, however, takes it a step further; once the "cheese" is made, it is sliced and then fried in olive oil, producing a wonderful little treat that is creamy on the inside and crispy on the outside. I decided adapt this concept by slicing some Easter cheese and frying in butter, as would be the custom in Slovakia. When it was finished, I dusted it with cinnamon and served it: 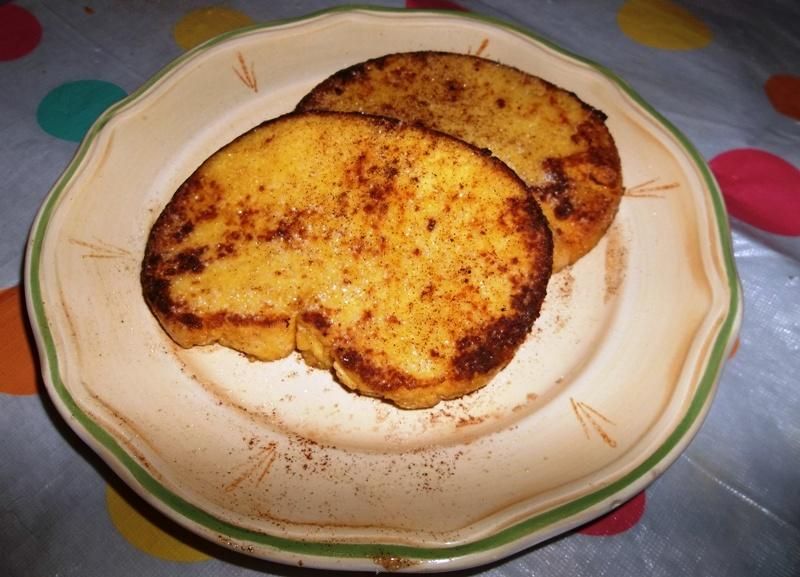 Pretty good stuff! Thank you for taking the time to read this, and I hope that it has inspired you to give it a try. As you can tell, the tradition of Easter cheese is near and dear to our family; I've shared it before and will always share it with anyone who wants to try it, and I invite you to see for yourself what it is about. If you have any questions, please do not hesitate to ask. Enjoy ~ or, as they say in Slovakia, Dobrú chut! Ron | |||
|
| One of Us |
Wow, that looks delicious! | |||
|
| one of us |
Here's our 2014 Easter Cheese (hrudka): 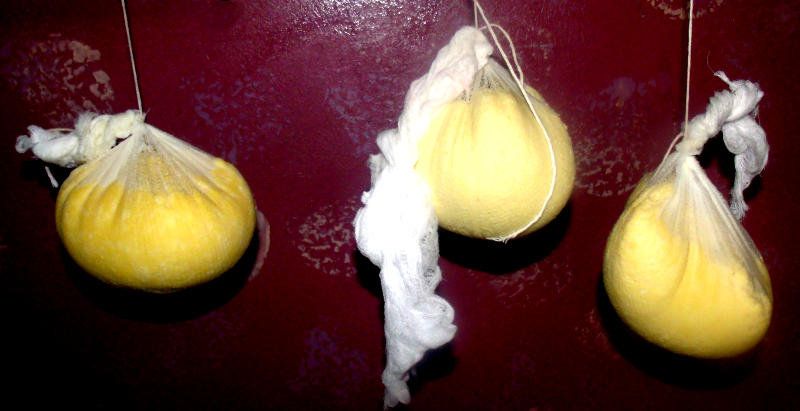 | |||
|
| One of Us |
Wonder if this is like the cheese my father used to claim as the longest word in German: Oberammergaupassionspielfruestuckkasen. Hippie redneck geezer | |||
|
| one of us |
I've never heard of it called that, xs, but it is certainly possible ~ | |||
|
| one of us |
It's getting to be that time of year again, so I figured I would bring this back up to the top ~~ | |||
|
| one of us |
Thanks Tas. Had missed this one. Looks really delicious. Does it gain anything by aging? There is hope, even when your brain tells you there isn’t. – John Green, author | |||
|
| One of Us |
Thanks Tas,that looks great.I most likely won't get it done by easter but that is a project too good to not pursue.Thanks for the pics as well.That really helps. Never mistake motion for action. | |||
|
| one of us |
Thanks, guys - this one is worth a try as a celebration of the end of Lent...spring, new life and so forth.
Not really, Bill - it's more of a custard than a cheese; and as such,should be eaten fresh - I'd say that it benefits from an over-night sitting in the refrigerator or larder, but that's about it. Traditionally, The Beautiful Mrs. Tas makes it on Good Friday or on the next day. It will keep in the refrigerator for quite a while - and be delicious - for at least a week, probably two, with no trouble at all; but it's definitely a fresh food. | |||
|
| one of us |
Kind of what I was thinking, when I reflected on all those eggs! There is hope, even when your brain tells you there isn’t. – John Green, author | |||
|
| Powered by Social Strata |
| Please Wait. Your request is being processed... |
|
 The Accurate Reloading Forums
  THE ACCURATE RELOADING.COM FORUMS
  Other Topics
  Recipes for Hunters
  Slavic Easter Cheese (also known as Sirets, Hrudka or Ciruk)

Visit our on-line store for AR Memorabilia

