
 Guns, Politics, Gunsmithing & Reloading Gunsmithing
 Go | New | Find | Notify | Tools | Reply |
| How about a home grown 458 VZ-24 | Login/Join |
One of Us |
I managed to build a 458 Win Mag at home out of an old VZ24 that I got from a friend. I'll post some pics of the build along the way when I get a few minutes. Here is a quick shot of the finished product. 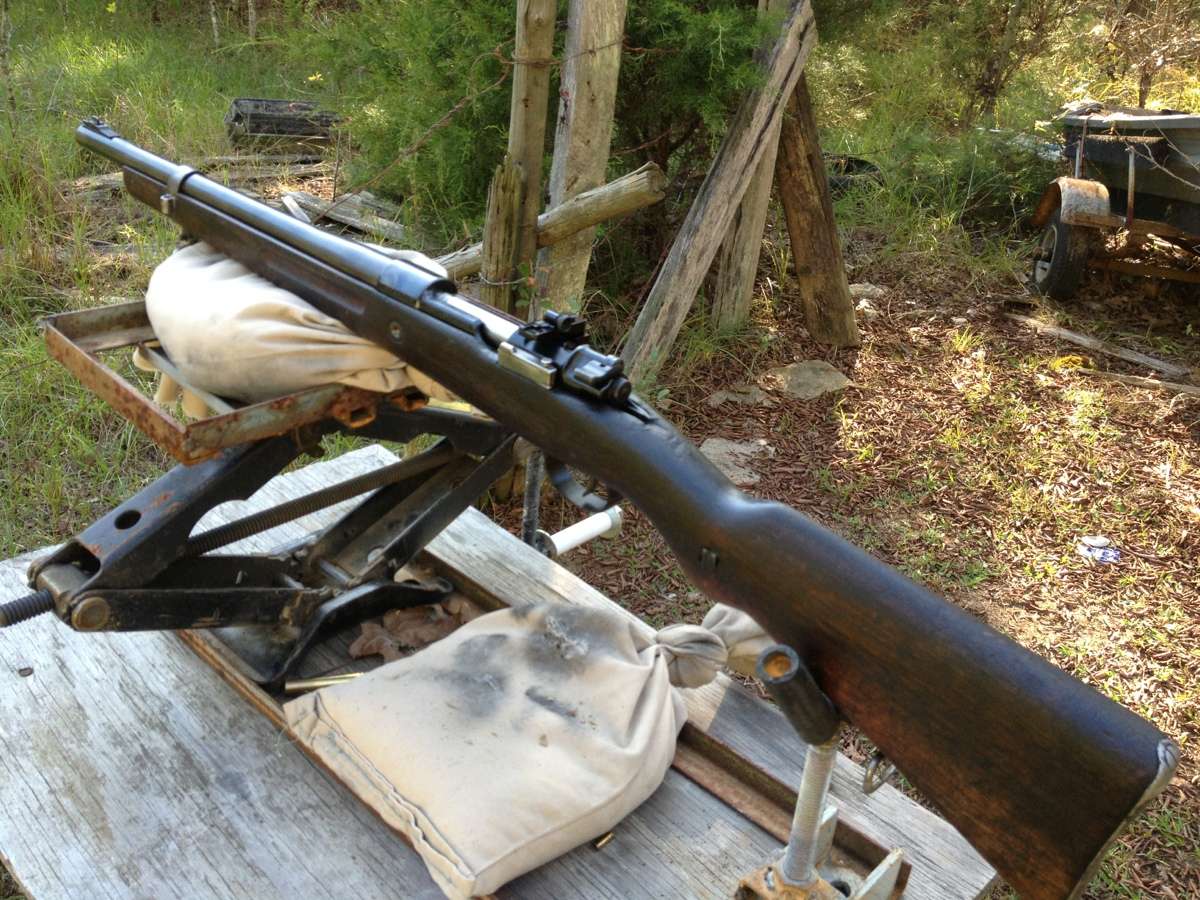 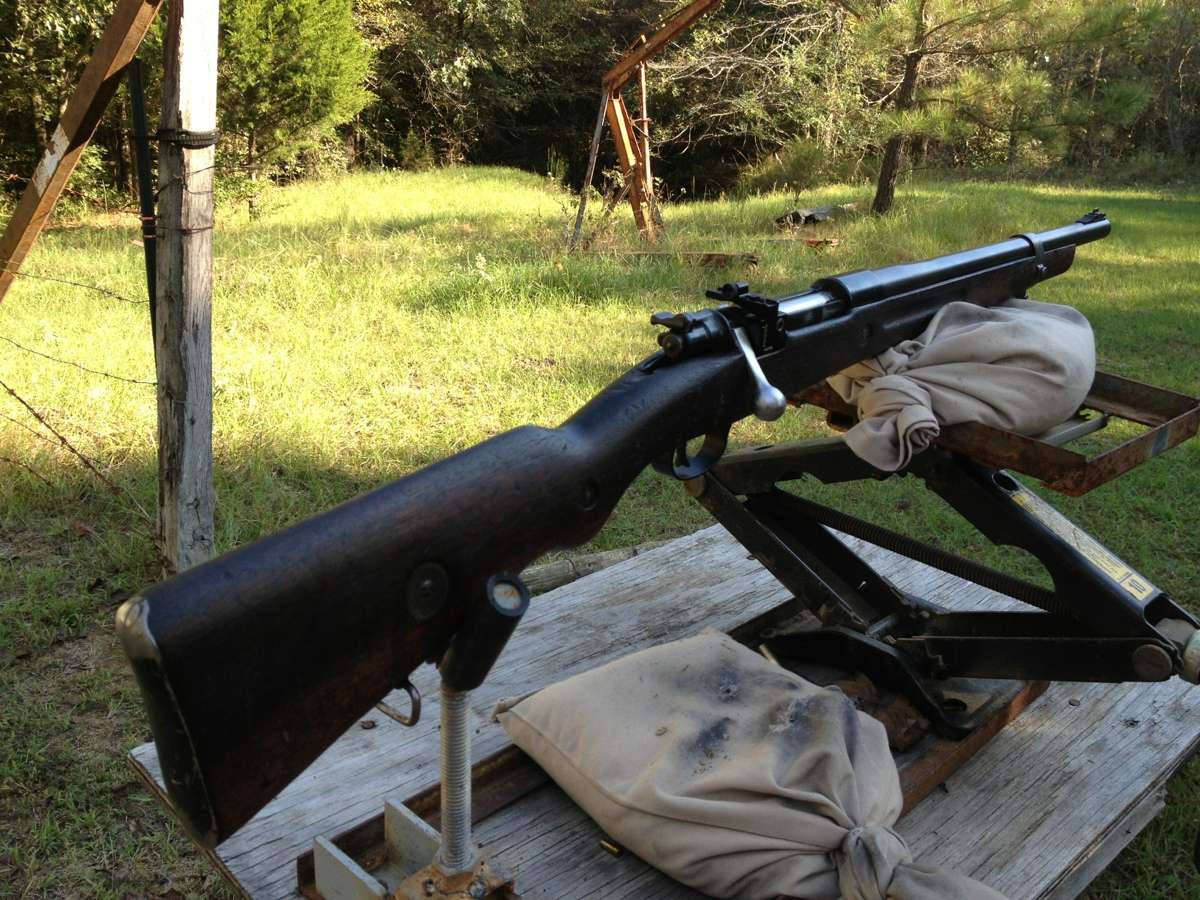 | ||
|
| One of Us |
The Genesis of this rifle is a failed project. It was to become a 500 Jeffrey, but alas it didn't work out. I met up with a friend of mine who owned the rifle. During the visit, I checked the rifle out and found that the replacement bolt wouldn't quite work as it was received back from the gunsmith. There was quite a bit of rust under the extractor and around the rim of the bolt face preventing it from feeding from the magazine or allowing the bolt to fully close once a round was worked under the extractor. The safety didn't function either. The differences in the sear location of the donor rifle and this one had the cocking piece a bit too far forward to allow the safety lever slip in front of it. All in all a rifle that needed some work to even get back into firing condition. I thought most gunsmiths test fired rifles, especially after swapping the bolt since they had already modified the original one. After a good bit of cleaning and a wire brush on the dremel, I had it where it would feed and the bolt would close.  After a bit of horse trading, it came home with me I should have shot it some, but alas, I already had plans for it.... I'll start the thread and the picures of the build here. I started with stripping the rifle. Pretty straight forward and simple. I didn't have an action wrench, so I whipped one up outta scrap. Hey it beats spending over $50 on one. I thought about calling it my GOODWRENCH, but it only looks OK, so another name will have to be scratched along the handle. Here is where I stand now. 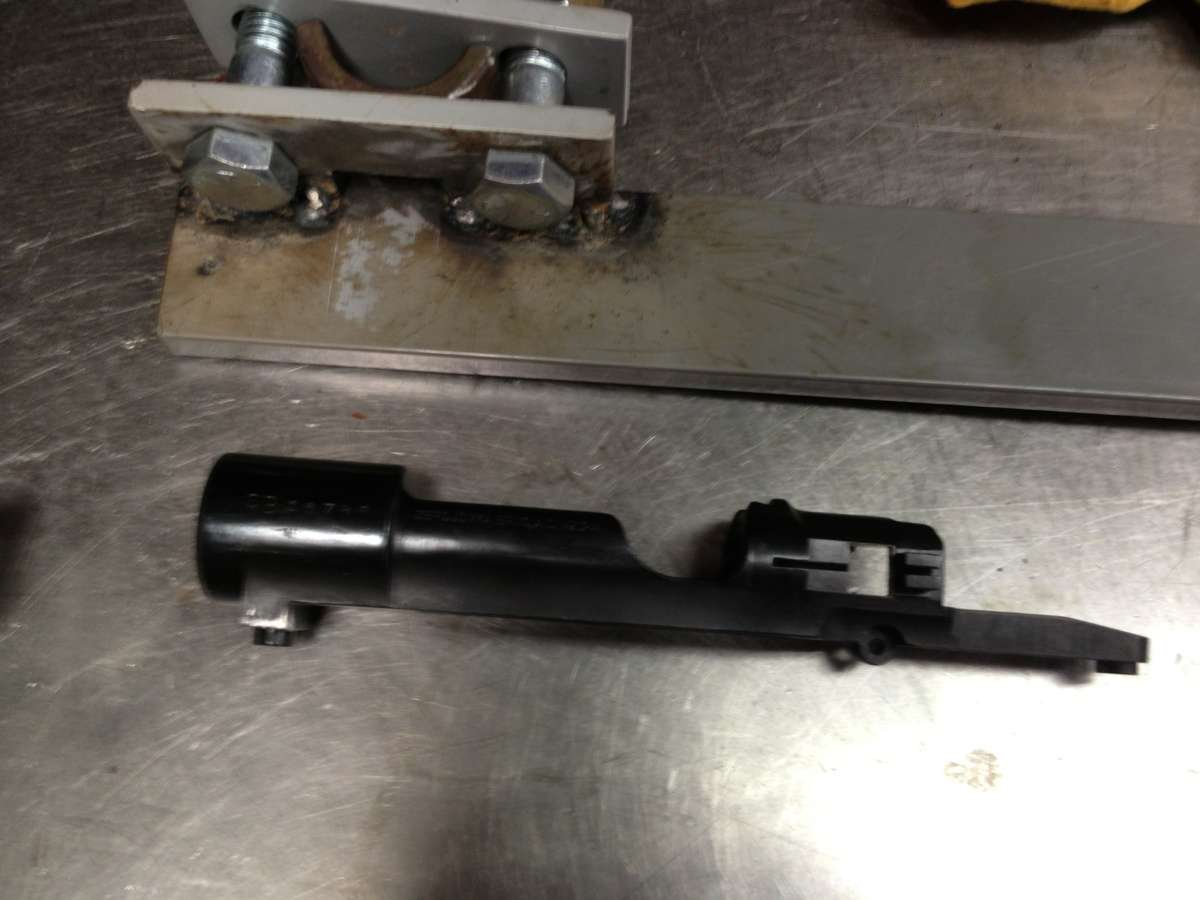 And a few pictures of the wrench in case someone wants to make one. Pretty easy considering the Mauser has a flat bottom and internal lug. I simply took flat bar, 3/8" thick and 2" wide and cut a notch for the lug. Then I welded on a 4' handle of flat bar, with it on the opposite side of the notch, to contain and strengthen the plate. The top is the same flat bar with a section of round that matches the top of the receiver. I need to weld the round to the flat to make it a bit easier to set up on the rifle. Once welded, it won't take 3 hands to install it on the rifle. In the picture the half round is sitting upside down in the wrench from how it is when installed on the rifle. 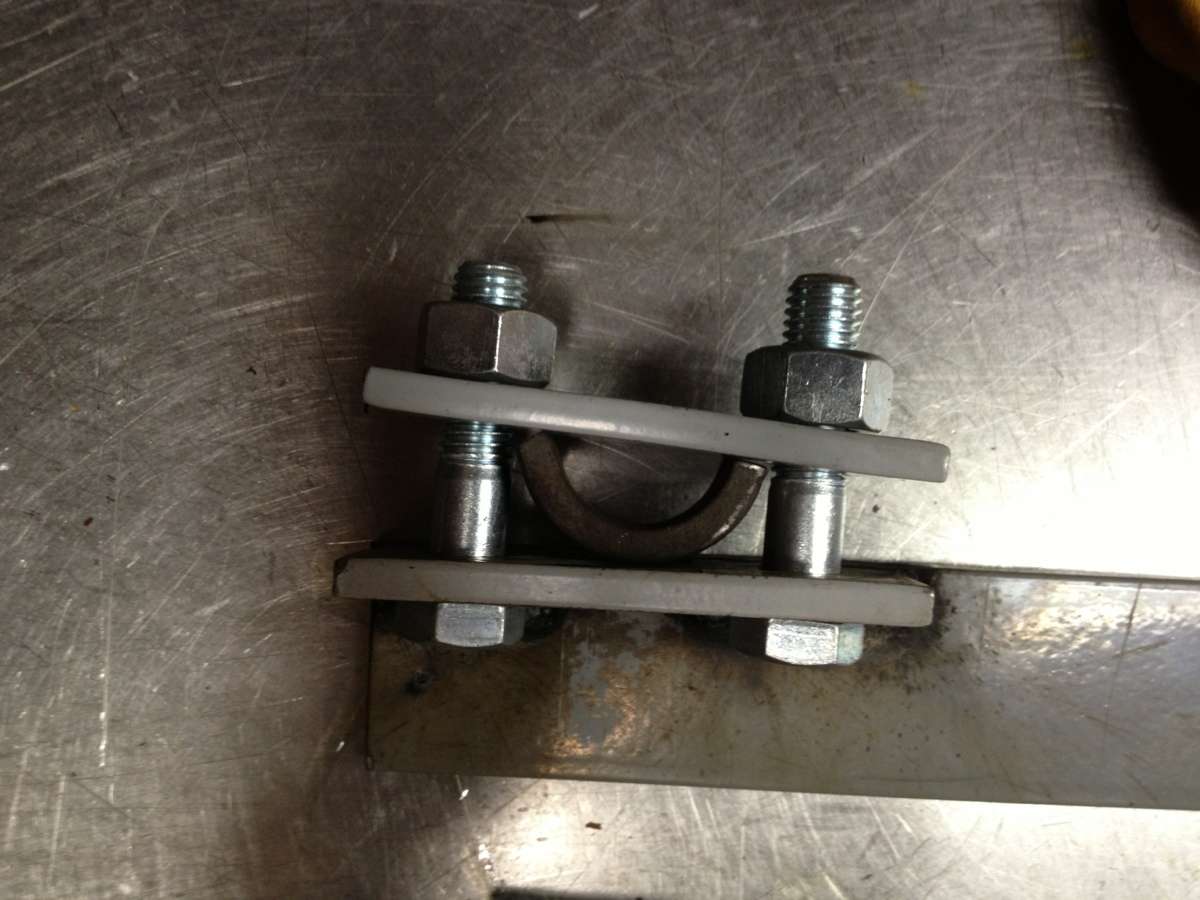 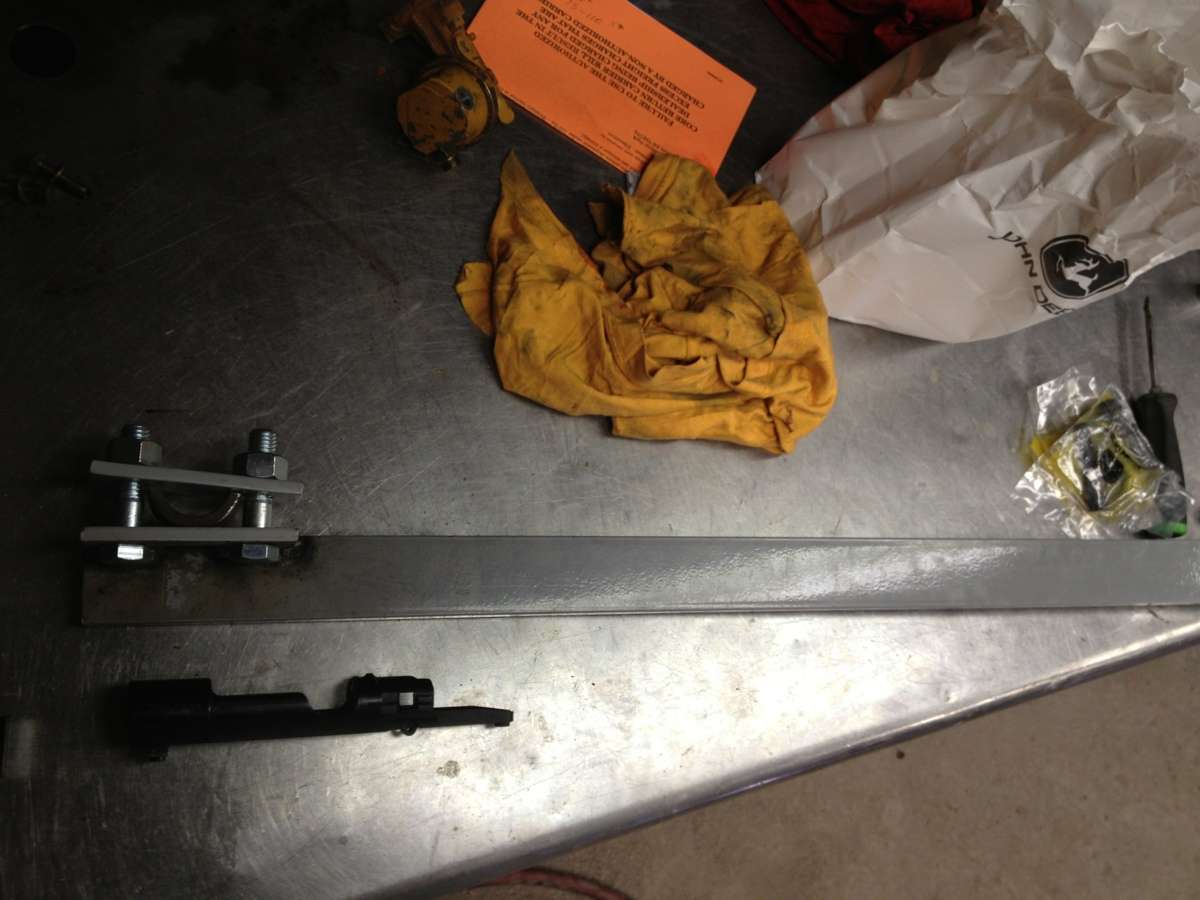 Oh yea, the Loctite was no match for the wrench... | |||
|
| One of Us |
Then the brown Santa delivered my 458 Win Mag barrel. One of the short chambered jobs from Midway for $90-ish.  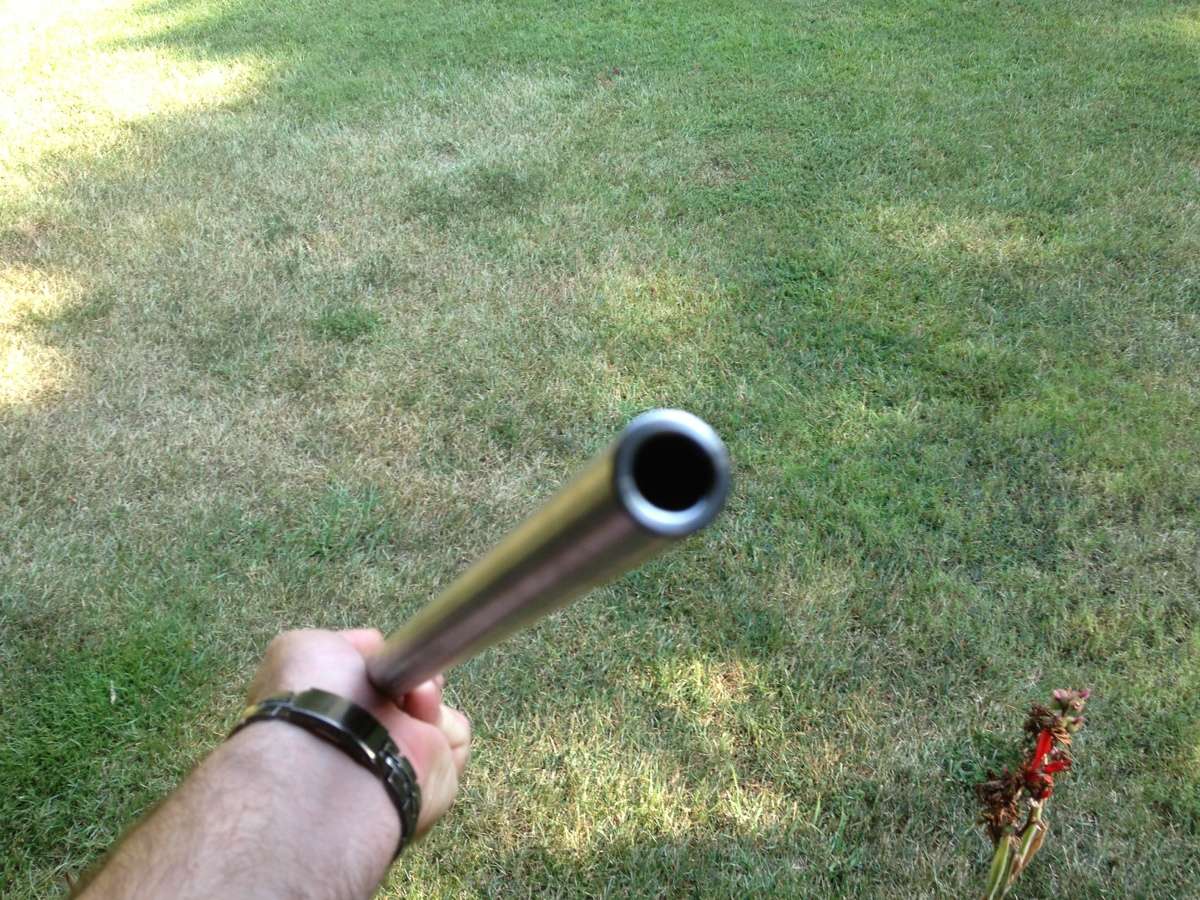 And screwed into the action for opening up the stock 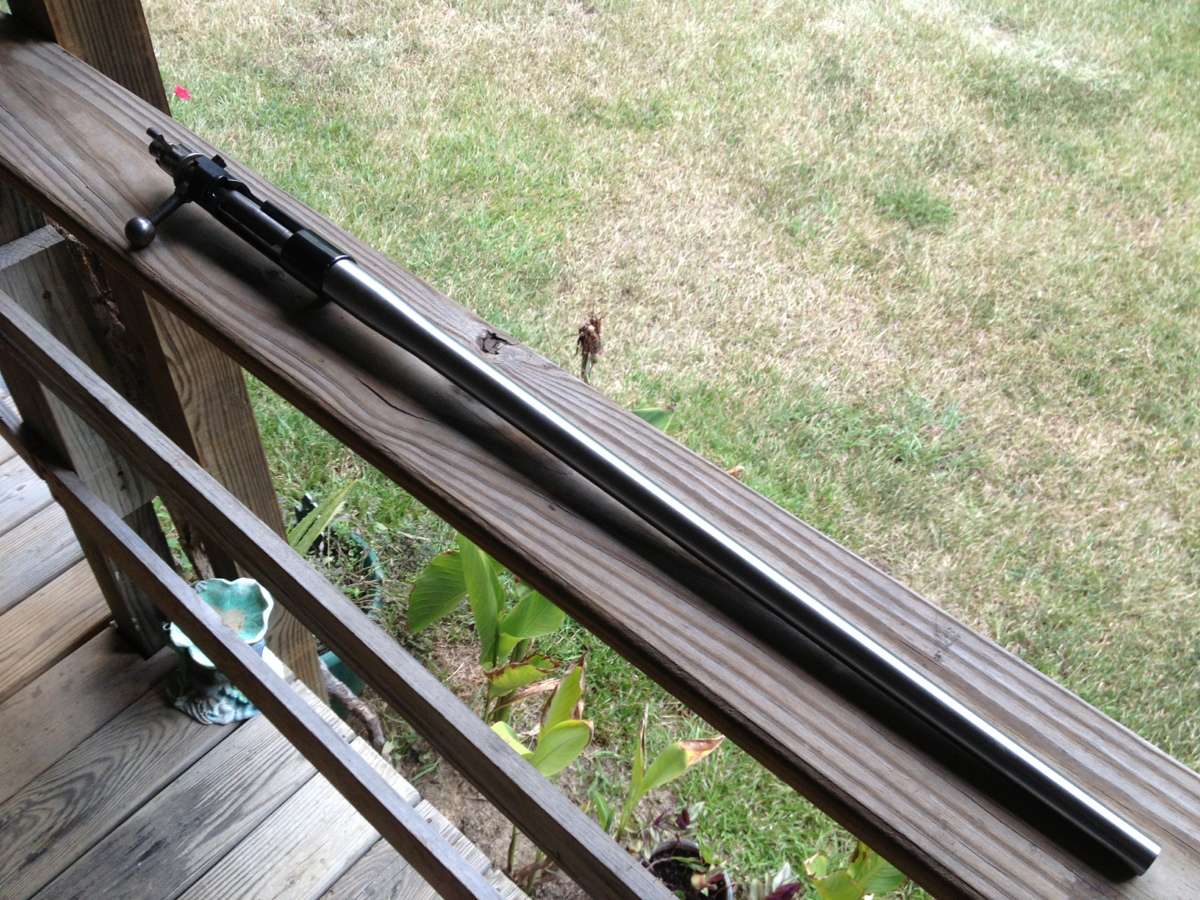  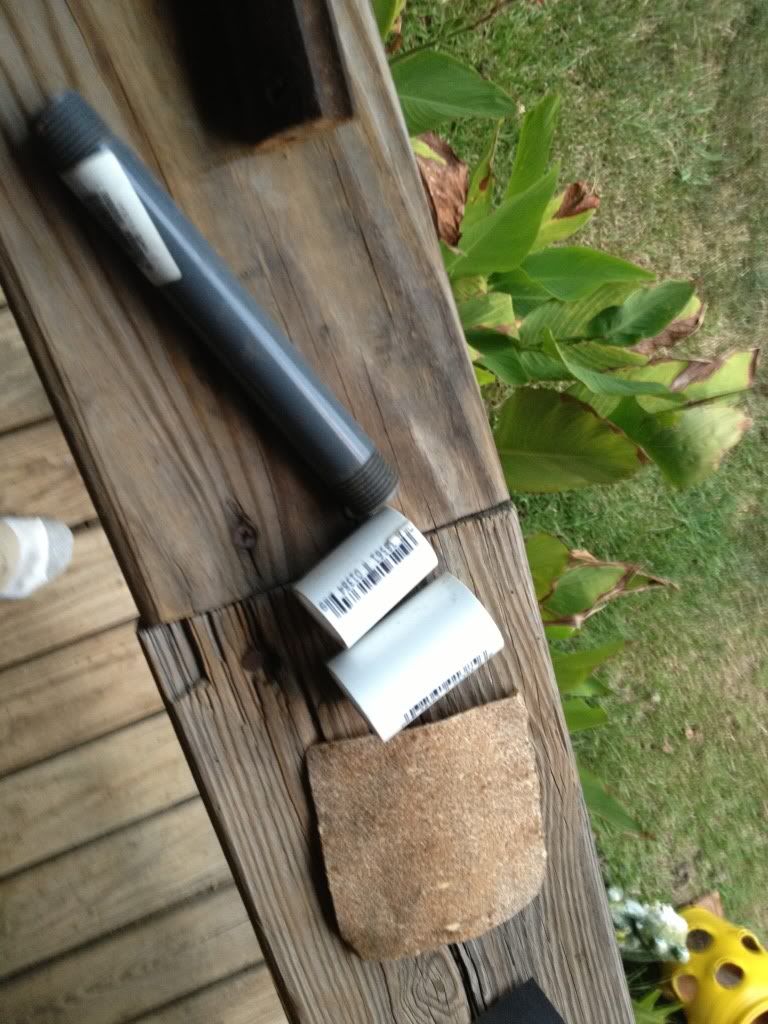 Using these complex tools I was able to open up the channel for a full float. zgrin 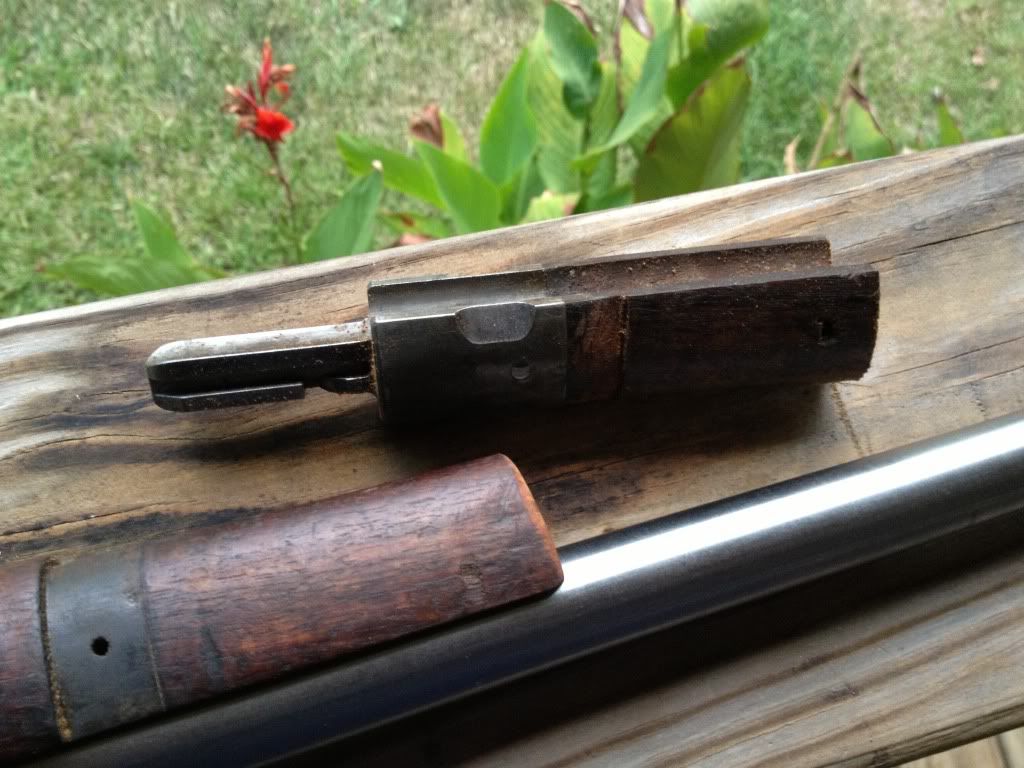 The leftover 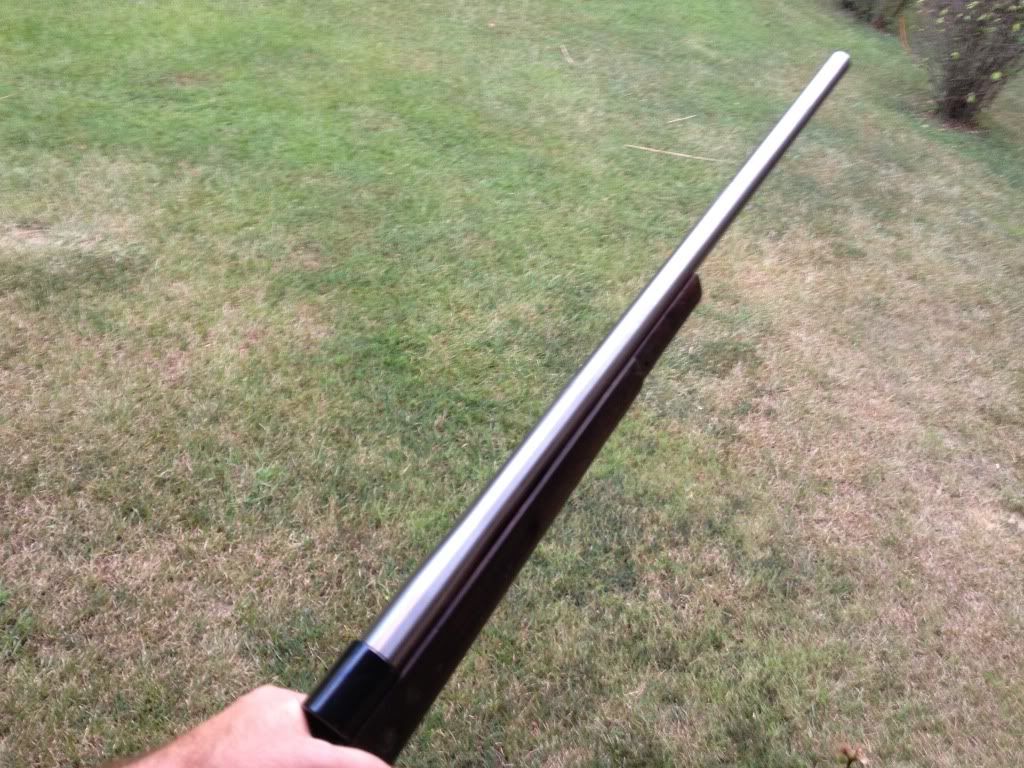 One little wide spot where the rear sight sleeve was 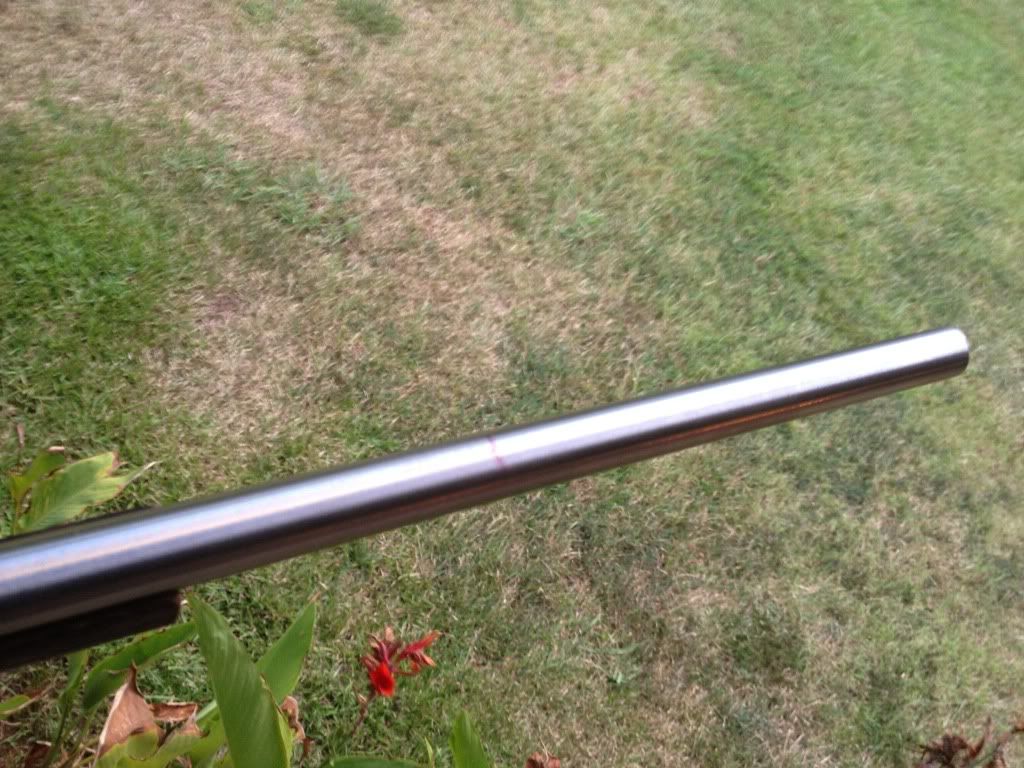 And the red line where it is about to be cut another piece of the puzzle for $25 from ebay 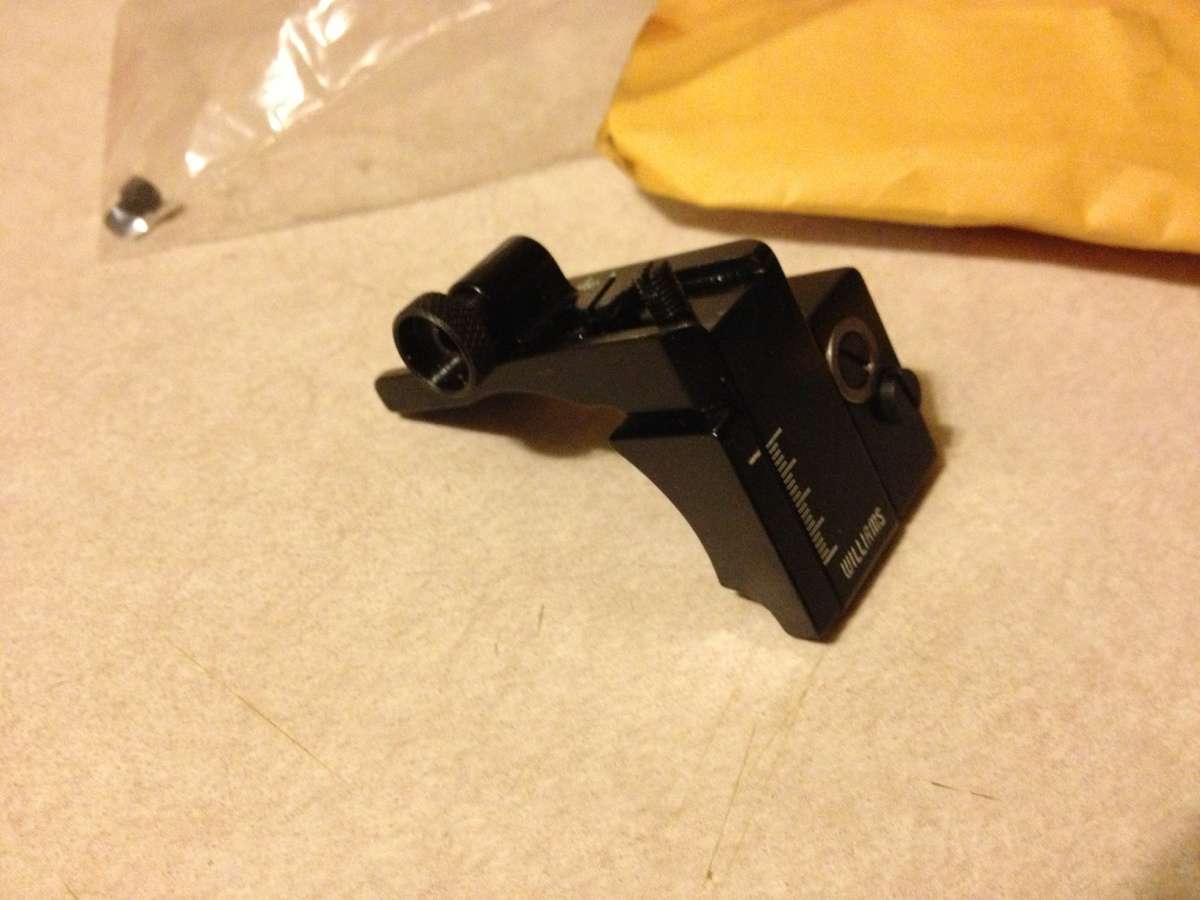 | |||
|
| One of Us |
Since I was wanting to do this project myself, at home, and with common tools, farming the bolt face opening was out. Midway has a bolt face truing tool for magnum bolt faces and a guide that threads into the front of the receiver. With it, you can insert the tool into the guide, close the bolt and turn it with a drill to cut the face of the bolt. Problem was that it was out of stock. While I was waiting for them to get more in stock I found a bolt already opened up on Ebay. I hated to use another one, but they were steadily pushing the date expected in stock back. But, on a brighter note, the bolt cost less than the tool.....     And the amount I'll have to deepen the chamber  | |||
|
| One of Us |
Rear peep mounted. I leveled the bottom of the receiver then the top if the sight, and drilled and tapped the receiver. Now to inlet the stock for the sight and the lower bolt handle.  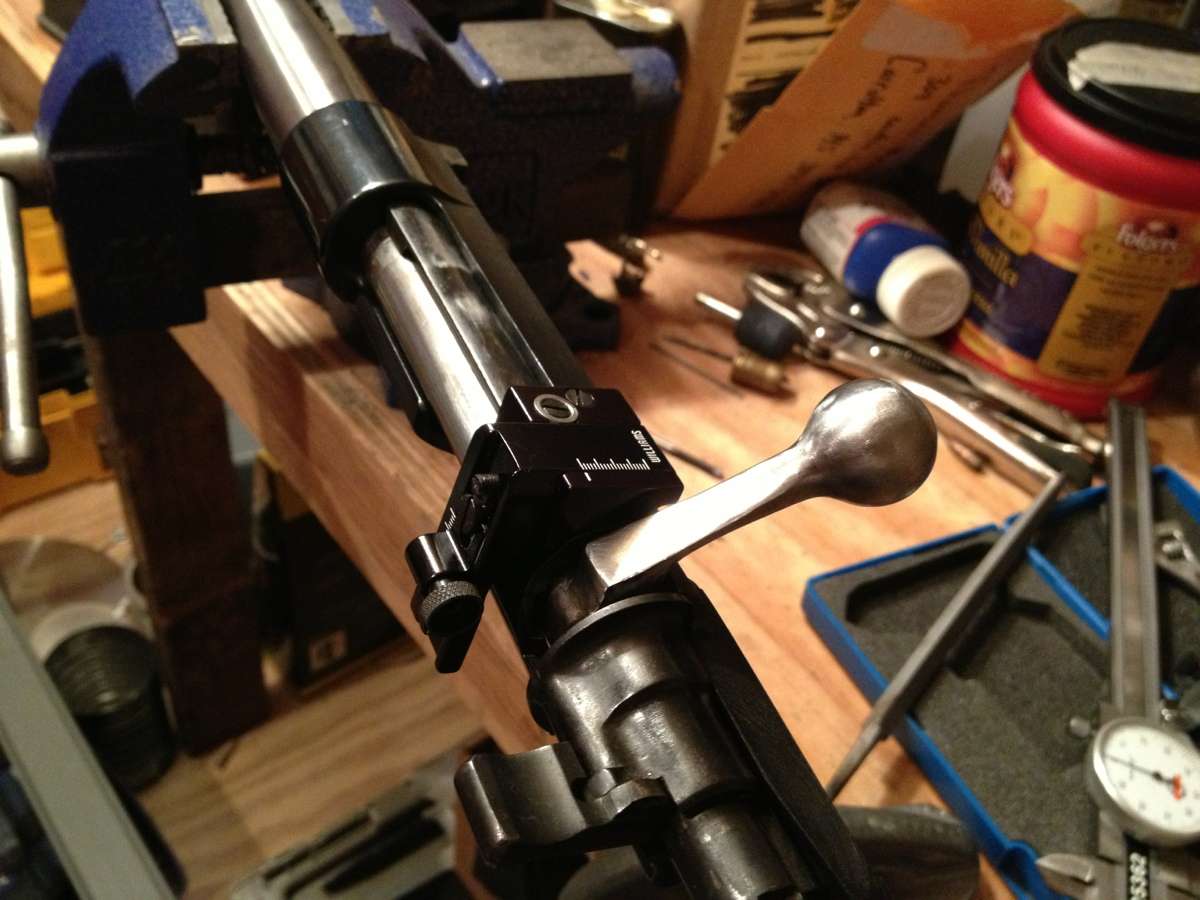 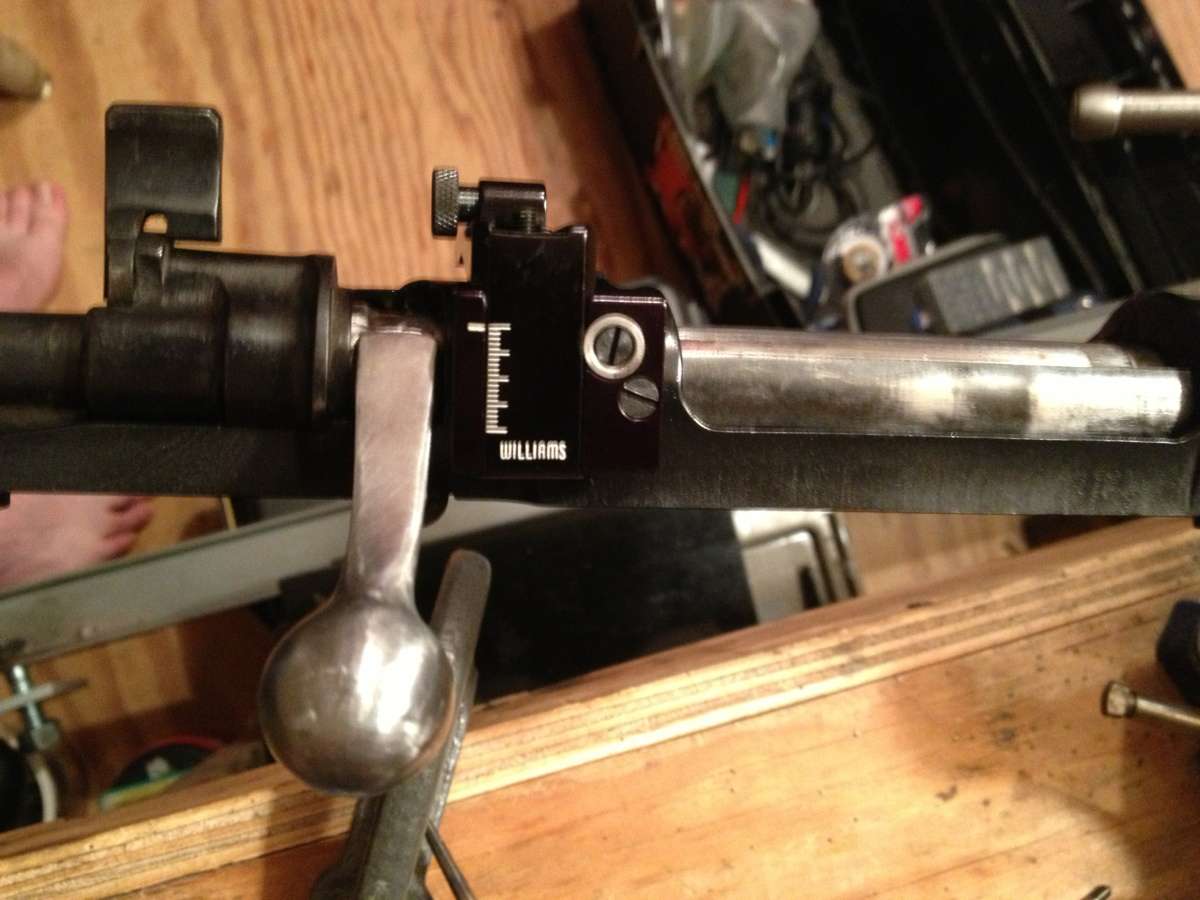 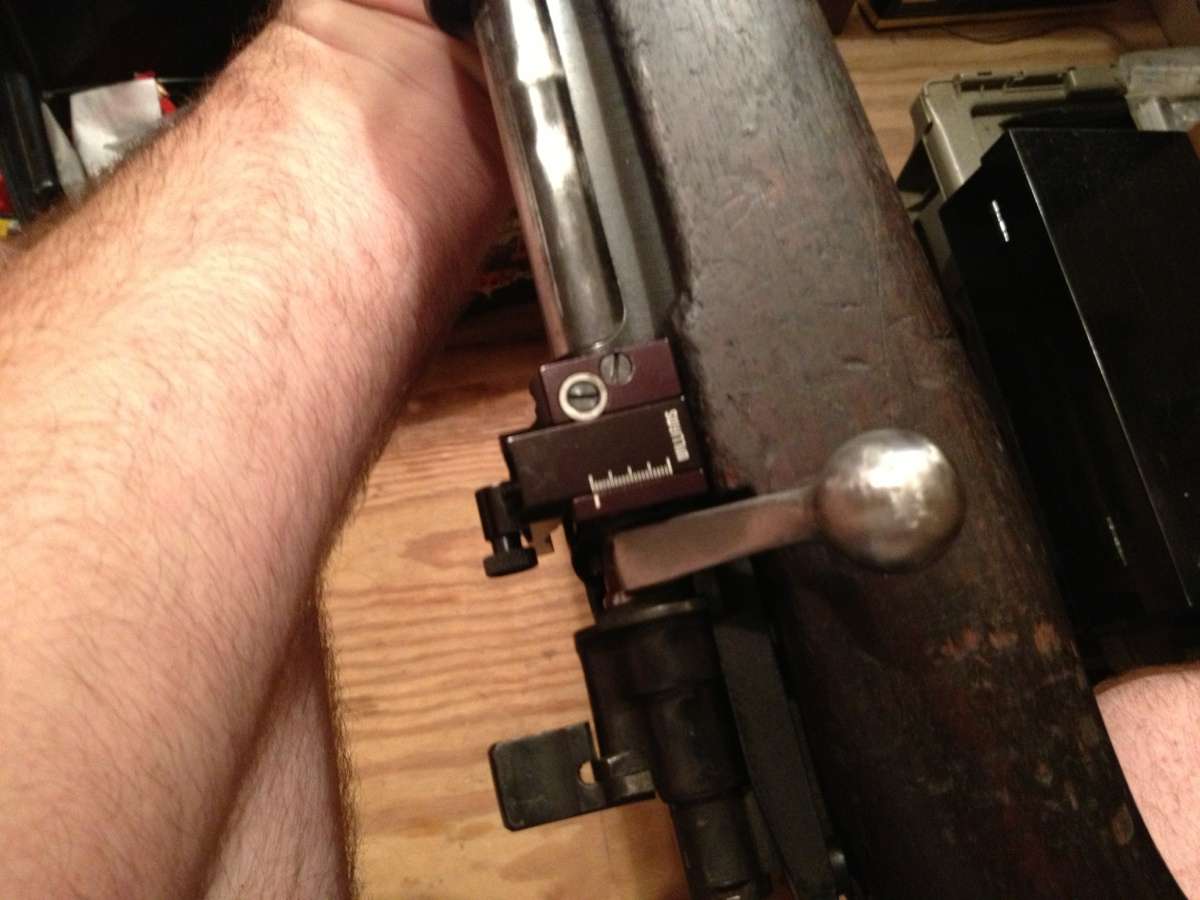 | |||
|
| One of Us |
I'll work on the pics in a bit. | |||
|
| One of Us |
| |||
|
One of Us |
Interesting project, with several issues I would think. If you want to hunt DG with it you might throw away the sight disc or, if you like a slightly small hole, drill out the hole in it, cut about 3mm off the thread, screw that bit back in and glue or Locktite it. Also, I find those cross-bar apertures vulnerable to damage. My son fell over and bent the arm of a Lyman 66 down on the receiver. If there is room, I'd drill and tap the left side to take a set screw to stop that happening to you. | |||
|
| One of Us |
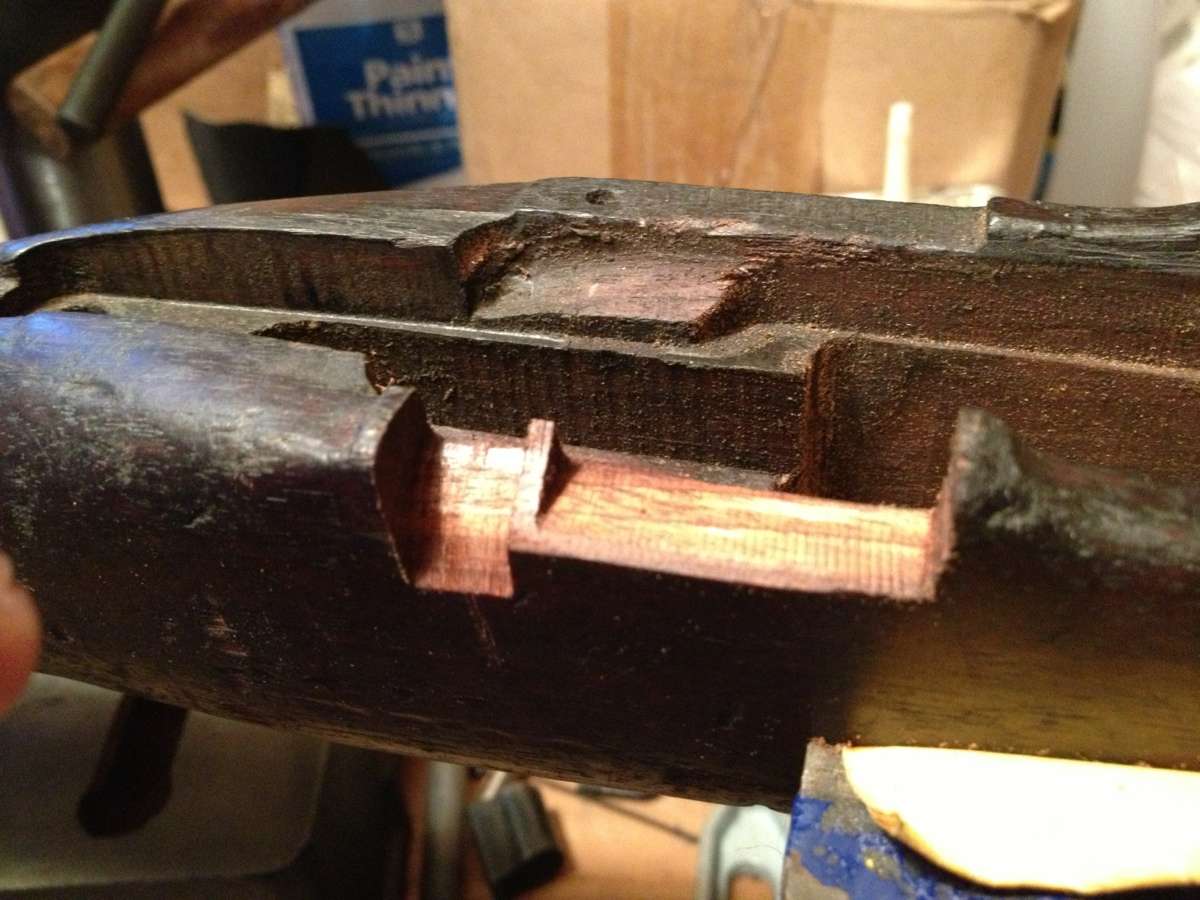  Did I mention I suck at wood work! | |||
|
| One of Us |
I like it. | |||
|
| One of Us |
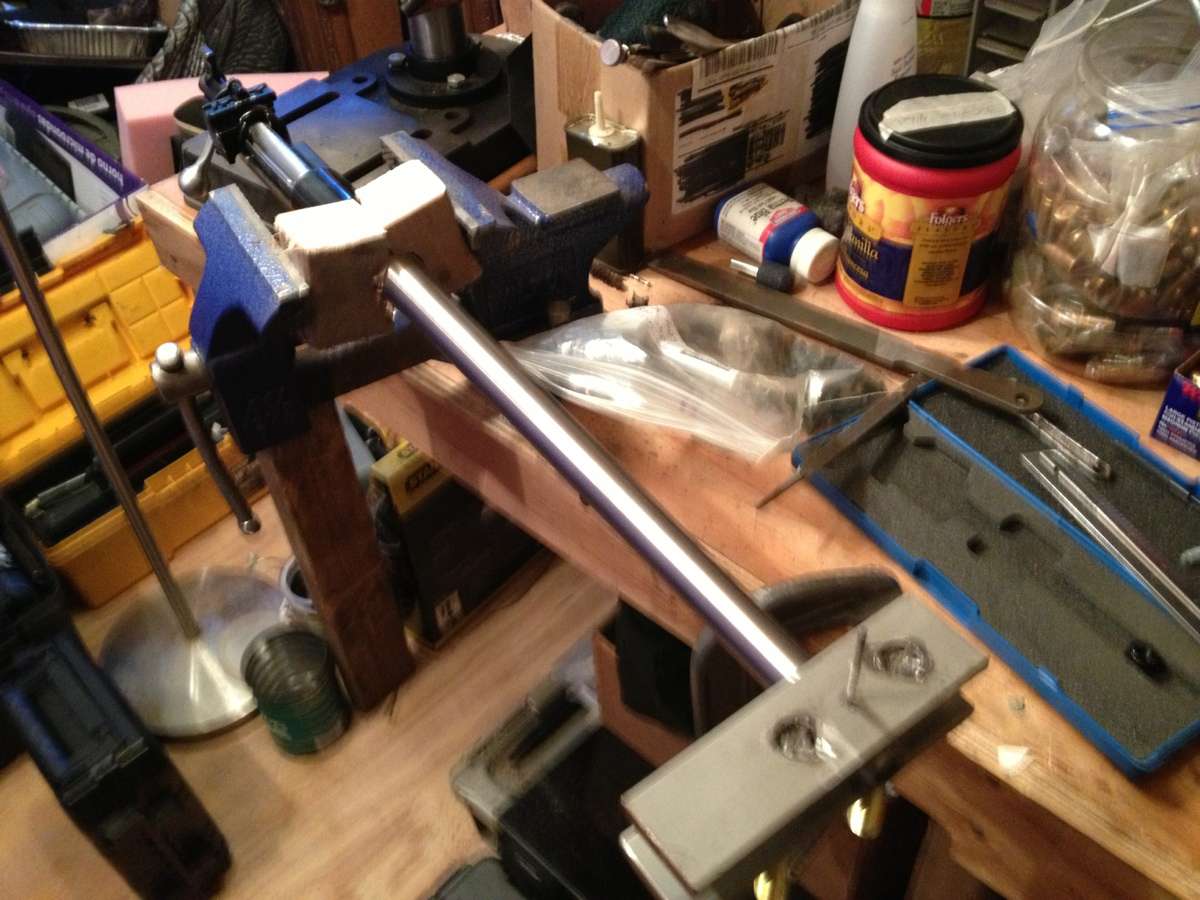 Ready to drill and tap front And the particulars on that sight drilling fixture: Well here is the beginning 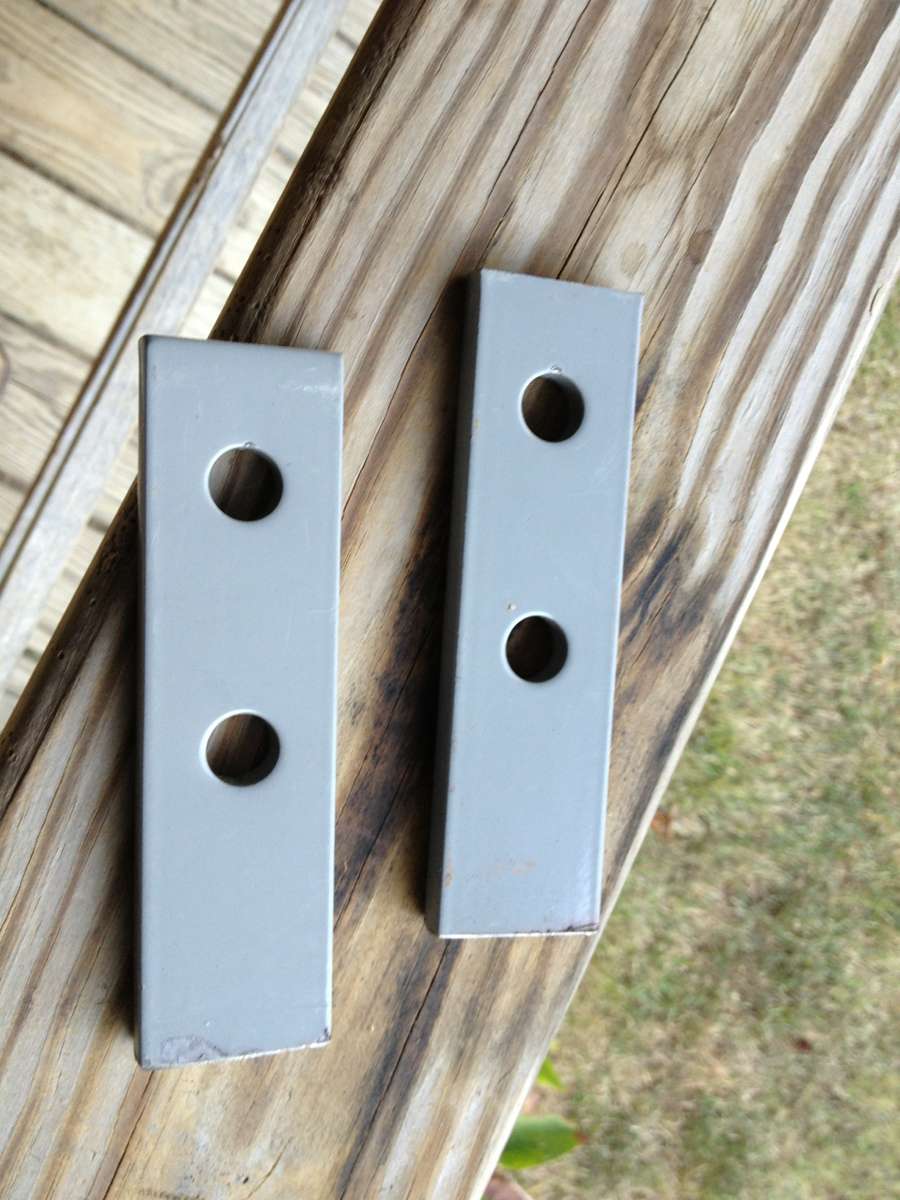 The way I make a square mark and use it as a saw guide to keep it straight 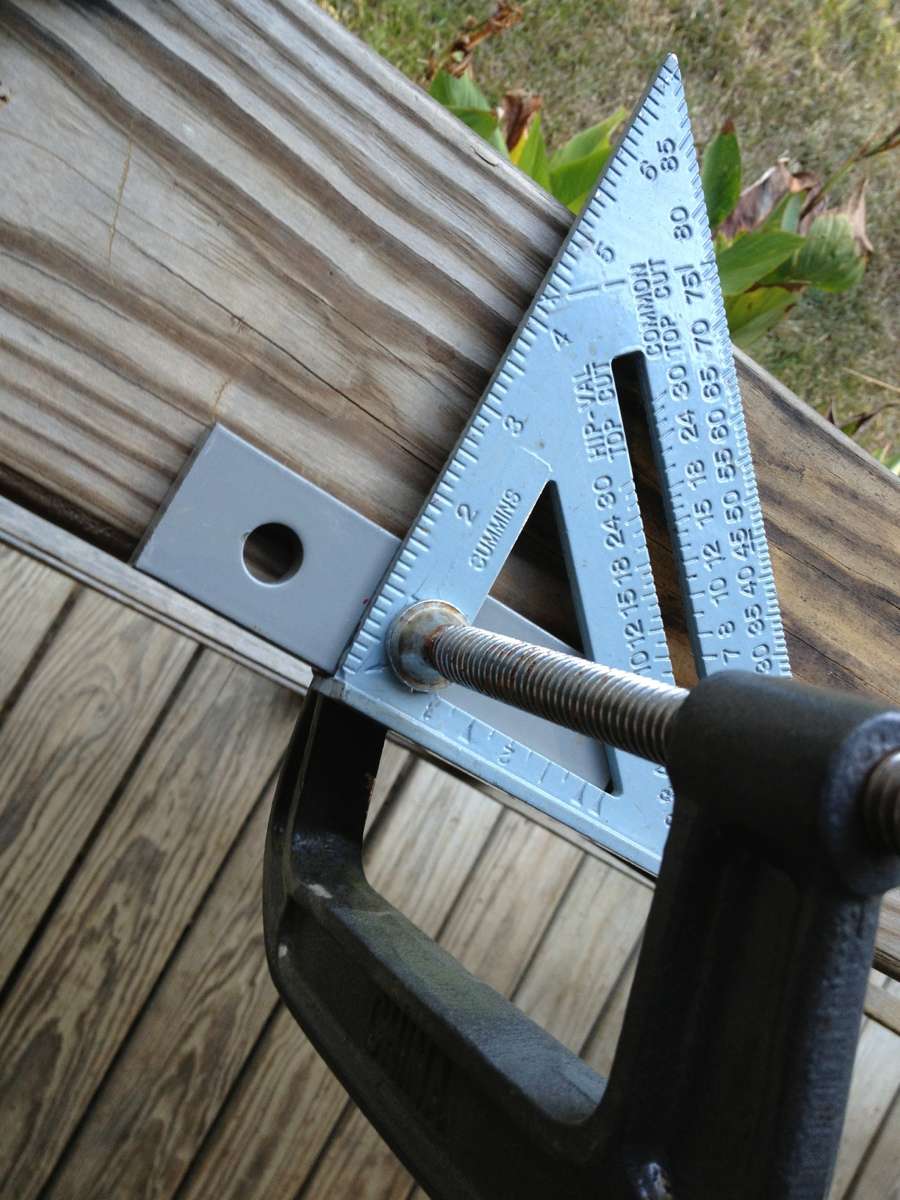  Then the triangle file 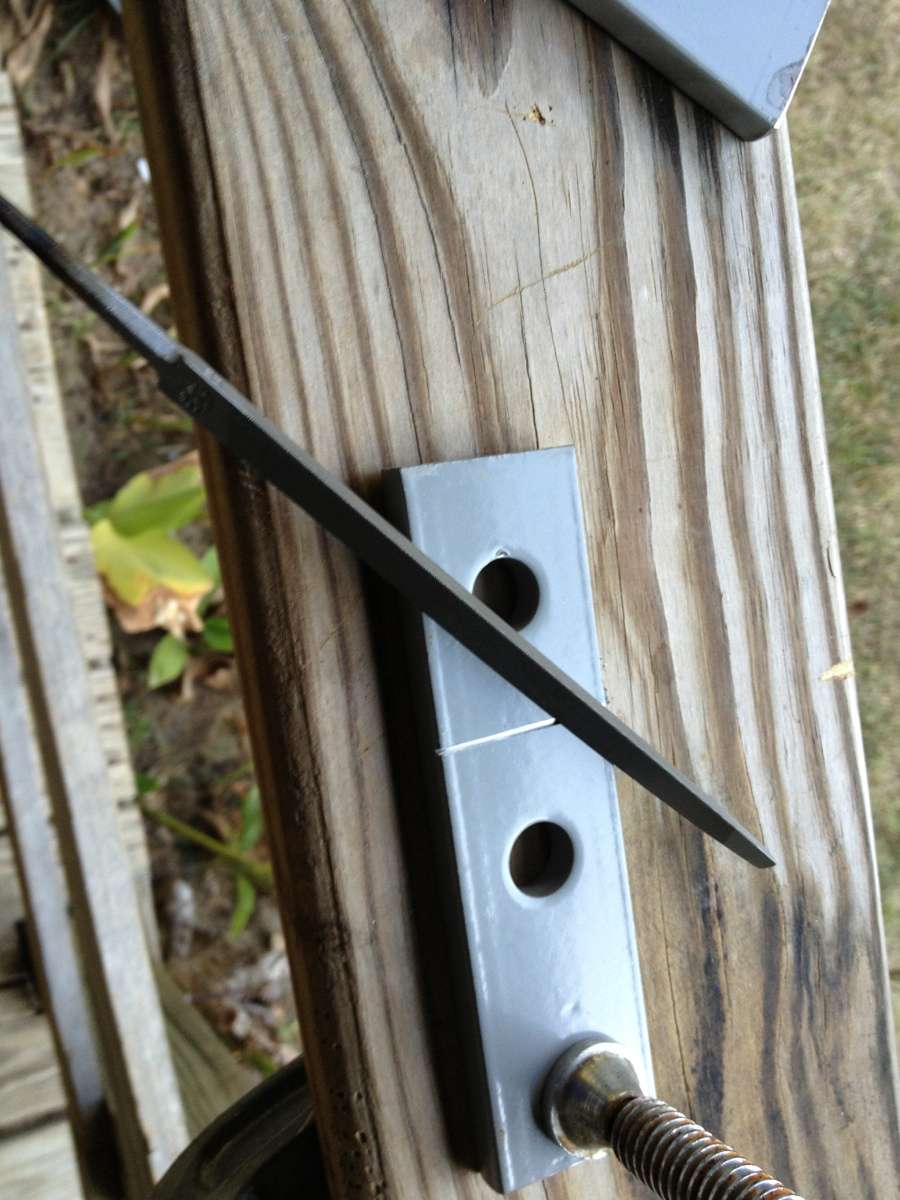 Deep enough to drill now  and drilled perpendicular with the proper size bit for drilling the sight holes. At 3/8" thick it is plenty thick enough to act as a guide for the drill bit as well.  Complex array of goodtools for an amatuer to get the job done  So now I can bolt it on the barrel, level the action and then this, and will get a centered sight. I'll deepen the notch just a bit more, but as it is, it is ready to use. | |||
|
| One of Us |
About this time my bullets came in for the rifle   Loaded a few test rounds. 325gr FTX over 80gr of H4895. Next to the original 8x57 Here is an image of the bullets with the rubbery tip pulled from one to give an idea of how thin the jacket is on these. Should open on deer.  | |||
|
| One of Us |
http://www.youtube.com/watch?v=Nq2Ydm5PsqQ The original test of my opening of the action rails. Doesn't take much metal removal at all to make it feed. Just have to look at the places it binds as you close the bolt and carefully open the rails. At this point the chamber wasn't reamed. | |||
|
| One of Us |
I used www.reamerrentals.com for my reamer. Fast shipping and good prices in my book. I had to make another goodtool since I didn't have a reamer extension. I simply took a 10" 3/8's extension, filed a flat on the outside of the female end so I could drill and tap it. I tapped it to 6x48 so I could use a simple plug screw from my parts box to hold the reamer in place. It needs to be captured so you can pull the reamer out while still turning it, otherwise it will leave gouges in the chamber.  Here is a pic of it with the reamer mounted and ready to cut  Notice the tape in the above pic. I wrapped the extension and made a mark to correspond with a piece on the receiver to give me an idea of how much I was cutting every time I made a revolution.  And here is what the reamer cuts. The chips are so fine that they look more like mud in the reamer mixed with the cutting oil.  | |||
|
| One of Us |
| |||
|
| One of Us |
And the first round fired from the rifle at 25 yards is the lower hole. I swapped to a shorter front sight as I like my rear sights as low as possible along the receiver, and got the hole above the spot. 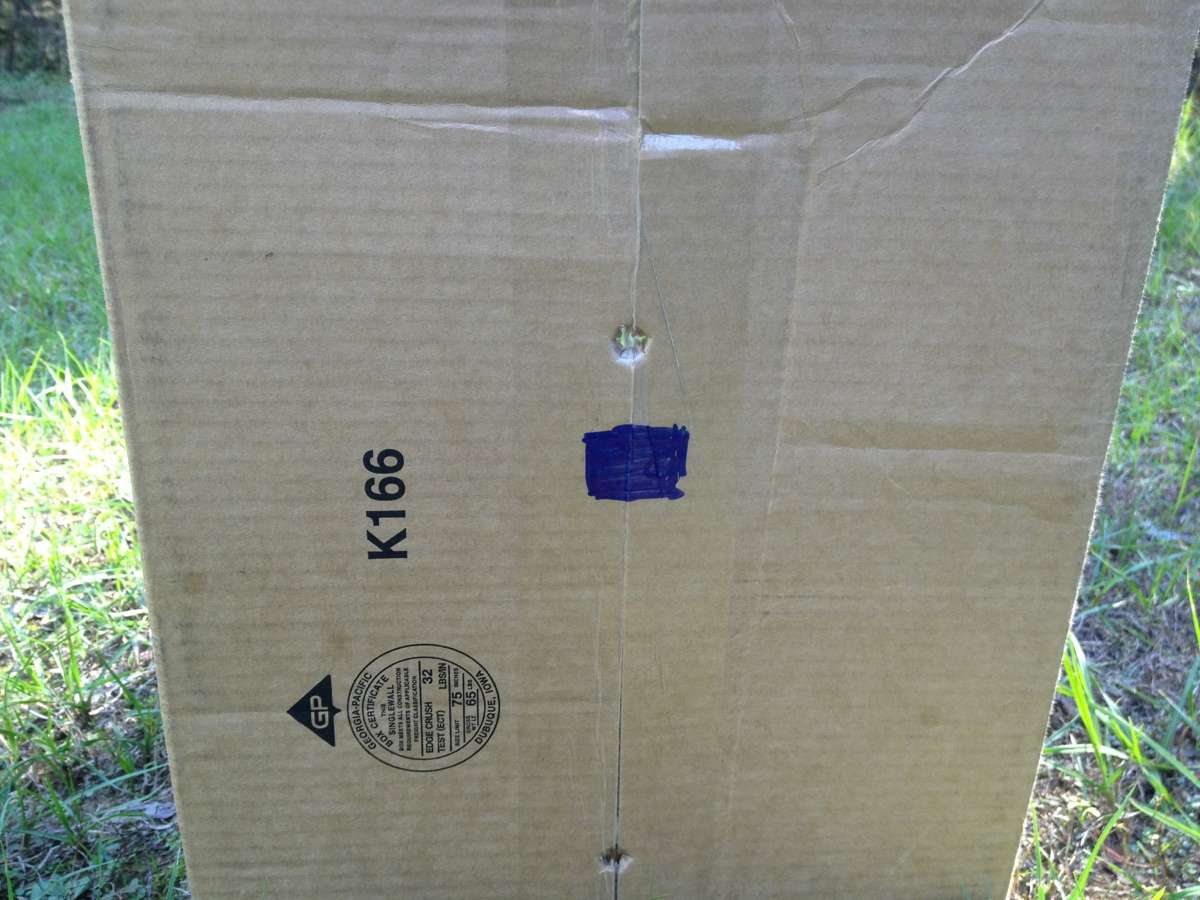 | |||
|
| One of Us |
I originally chambered the rifle where I could "feel" the case as the bolt fully closed, without the extractor in place. Since it was a rental reamer and I had to return it in a few days, I decided to cut the chamber a bit deeper. I slowly deepened the chamber just to the point it would close without feeling the case. The reason being is this is a belted round and I was afraid that if I left it closing with feel on this lot of brass, the next might have a slightly taller belt and I'd be renting or buying a reamer again. If it were an unbelted case, I could simply bump the shoulder back if I ever ran into some that were a taste long. I know everyone wants tight chambers, but in this case I felt it would be best if it had just enough room for differences in brass. Also, the extractor holds the round tight against the bolt face for firing even if the chamber is too deep. In this rifle it is not too deep, probably closer to factory specs. | |||
|
| One of Us |
I would have much prefered the aged patina of the the original action, but some goodsmith blued it before I got it. It wouldn't be so bad if they had polished it correctly before bluing. As it is now, the cold blue is about as good as the rest of the action  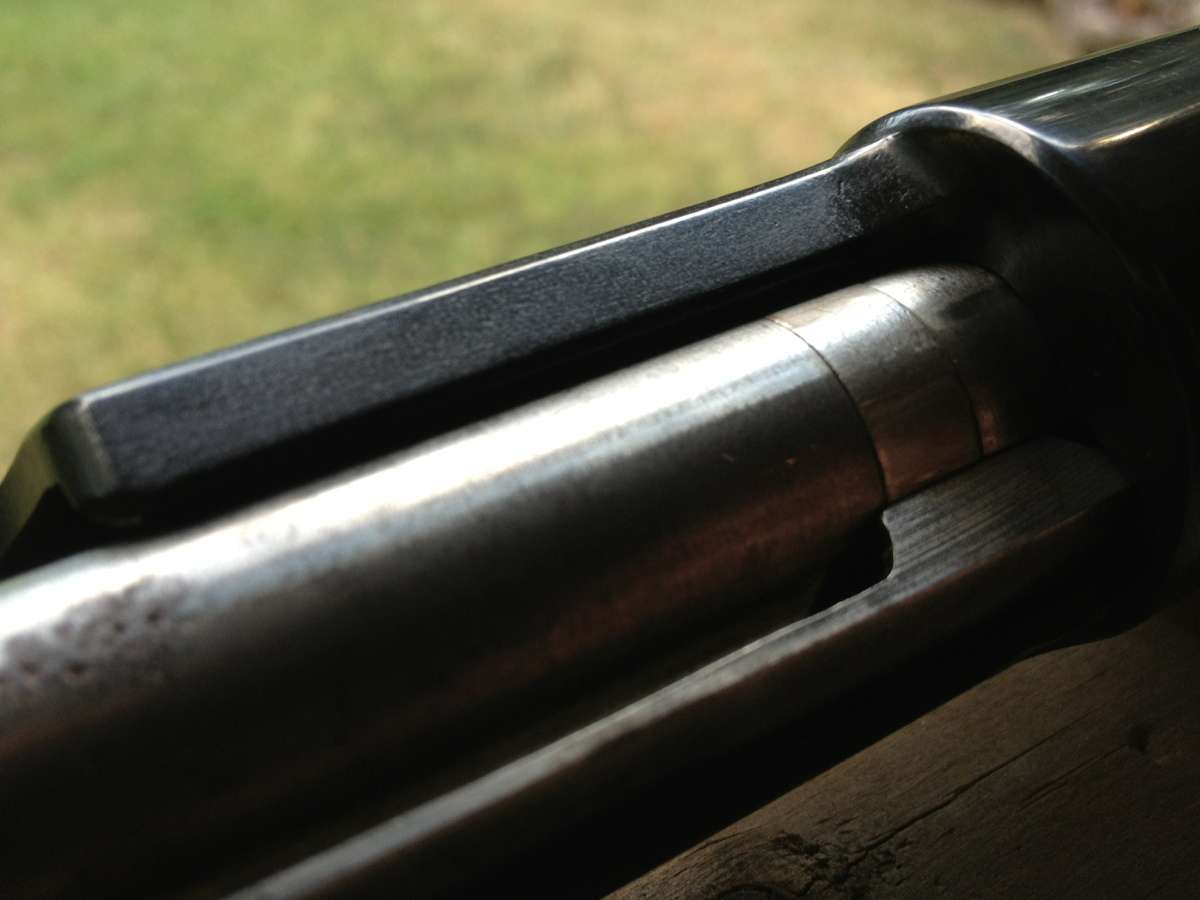 If the action had been done right I would have had the barrel blued properly to match it. One day I might get a wild hair and take some 800 grit to it and fix it. | |||
|
| One of Us |
Got the trigger worked out tonight. I tried a few different springs, but due to the strength of the firing pin spring, they wouldn't reliably reset the trigger from the first stage if you released the trigger. So I used the factory spring and removed 1 1/2 coils which helped a good bit and will still reset the trigger if you release it before it fires. And, the main thing I managed to do to improve it was to file then stone and polish the sides of the sear where it passes thru the action into the bolt tunnel. I was amazed at how much difference that made. It had some rub marks on the side indicating dragging, but nothing major. What a difference it made when I corrected it though! 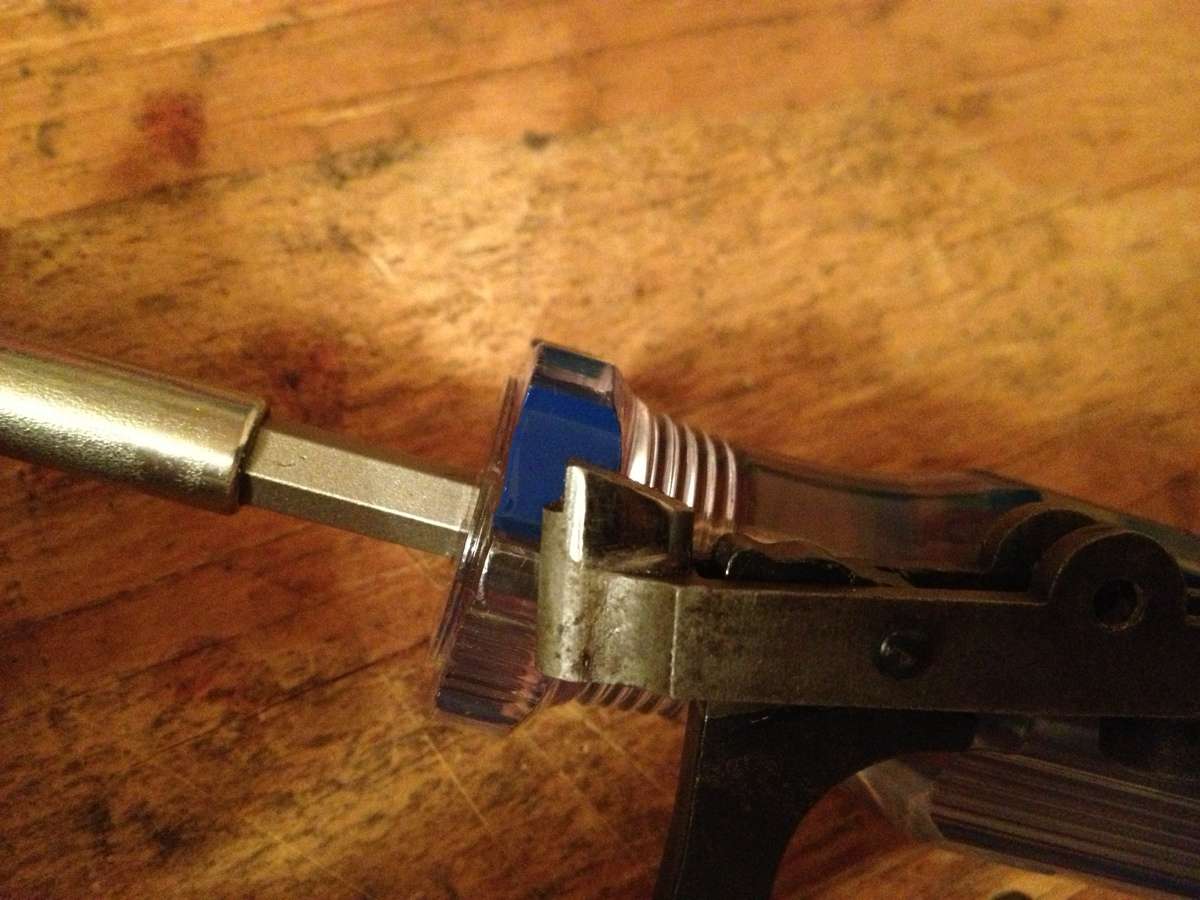  Also, who says cold blue isn't as good as goodblue??? Matches pretty good.... So either I gots some good cold blue or some bad goodblue? 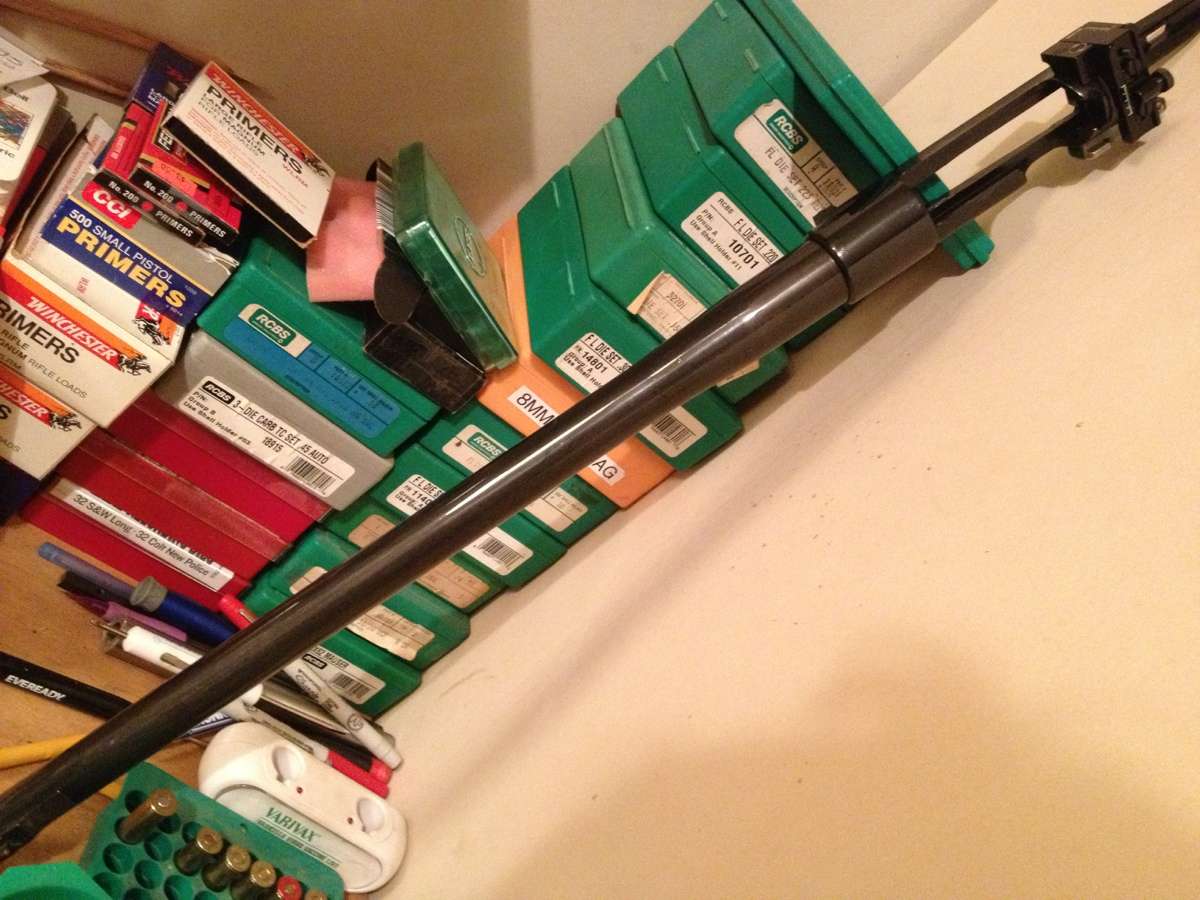 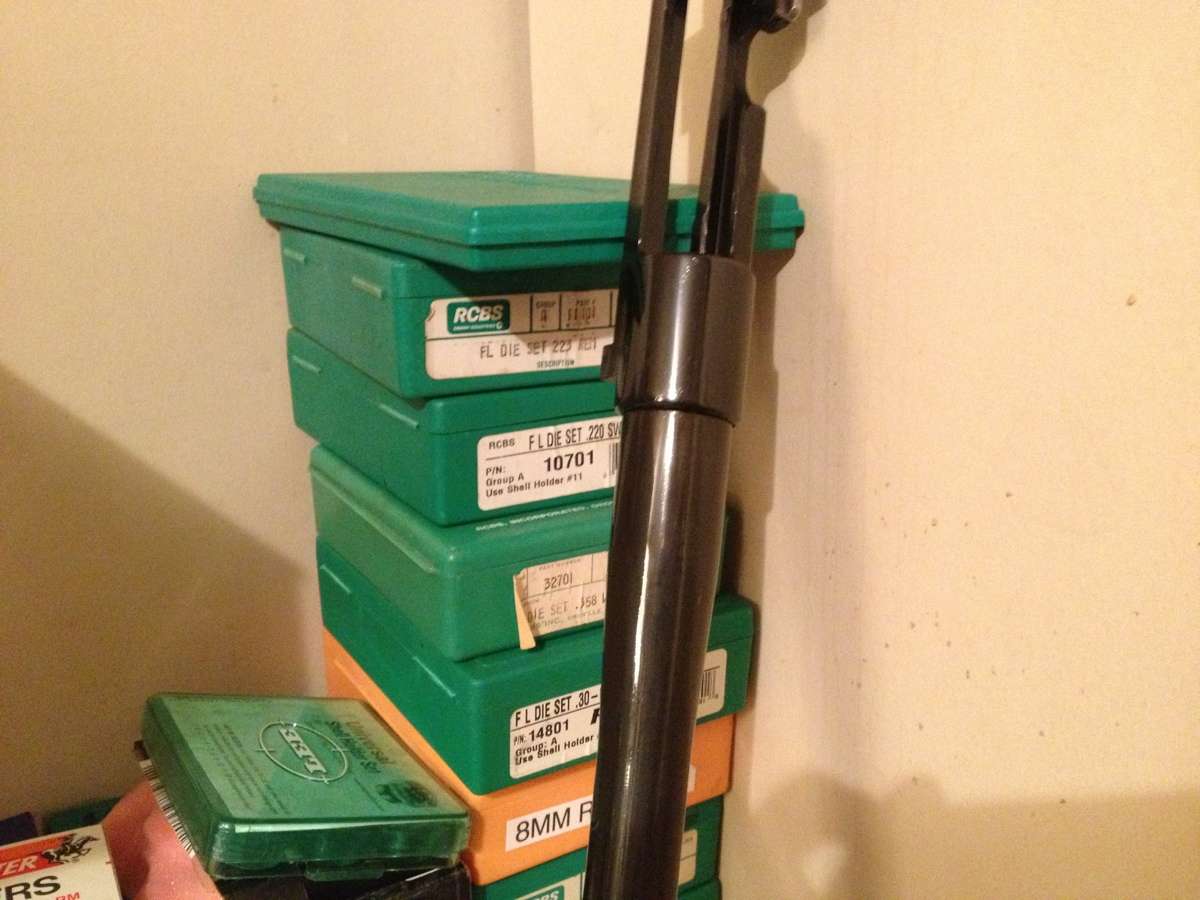 | |||
|
| One of Us |
 | |||
|
| One of Us |
So I managed to take a moment and load a few rounds with H322..... Fired one and I knew I had my stuff together when the trigger broke. Checked it, adjusted and fired 3 more at 100 yards. 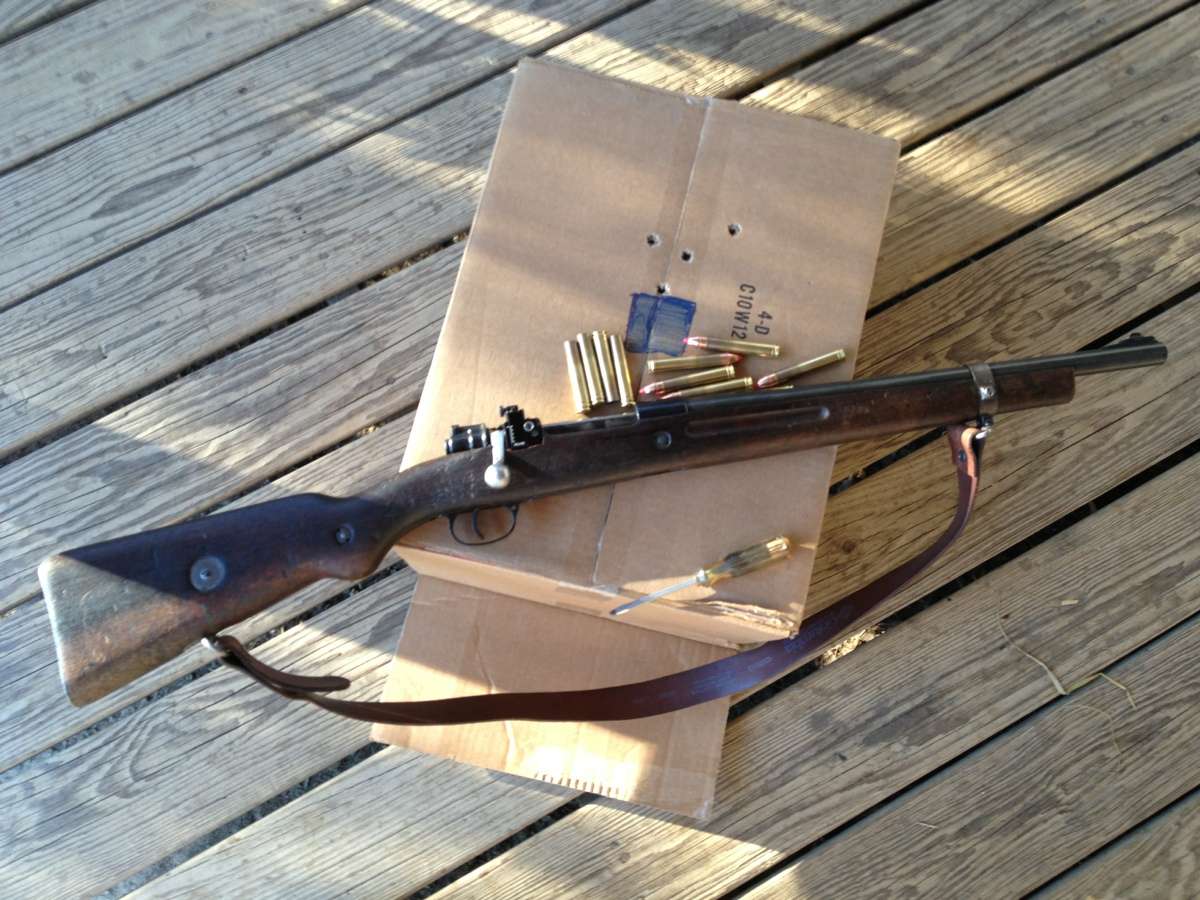 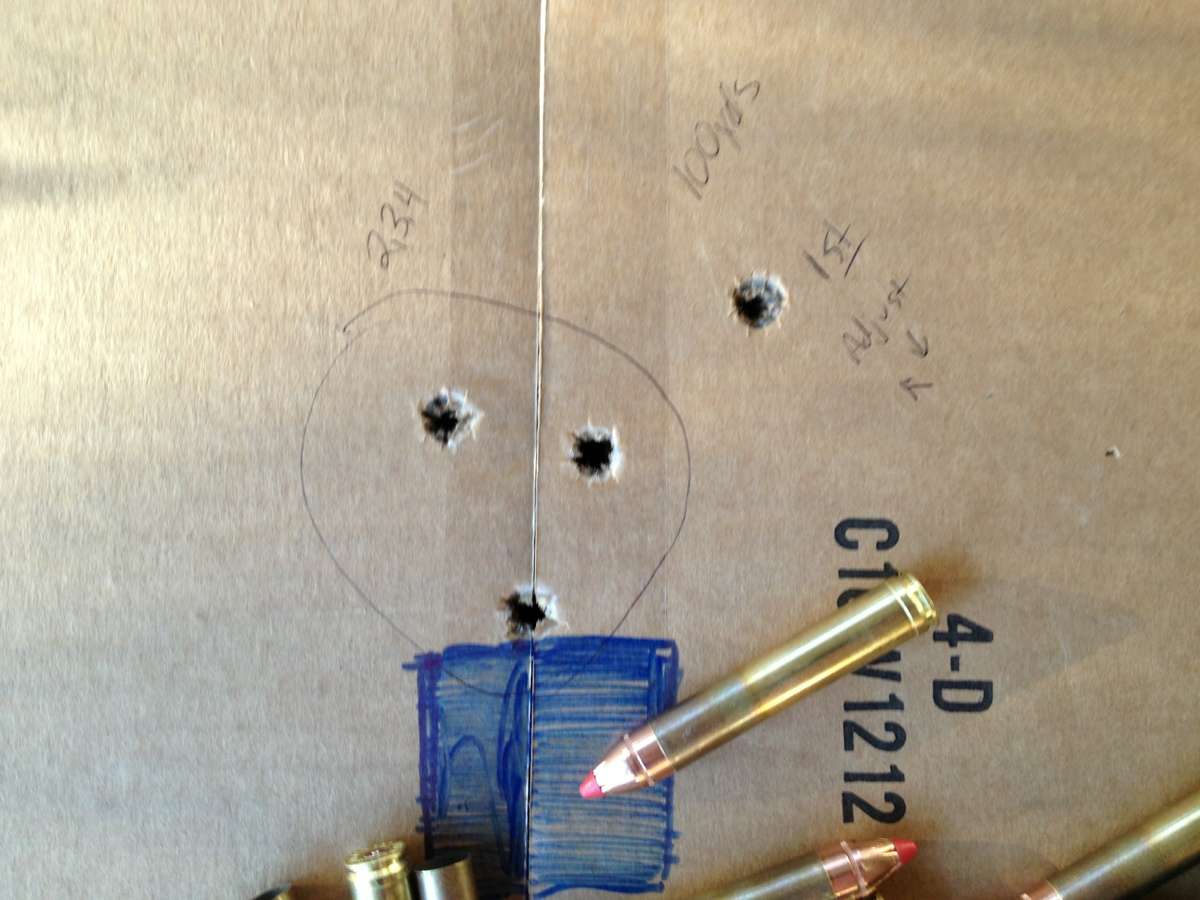 | |||
|
| One of Us |
And the effect on a doe... 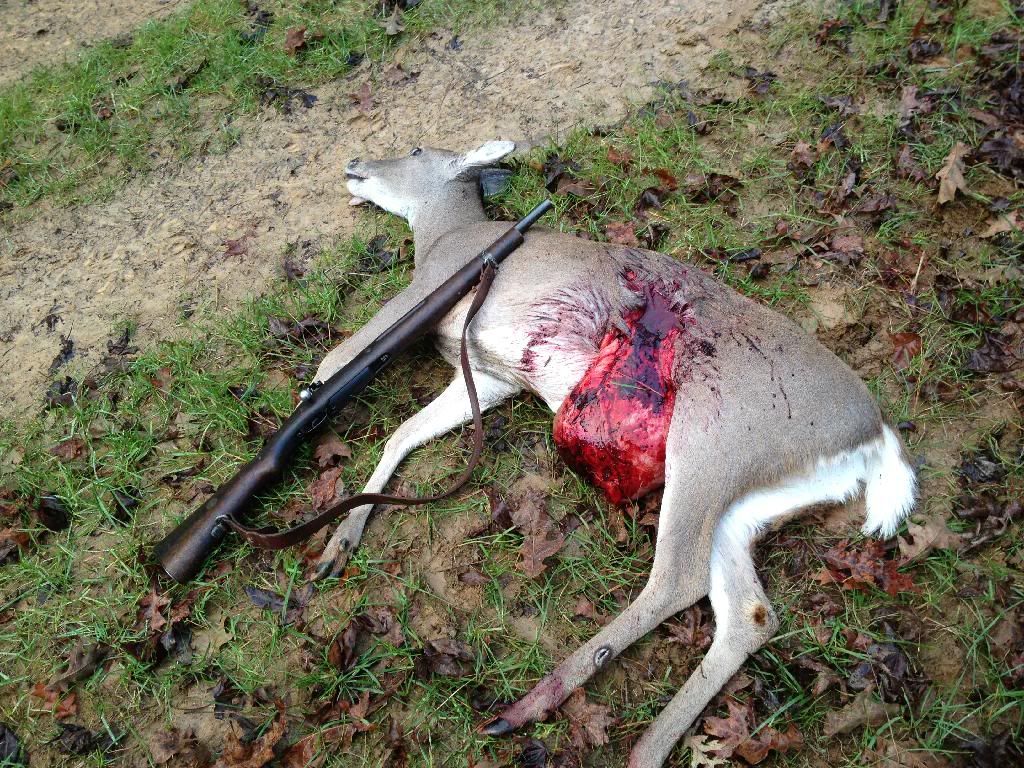 [/url] [/url]Well I managed to get a doe yesterday morning before church. 75 yards quartering away. That is the entrance. No exit. Just a bunch of lungs in the field that came out of her mouth at the shot. Never had one hit quite so hard that the guts came out. If you look ahead of the gaping hole in her side, you can see where the bullet entered, quartering towards the offside shoulder. Those FTX bullets are designed to work in the 1900+ fps standard 45-70 loadings, but see to get a bit explosive when pushed to 2500+ fps I am curious to see what the effect will be on one shot in the shoulder broadside instead of standing quartering. | |||
|
| One of Us |
And in keeping with the theme of the rifle, I made a sling out of an old belt...  | |||
|
| One of Us |
Nice project; Usually, posts are lacking in pics; not yours for sure. I would think a boyds laminated stock would work if you don't want to do any stock work. Might look a bit more refined. And that deer; that is why I use big calibers too. Good job. Wait a minute; it can't be deer season???? | |||
|
| One of Us |
Sorry for the confusion. This is a build I did last fall and I decided to share it here and just copied and pasted my posts from another forum. | |||
|
| One of Us |
Wait till you guys see it in its new stock. It is a real honey of a rifle now. | |||
|
| One of Us |
Oh yea! I forgot about that  I suppose I am crazy but I like it just as well in the old ragged military stock. | |||
|
| One of Us |
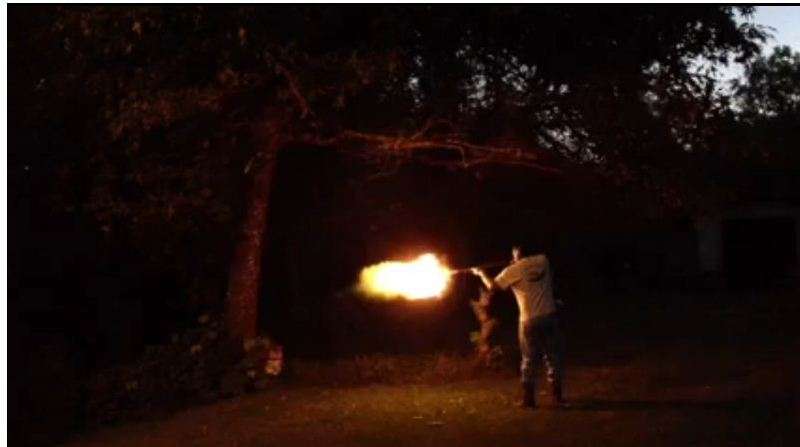
Great post! Man, the flame out the front of that beast is awesome. You have to shoot like they used to tell us to fly around thunderstorms at night - with one eye shut so you have one good eye and don't lose vision from the blinding light! Dave | |||
|
| One of Us |
Nice job! One way to take a beating on a budget... Rich | |||
|
| one of us |
Now that's a budget boar buster if there ever was one. There is hope, even when your brain tells you there isn’t. – John Green, author | |||
|
| One of Us |
Looks like a big lotta fun- great thread. | |||
|
One of Us |
Arnold needs to carry that in Terminator 5 "Evil is powerless if the good are unafraid" -- Ronald Reagan "Ignorance of The People gives strength to totalitarians." Want to make just about anything work better? Keep the government as far away from it as possible, then step back and behold the wonderment and goodness. | |||
|
| One of Us |
Barrel length? "Evil is powerless if the good are unafraid" -- Ronald Reagan "Ignorance of The People gives strength to totalitarians." Want to make just about anything work better? Keep the government as far away from it as possible, then step back and behold the wonderment and goodness. | |||
|
| One of Us |
The barrel length on this one is 16" | |||
|
| Powered by Social Strata |
| Please Wait. Your request is being processed... |
Guns, Politics, Gunsmithing & Reloading Gunsmithing

Visit our on-line store for AR Memorabilia