
 Guns, Politics, Gunsmithing & Reloading Gunsmithing
 Go | New | Find | Notify | Tools | Reply |
| Buggerred Weatherby Trigger Screw | Login/Join |
| One of Us |
The rear trigger attachment screw on my Mk V has been badly "buggerred" (I'm not sure that's even a word) by a previos owner. Any ideas on how to get it out? I have not tried the front screw but it looks to be in good shape so I think it can be removed OK. | ||
|
one of us |
They make a bit you can get at a local hardware store that might get it. If not an easy out will work also available at a hardware store. ______________________ Always remember you're unique, just like everyone else. | |||
|
| one of us |
They make left Hand Twist Drills that are way handy for things like that! 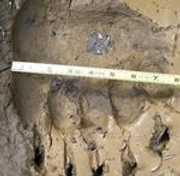 | |||
|
| Moderator |
Is it a phillips head or a slotted head? I am assuming phillips, but this works with slotted heads too- I have a "barrel" (the blade part) from a 1/4" bit driver that I chipped the handle off. You can chuck it in a drill press with a suitable bit. Clamp the object with the worn or stuck screw under the bit, lower it down and then either use your hand on the chuck or some vise grips clamped onto it unscrew while applying downward pressure on the handle of the drill press. I have heard of using a dab of valve grinding compound or other type of grit into the screw for extra bite but I've never done that. A more drastic method is a dremel, carefully grind straight into the center until the head comes off and then remove the remains with a pair of vise grips after everything is off the stock. for every hour in front of the computer you should have 3 hours outside | |||
|
One of Us |
They don't get much more buggered than having one epoxied to the stock. Here is how I handled one such screw not long ago. While these pictures depict the delicate removal of a MkV front screw, the rear screw could be handled in a similar fashion, God forbid. 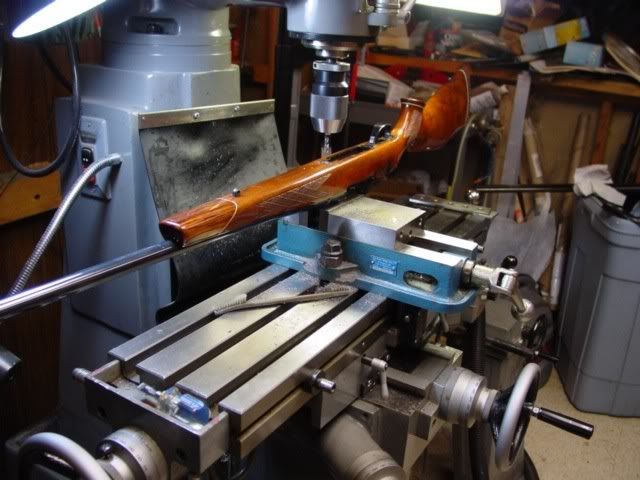 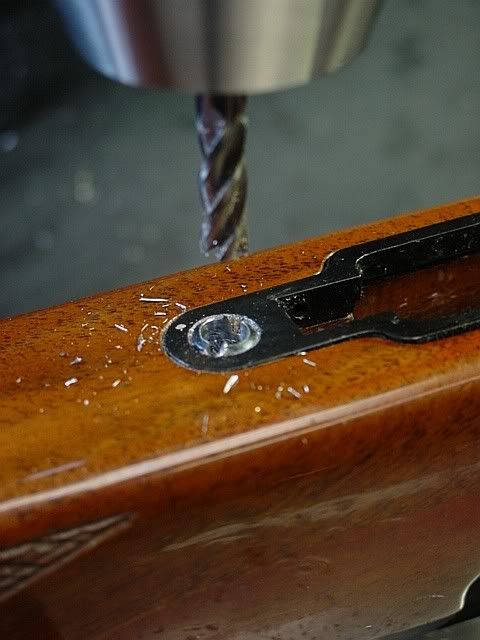 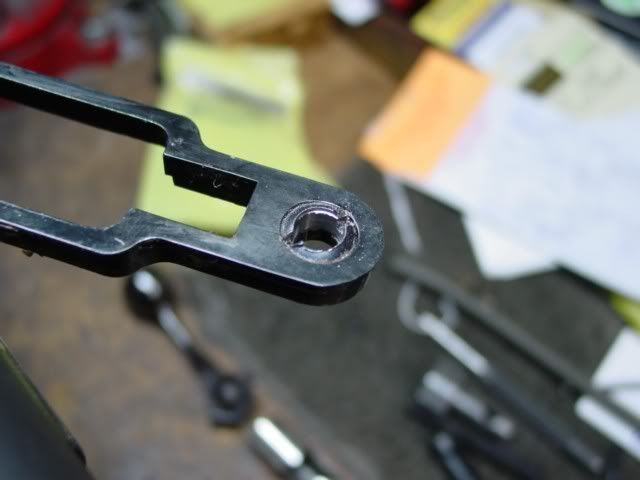 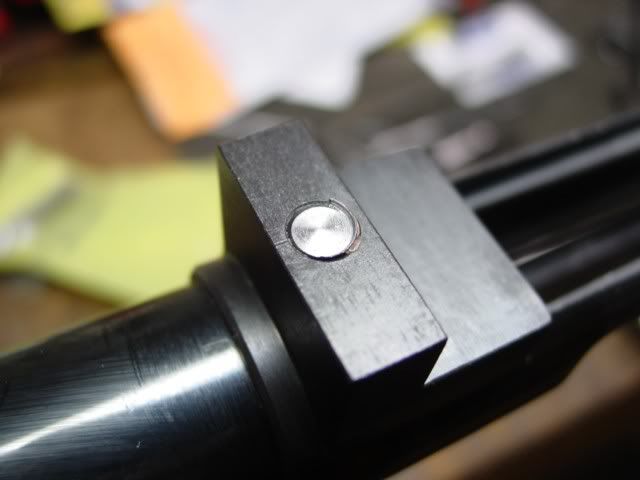 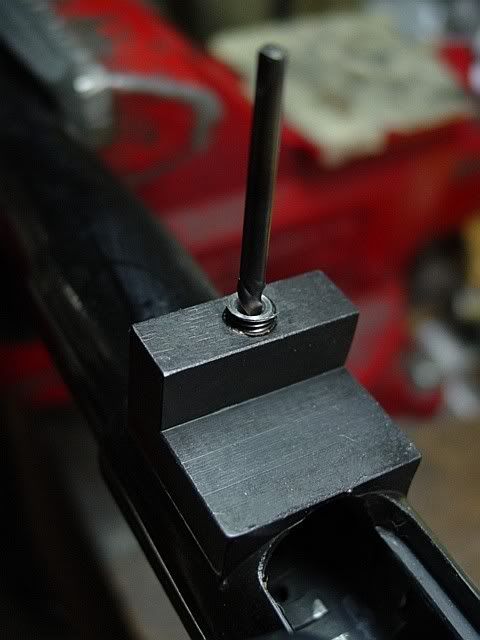 _______________________________________________________________________________ This is my rifle, there are many like it but this one is mine. My rifle is my best friend, it is my life. | |||
|
| One of Us |
Thanks to all who applied. I guess I was not clear enough in my original post, when I said "trigger attachment screw" I meant the screw that attaches the trigger to the receiver. I think some of these methods would work as there is a clear run down to the screw (a bit would just clear the back of the receiver). Anyone else have this problem? | |||
|
| One of Us |
Some how I read that originally as the trigger guard screw. Well anyway, you can remove them the same way. _______________________________________________________________________________ This is my rifle, there are many like it but this one is mine. My rifle is my best friend, it is my life. | |||
|
| Moderator |
Which part are you talking about, #31 or something else?  for every hour in front of the computer you should have 3 hours outside | |||
|
| One of Us |
I think he means the one accessible from the top that sits right at the back of the rear bridge. It isn't illustrated in your schematic. sjmci, if it's the hex head type, you might try using an appropriately sized torx bit. They can bite. If it is the Phillips type, a blunt Phillips head screw driver and a hammer to rap the top of the screw driver with as you turn it should do the trick. _______________________________________________________________________________ This is my rifle, there are many like it but this one is mine. My rifle is my best friend, it is my life. | |||
|
| One of Us |
Westpac: Be cool...gunsmiths use "inertia transfer devices" not hammers! har! | |||
|
| One of Us |
Yes, the "Dead Blow" species! _______________________________________________________________________________ This is my rifle, there are many like it but this one is mine. My rifle is my best friend, it is my life. | |||
|
| One of Us |
Re - diagram from Mark, looks like its #24. So badly marred I can't even tell whether it was a hex head or a phillips head. I'll see if I can get a closeup. | |||
|
| Powered by Social Strata |
| Please Wait. Your request is being processed... |
Guns, Politics, Gunsmithing & Reloading Gunsmithing

Visit our on-line store for AR Memorabilia