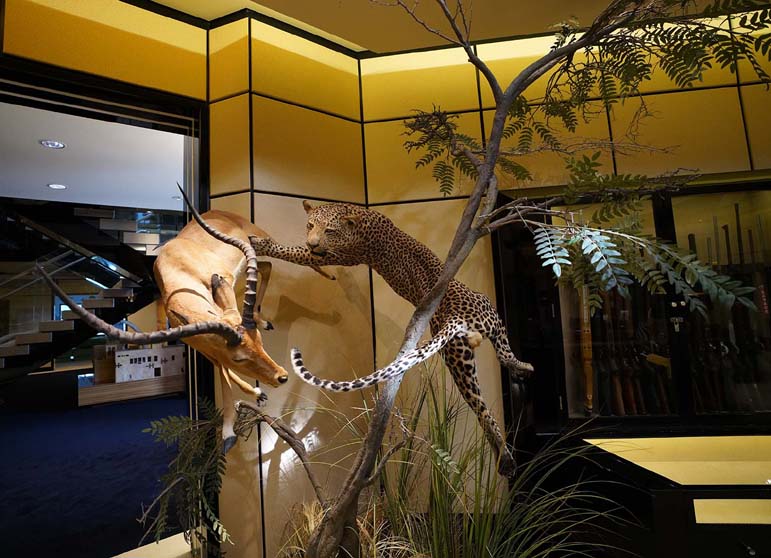

 The Accurate Reloading Forums
  THE ACCURATE RELOADING.COM FORUMS
  Hunting
  Trophy Room Pictures
  Trophy Room Construction Photos
Go  | New  | Find  | Notify  | Tools  | Reply  |  |
| One of Us |
This is how my trophy room addition got built. After Tanzania in 2005, I realized I did not have enough space for my animals. I asked an architect friend of mine how I could best add on to my house for a trophy room. After his survey, my friend announced that the easiest way to add the space was to excavate more of the area under the house and put the addition down there. The entry to the work area was a four by four hole in my foundation which meant all the dirt had to be removed by hand using hand tools and wheel barrows. It was one of the more interesting jobs everyone who worked on the project had ever seen. It involved a lot of hard work by some really nice people. 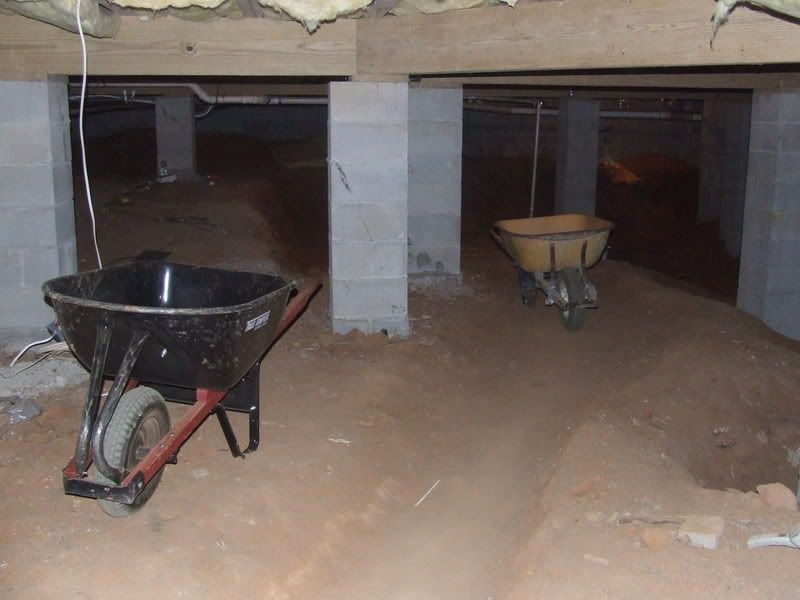 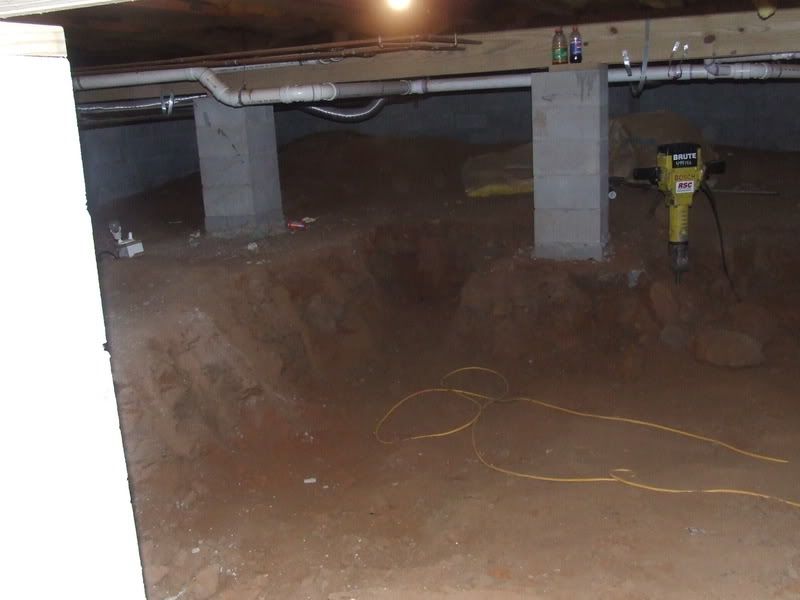 The dirt had to be removed to the level of the wall on the right of this picture. 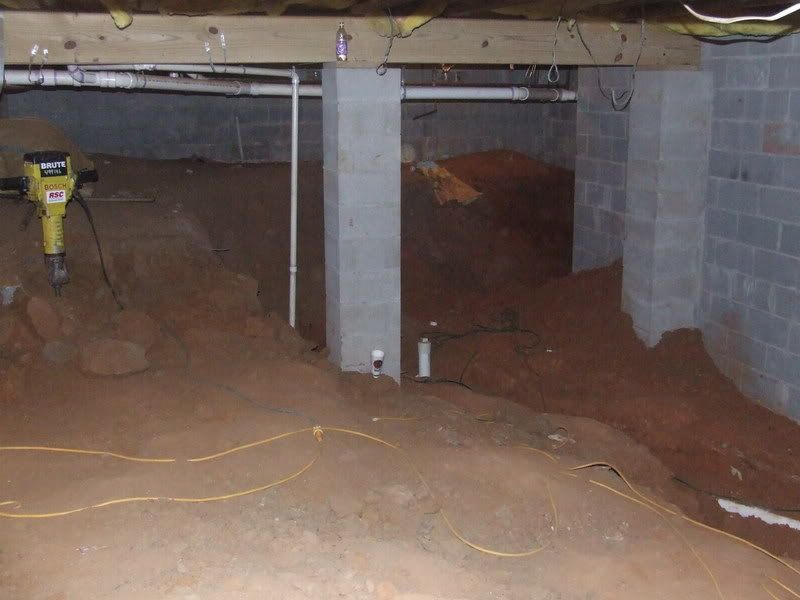 The dirt was removed and dumped in my back yard. 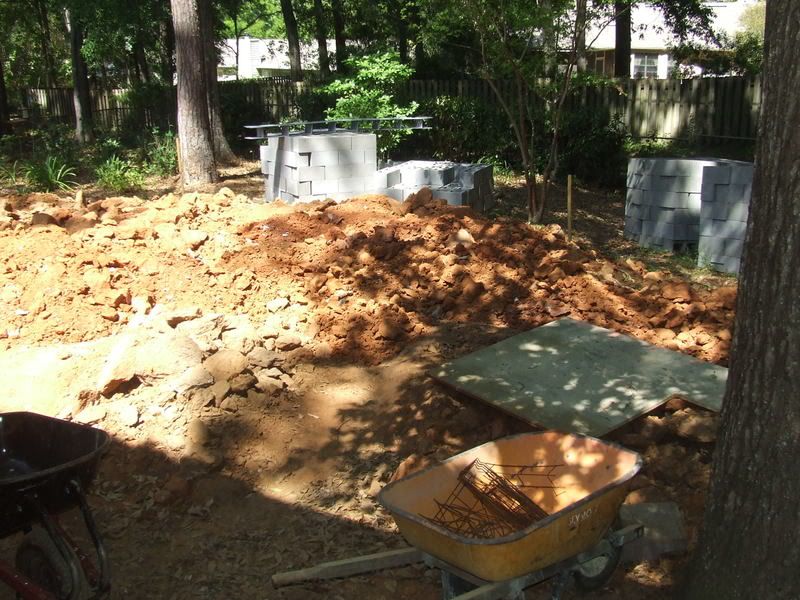 A system of columns to support the existing structure was constructed, which were incorporated into the slab to be subsequently poured. 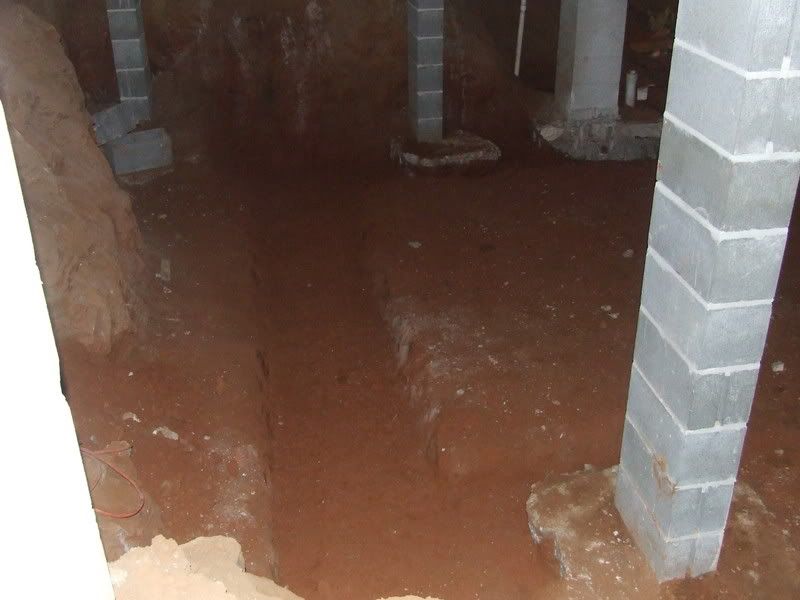 The foundation was dug down and the area prepared for a monolithic slab. 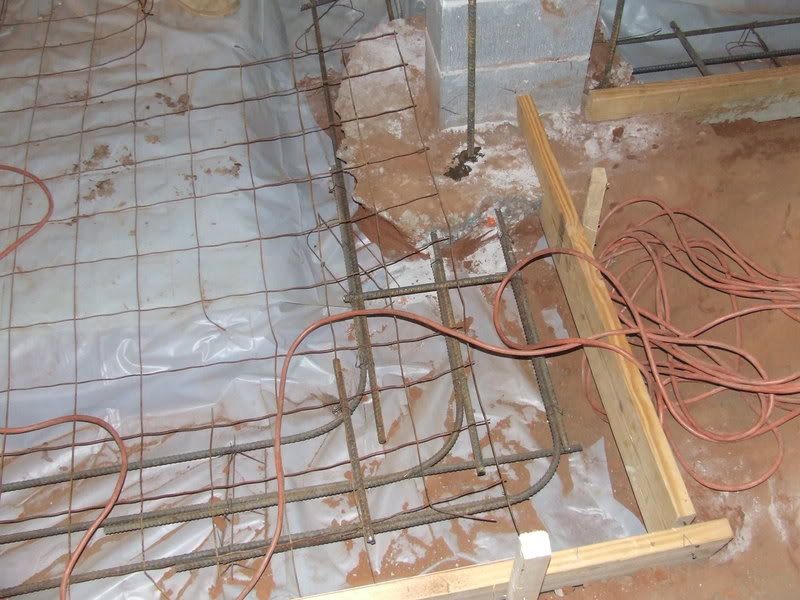 095 096 Prior to pouring the slab, the level of the existing floor in the old area had to be determined. This was done by knocking a hole in the wall in measuring from the hole to the existing floor and repeating the process on the other side of the wall in the new area. 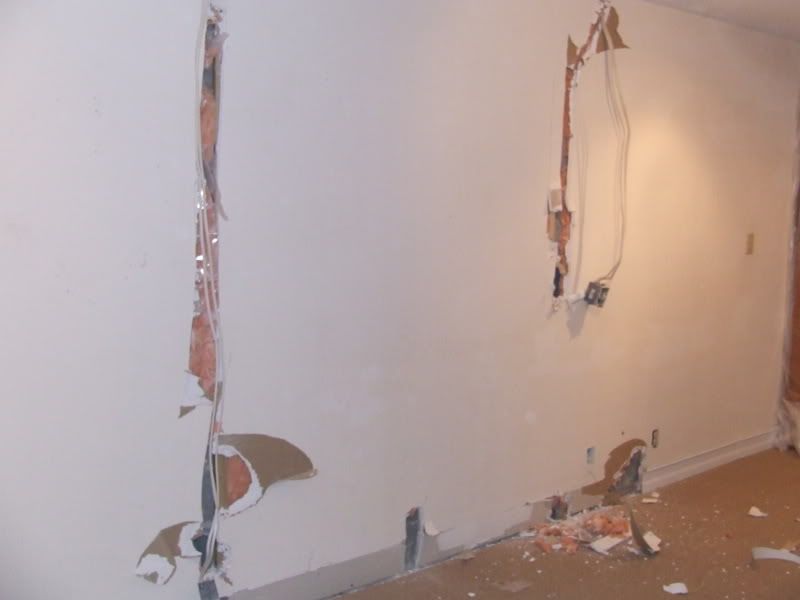 The concrete was pumped in from the utility easement some fifty feet from the site and smoothed out by hand. In the end the new poor was smooth as glass. 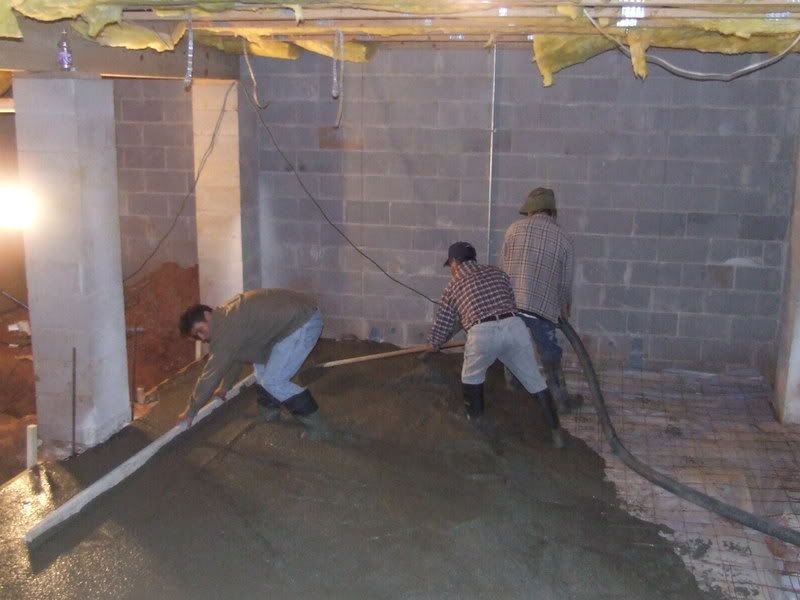 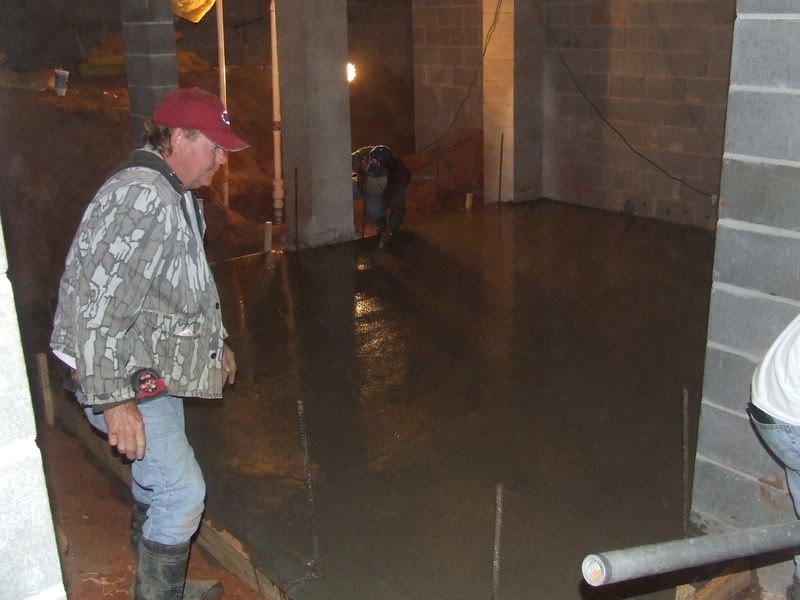 After this was accomplished, the existing wall made of concrete block was cut out. Since this was also a foundation area, a super-beam was made and placed over the span to support any weight that might be on the wall being removed. 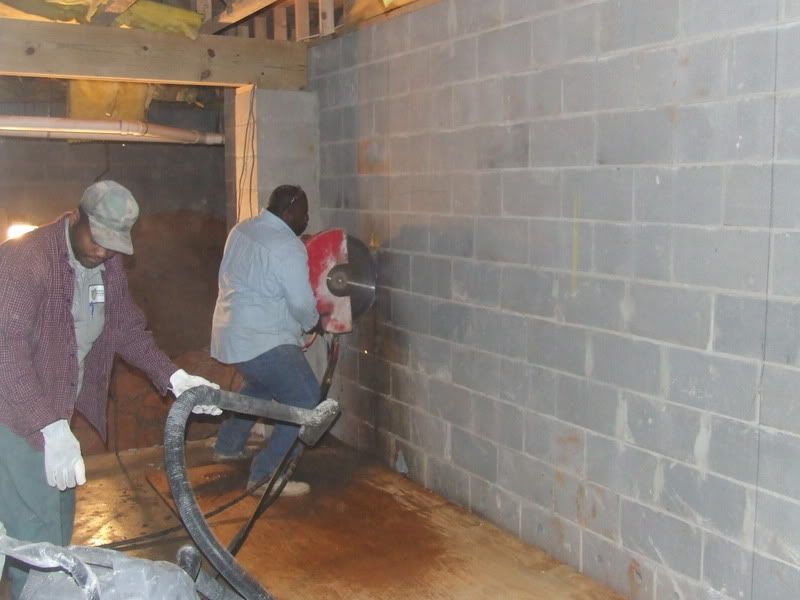 0153 The rugs were removed from the entire area, and the entire space was tiled with a ceramic tile. 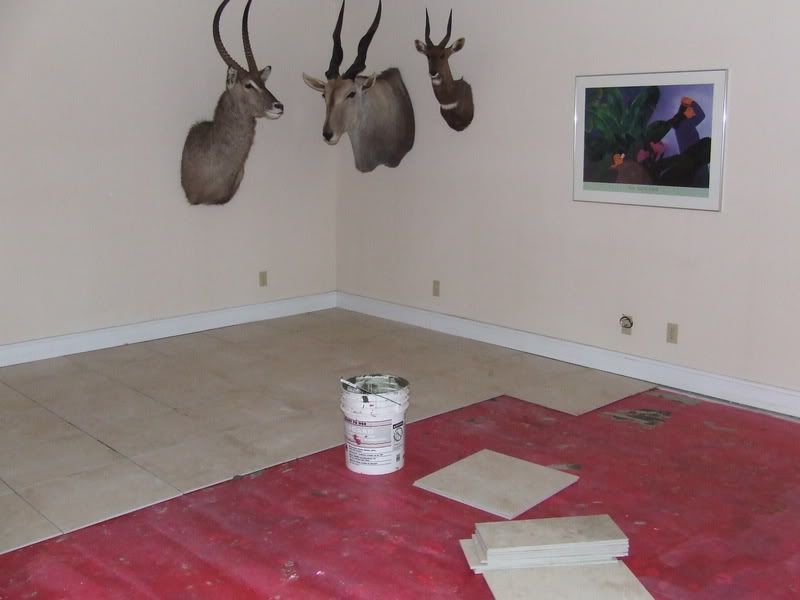 All the contents of the rooms had to be moved back and forth as the construction proceeded. This shows the clutter of the area at its worst. 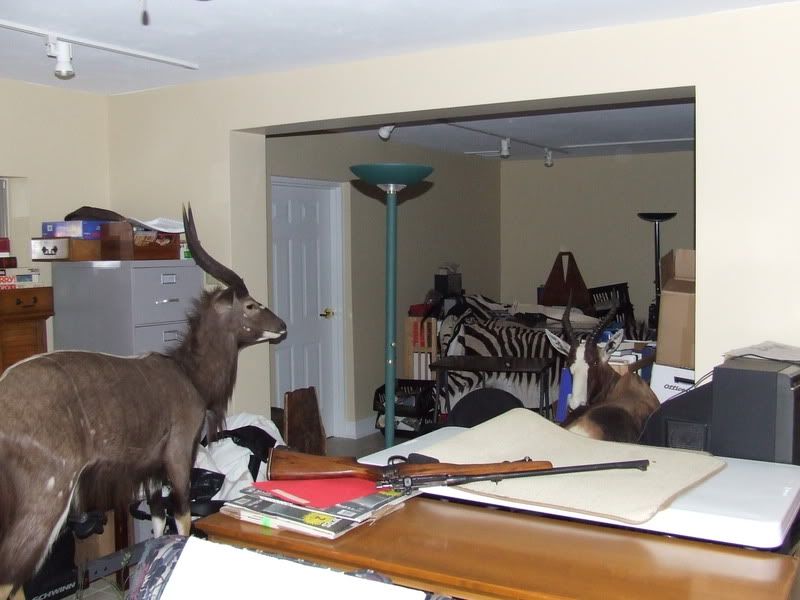 If someone had told me that this would take a year from start to finish (only about six months on actual construction,) I'd have called them crazy; however, it took an entire year before we had everything back to the standard it was at before we began. Construction cost ran about $225/sqft and we replaced the AC unit, the lighting throughout, and added a Renai hot water heater while we were doing it. I would not do it over again, but I am glad we did it. My trophy room looks like a trophy room and you cannot see my messy gun/reloading room. Kudude | ||
|
| One of Us |
Dude, You must have one really, really understanding wife. Or, just single and crazy! LOL Congrats on the completion. | |||
|
| One of Us |
Thats exactly what I'm planning to do in the near future. Very interesting to see the progress pictures | |||
|
| one of us |
>>After his survey, my friend announced that the easiest way to add the space was to excavate more of the area under the house and put the addition down there.<< Geez, it would be interesting as heck to hear his suggestions for the hard ways to add on. That was one huge project. -TONY Tony Mandile - Author "How To Hunt Coues Deer" | |||
|
| one of us |
$225 sq/ft???? Shazam, that's some high end remodeling...re-engineering is more like it. What was the overall footage of the project? I really like your results but had no idea of what it took to get there! Was there something that didn't allow you to add on above ground? I'm sure the concrete guys loved pumping from the easement. It looks great. _______________________________  | |||
|
| One of Us |
Last year when this was done, the market was in high over drive. That includes reflooring the entire area (about 875 sq ft), the new AC, the new water heater, the plumbing and gas fittings, and new lighting in all rooms. I am told by reliable sources that local costs were 250USD a sq ft at the time. In addition there was an addition of contouring the side yard and pouring concrete retaining walls. You don't even want to know what that misadventure cost. Did I mention re-sodding the yard after all the work? It is enough to say, the meter just kept running. Kudude | |||
|
| Powered by Social Strata |
| Please Wait. Your request is being processed... |
|
 The Accurate Reloading Forums
  THE ACCURATE RELOADING.COM FORUMS
  Hunting
  Trophy Room Pictures
  Trophy Room Construction Photos

Visit our on-line store for AR Memorabilia

