

 The Accurate Reloading Forums
  THE ACCURATE RELOADING.COM FORUMS
  Shooting
  Rim Fire Rifles & Pistols
  CZ 452 Trainer Tacticool
Go  | New  | Find  | Notify  | Tools  | Reply  |  |
| One of Us |
I bought a CZ 452 Trainer a couple of years back and have never really done anything with it. My wife bought me a Boyd's Tacticool for it at Xmas so I decided I would overhaul the rifle this year. I have worked all but 4 weekends since we went back to work after Xmas leave. Now that the weather is getting better, and I have two free weekends in a row, I decided to do some stock work on this rifle. Honestly, the stock was adequate as is. They seem to be scaled at about 7/8 to the full size (which I used on a smokeless muzzleloader last year) but I had a system I pulled off another stock and wanted to use on this one. I bought a McMillan on sale from them that was inletted for another rifle I was building but had an ADJ LOP kit on it. I don't need the ADJ LOP on that rifle and the butt pad was a Pachmayr Presentation pad which was inadequate for the recoil that rifle produces. That meant that I could just install the ADJ LOP on this rimfire so that my nieces and nephews could shoot it short and I could shoot it long. Top is a Boyd's Tacticool (grip reworked to mimic McM A-Series, forearm slimmed down) on my muzzleloader and below is the McMillan A3 after I pulled the ADJ LOP kit from it. A 1" Decelerator will bring it back to correct length: 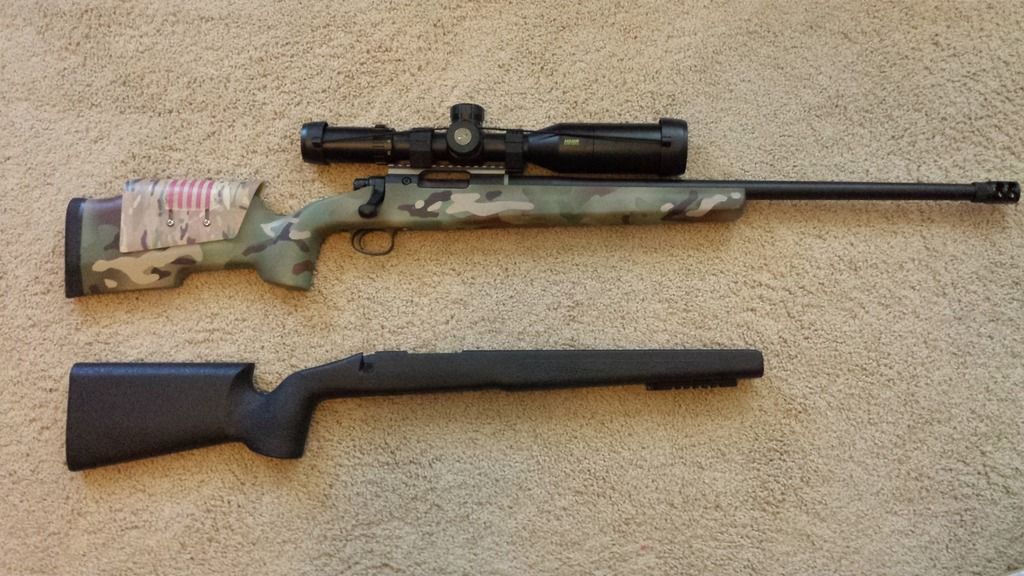 This is what came on the gun. It is not like the stocks I shoot most (McMillan A3, McM Game Scout, Manners T6A, or Boyds Tacticool) so it had to go: 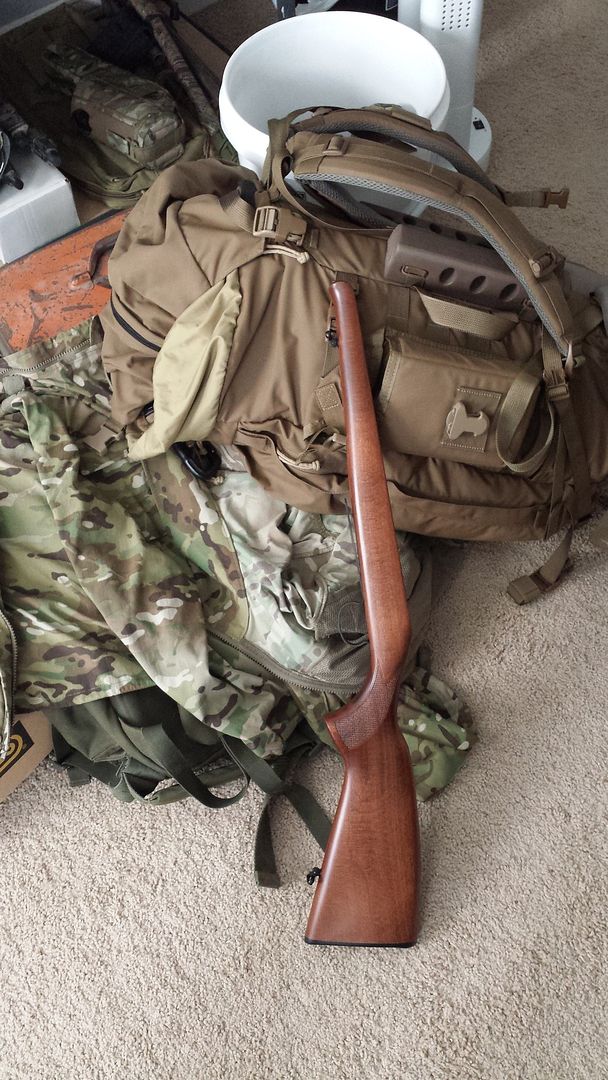 CZ 452 Trainer in Tacticool prior to cutting (pad pulled off): 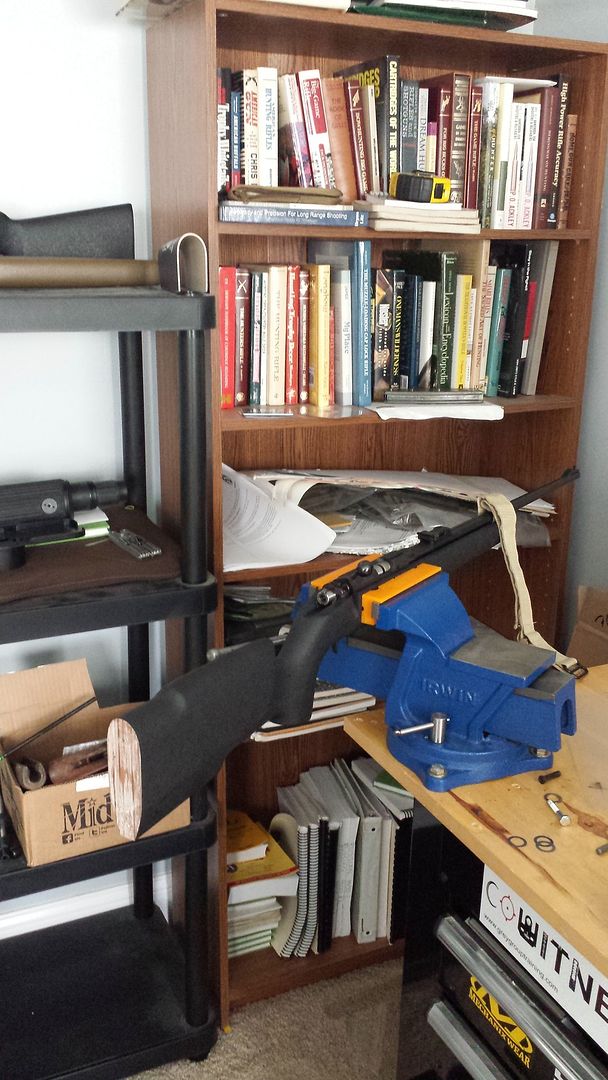 Boyds' Pad next to McMillan pad and LOP kit (the shape of the toe is different and the Pachmayr pad on the McM LOP kit is larger over all): 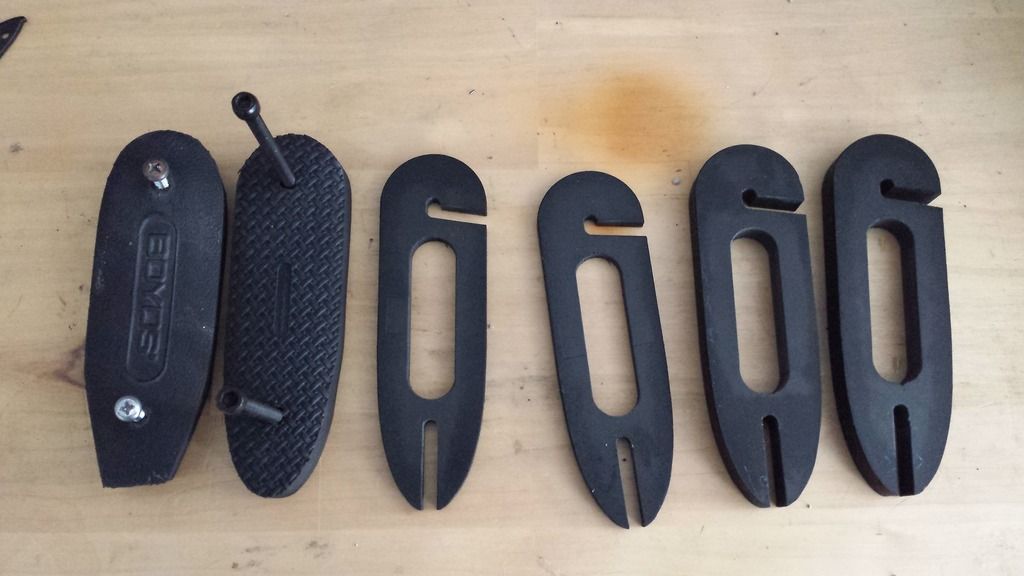 The LOP kit has 1.5" of adjustment and a total length of 1 7/8": 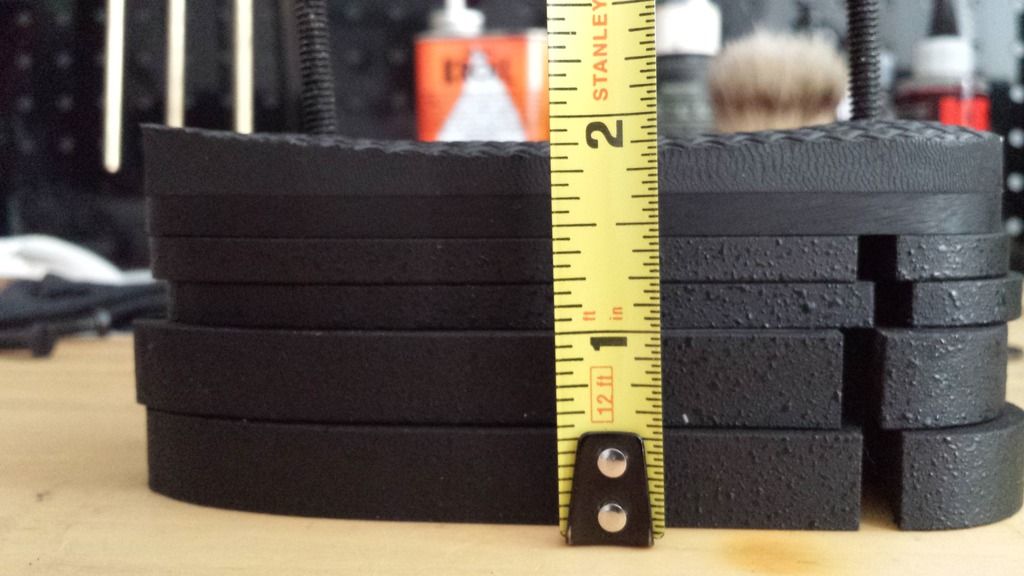 I taped the stock to prevent chipping (laminates are extremely "chippy" if you have never worked with them) and cut 1 7/8 at a 2° pitch: 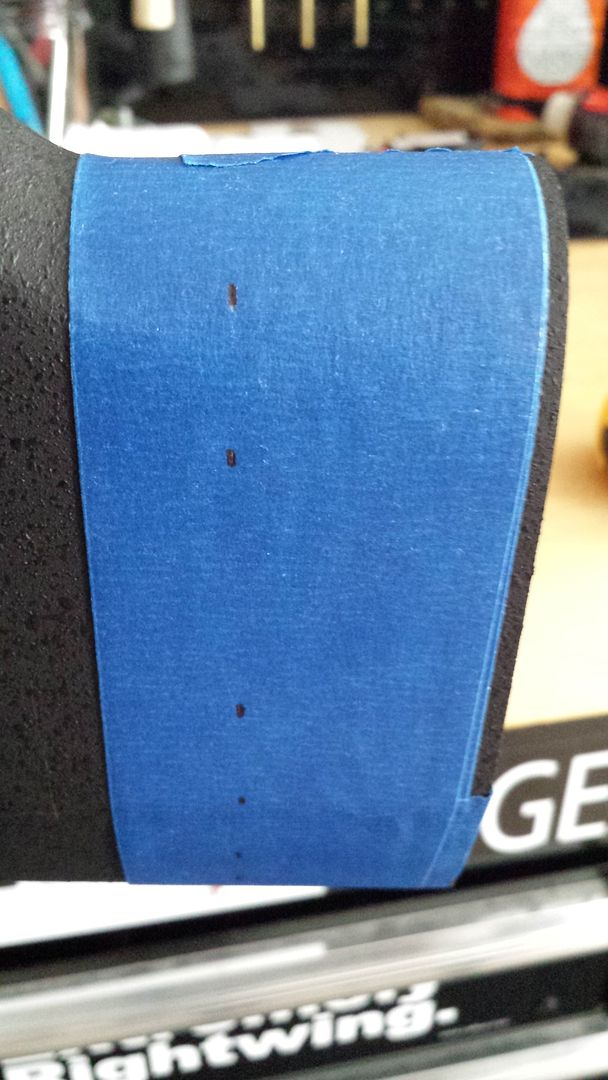 One thing I have found with Boyd's is nothing is ever straight or flat. Here you can see the old screw holes for the recoil pad in relation to the centerline. If you look at the toe line it is beveled from right to left: 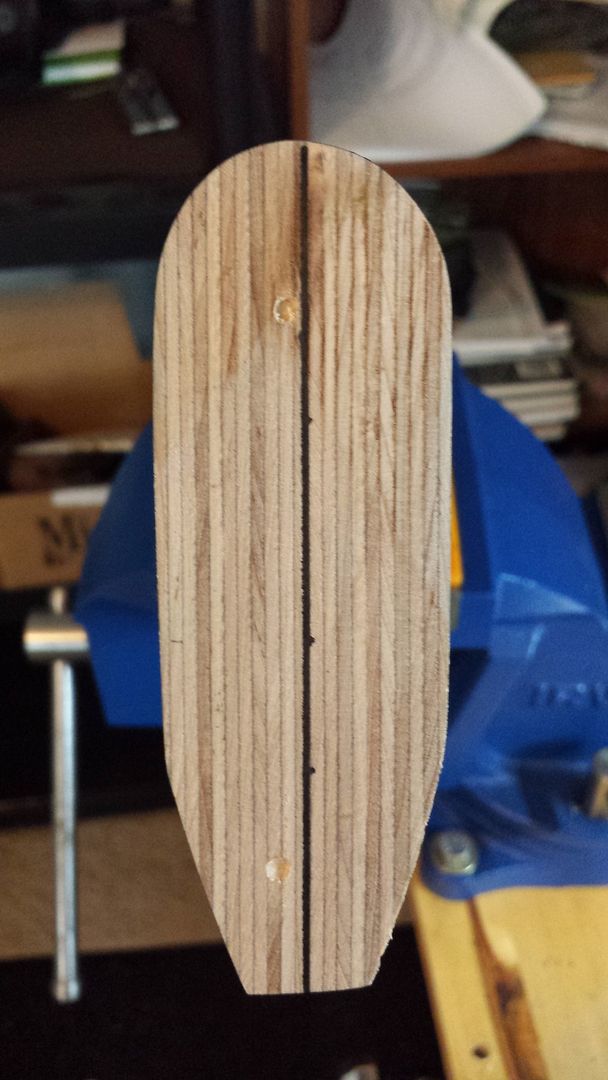 I taped a level to the comb to get a fix on height and used a brad nail to pin it in place so I could mark new holes for mounting hardware: 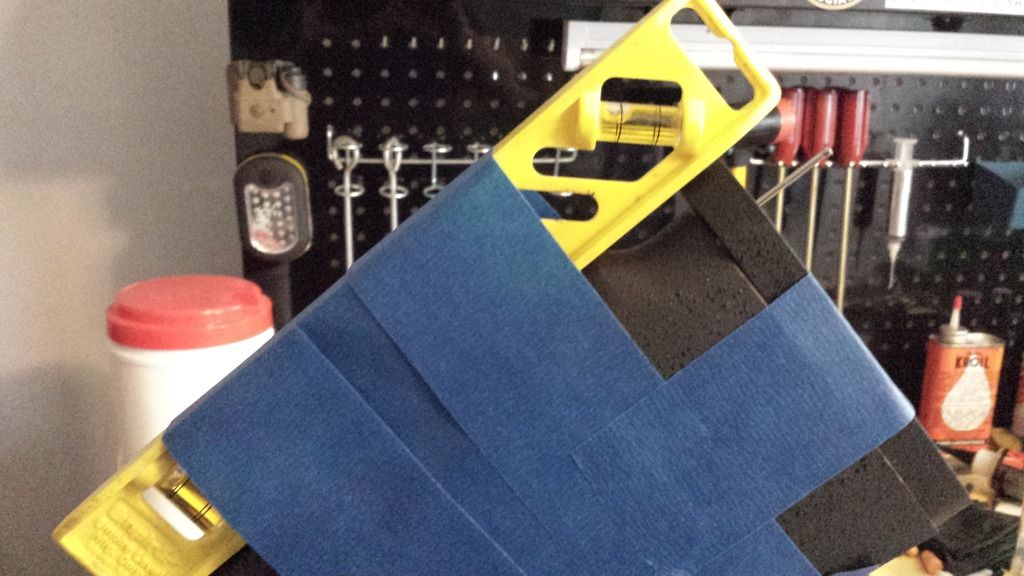 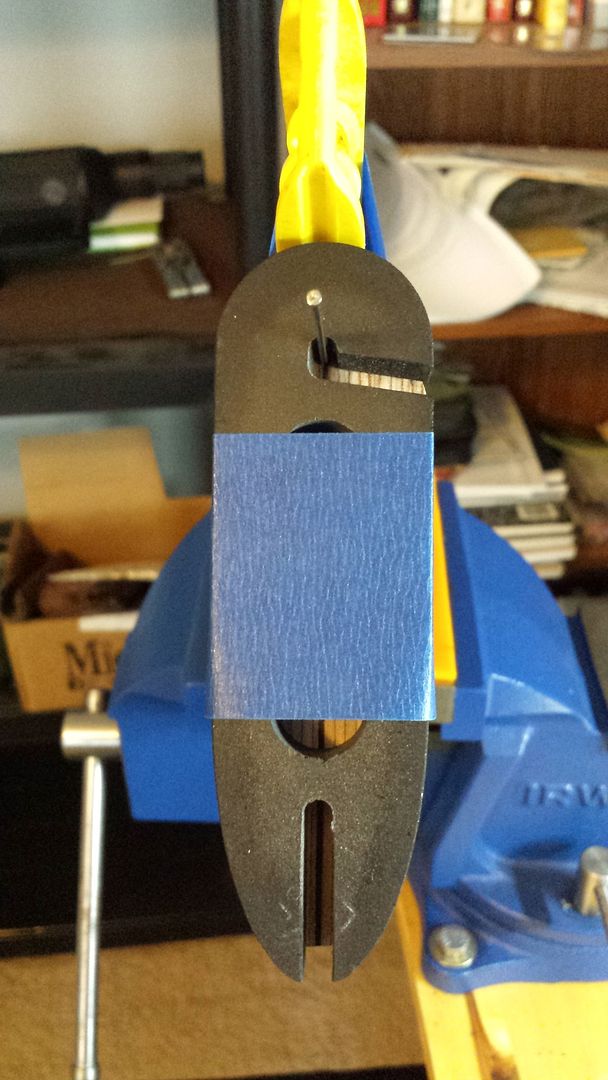 Pad is now level with comb and the heel has a gap that must be filled: 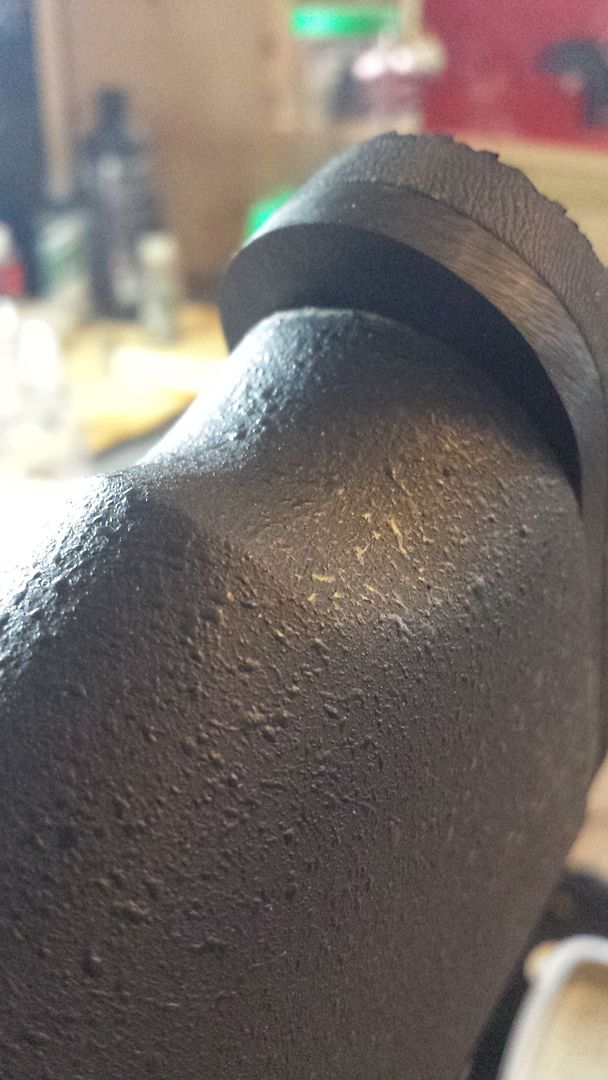 Toe doesn't match but since the toe is beveled anyway I will strip it and build it up: 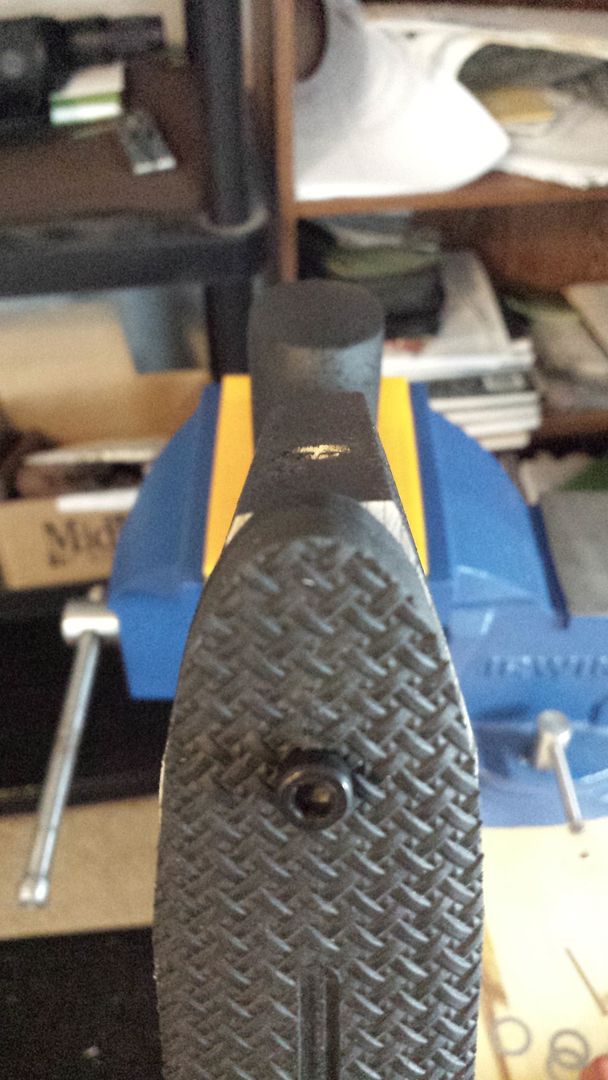 Since the toe has to be built up I drilled holes so the stock has 1/4" toe out: 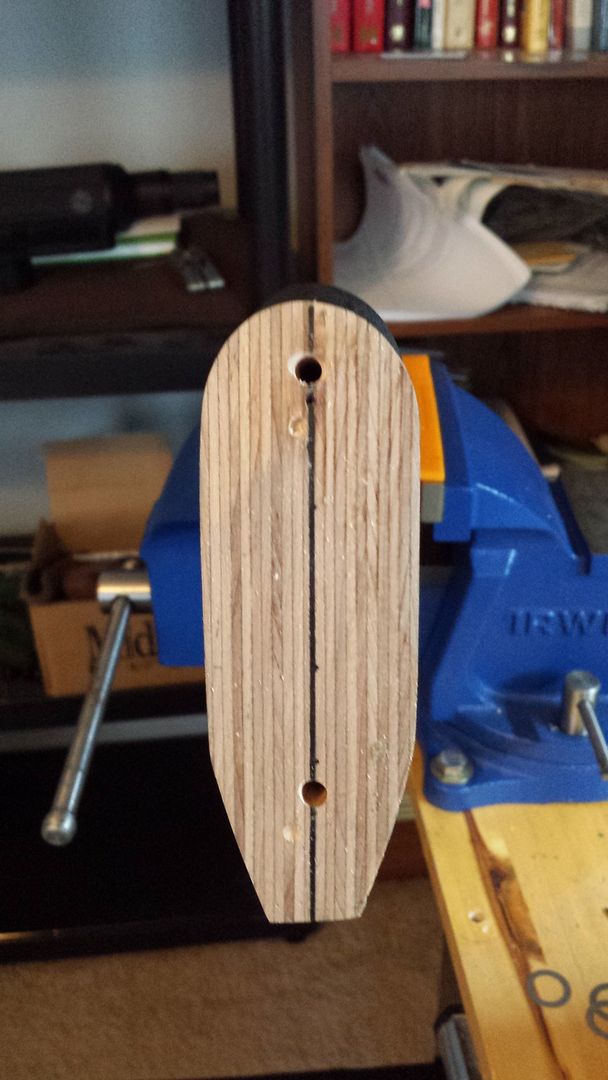 Before view of ADJ LOP Kit before reworking the stock: 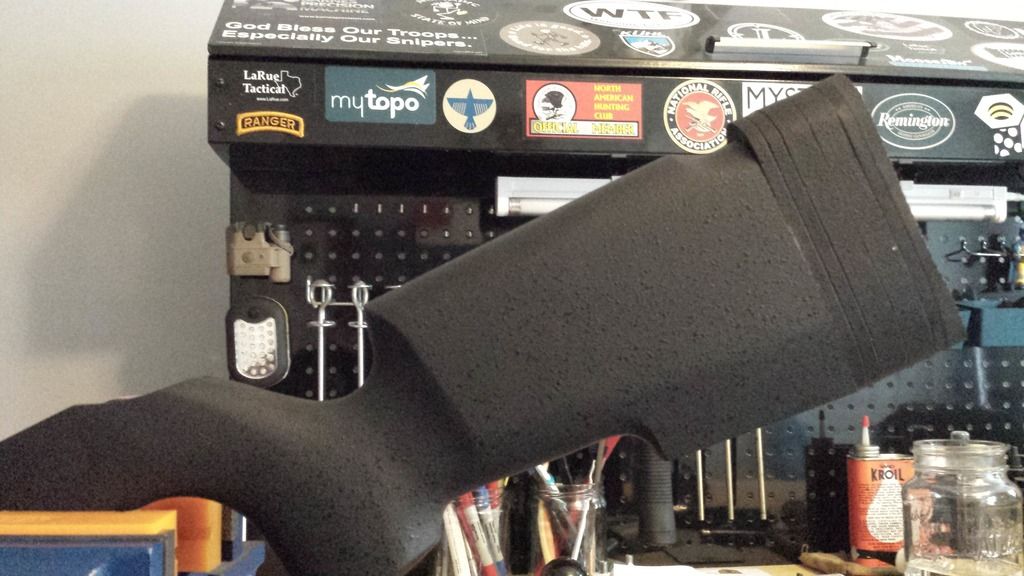 LOP will be 12.375" to 13.875": 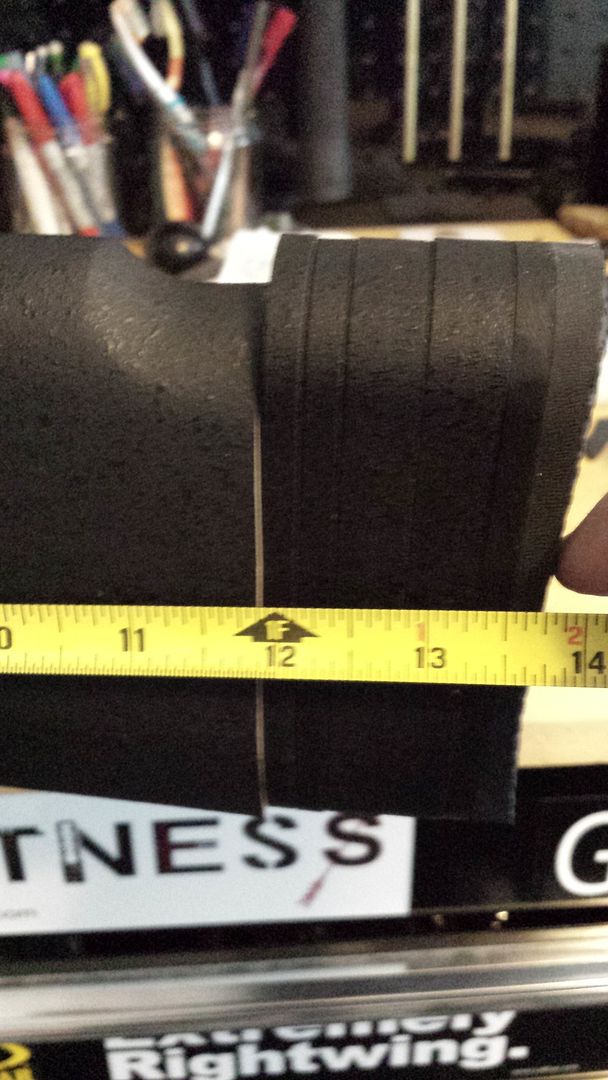 I originally picked up this threaded bushing at Lowes to install the stock hardware. Don't use one unless you are going to bore out the hole and just bed it in place. It's head stripped and I had to drill it out of the stock and use a larger bushing: 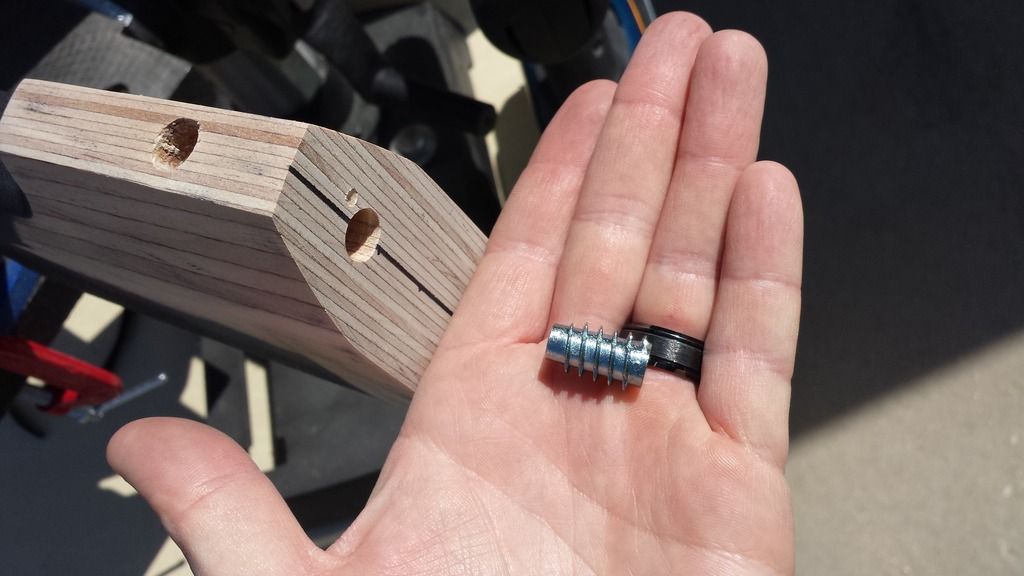 Bushings epoxied in to the stock and waiting to cure (you can also see at the heel where it was stripped and hit with a Dremel to roughen it and ready it for build up): 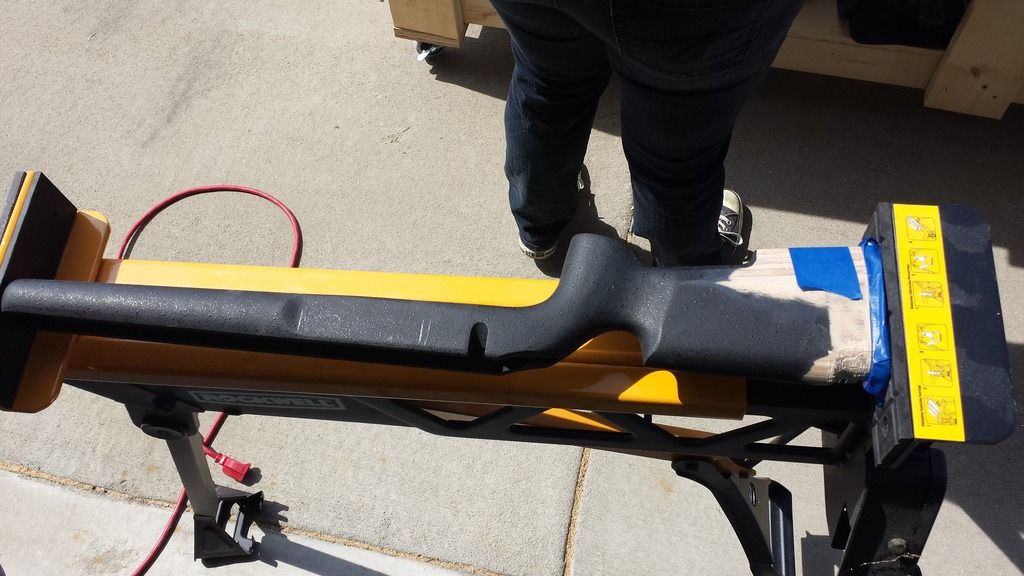 I built the toe and heel up with Bondo: 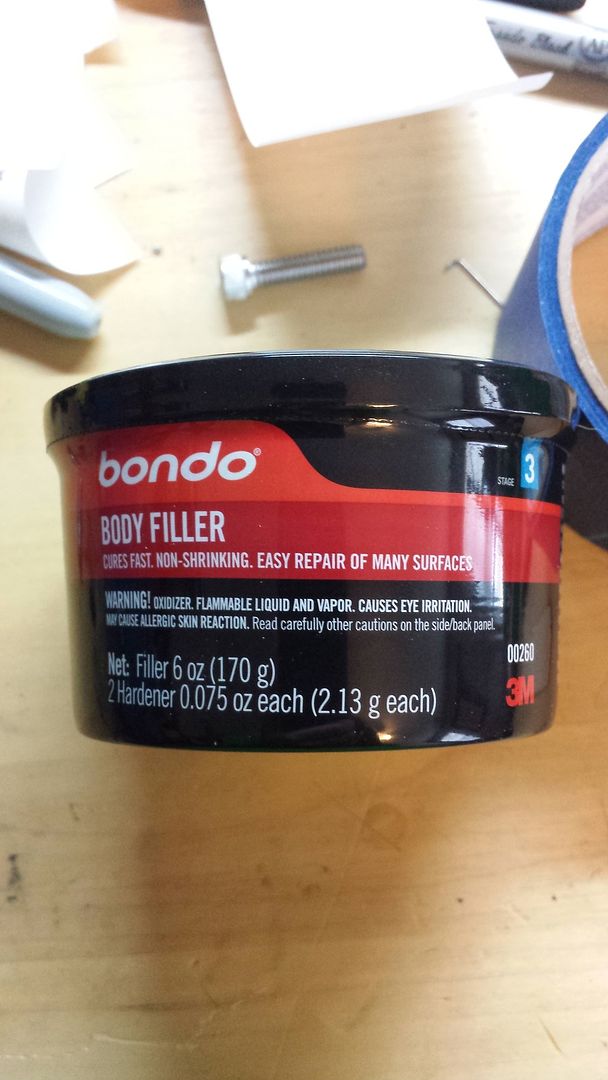 It has a working time of 3-5 minutes so the first layer went on en mass: 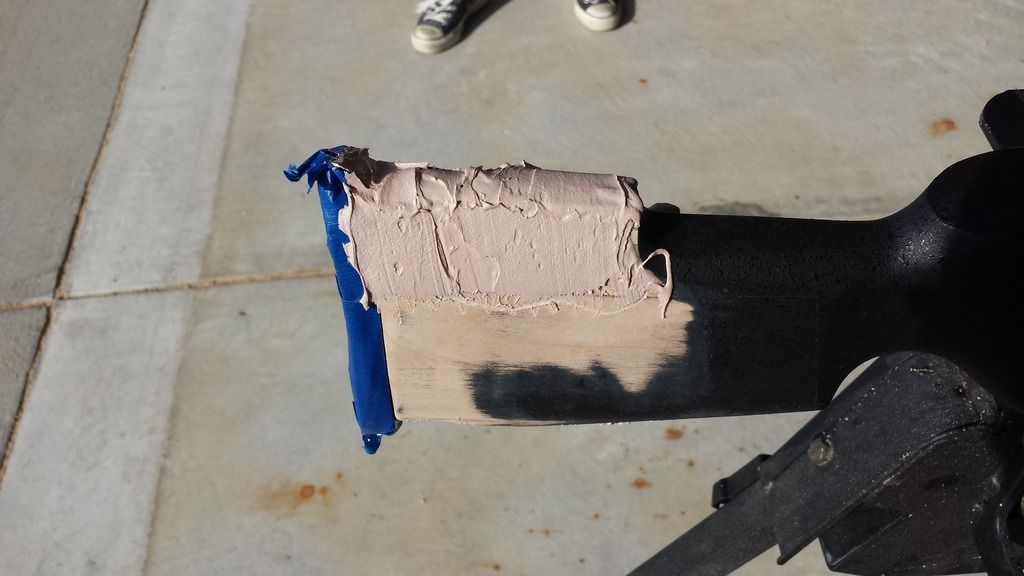 I worked it down with a rasp to rough shape using a line traced around the pad as my safety buffer and used a straight edge to QC my work: 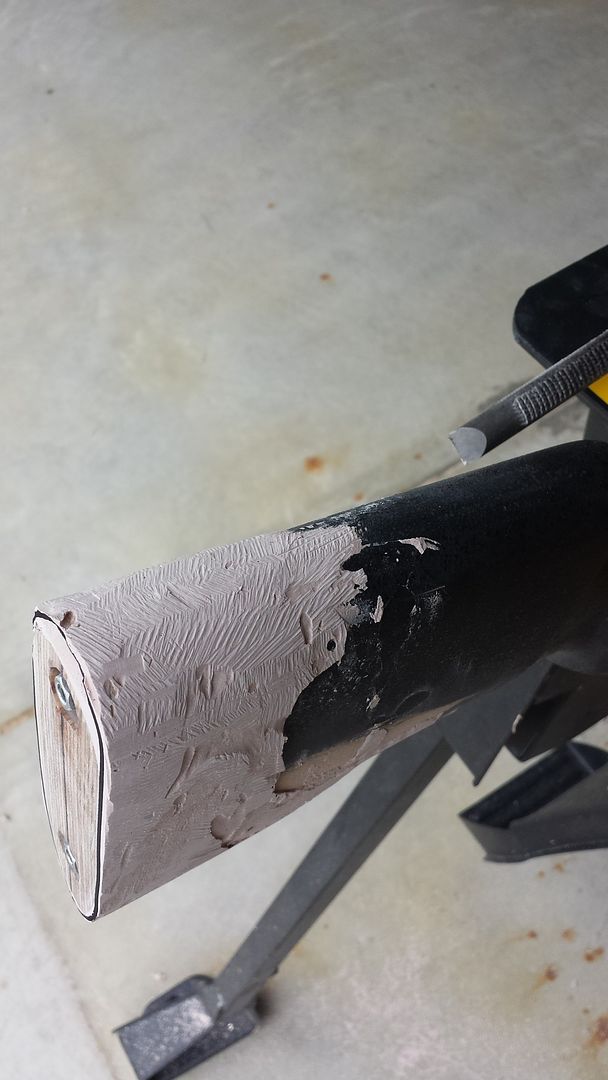 I switched to a DA Sander once I hit wood (remember, laminate is chippy and a rasp will get ugly quick): 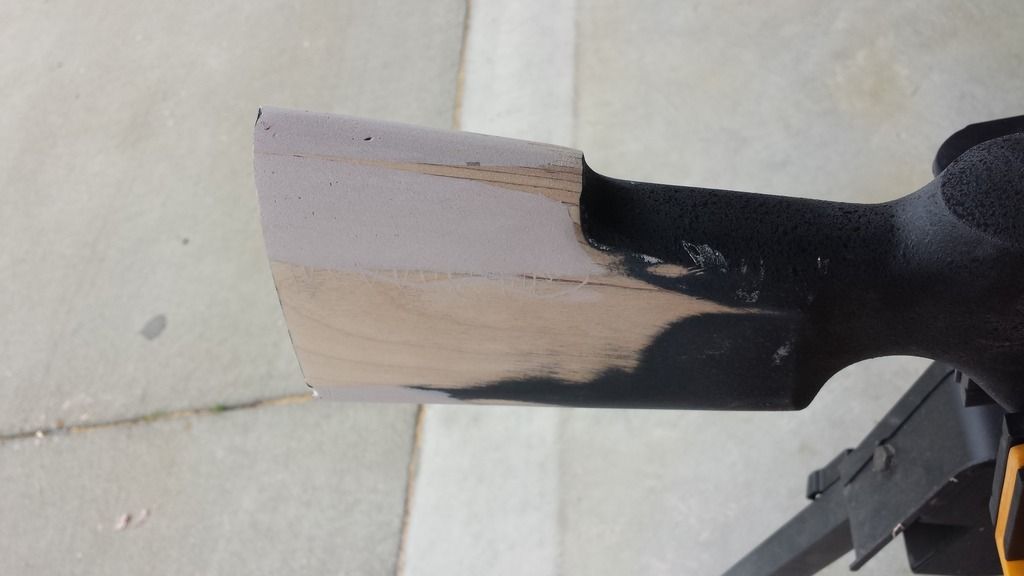 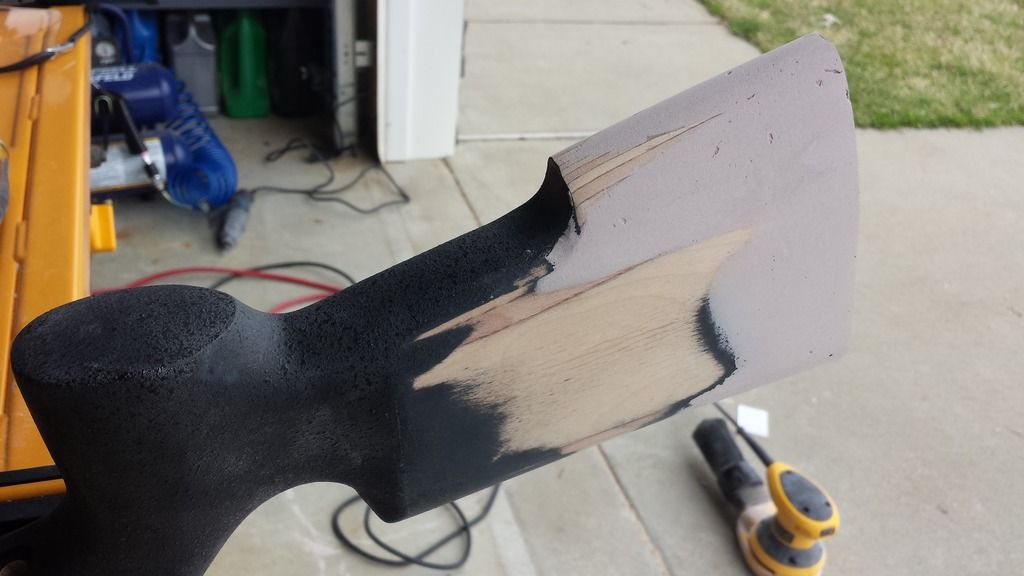 The toe and heel are completely fitted and the pad is coated in release agent and bedded to the butt to completely seal that wood. All I have to do is clean up that fine bead of epoxy that is proud and the LOP Kit install is complete: 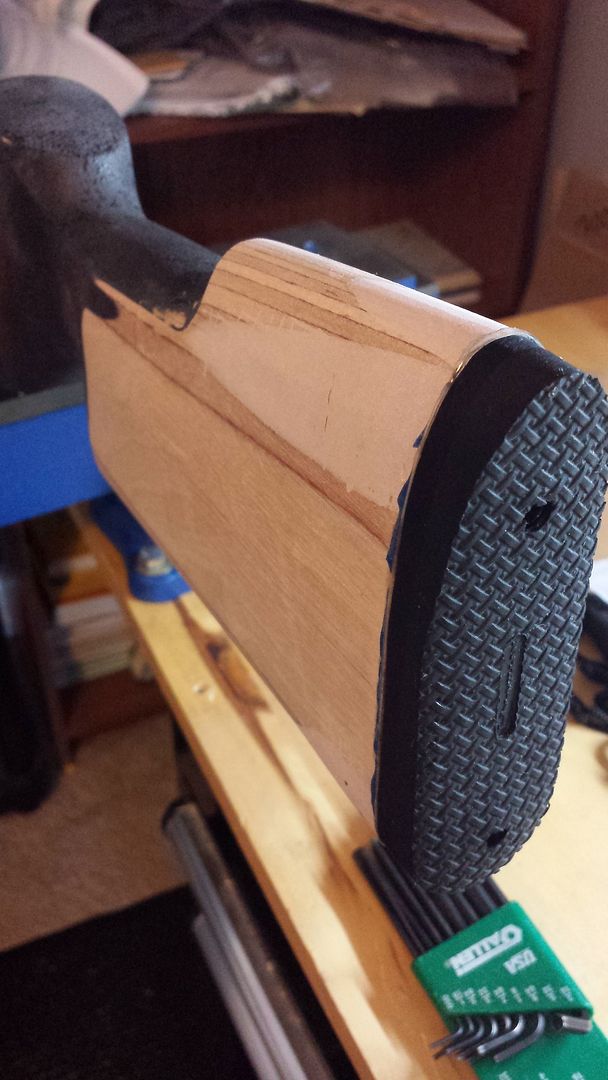 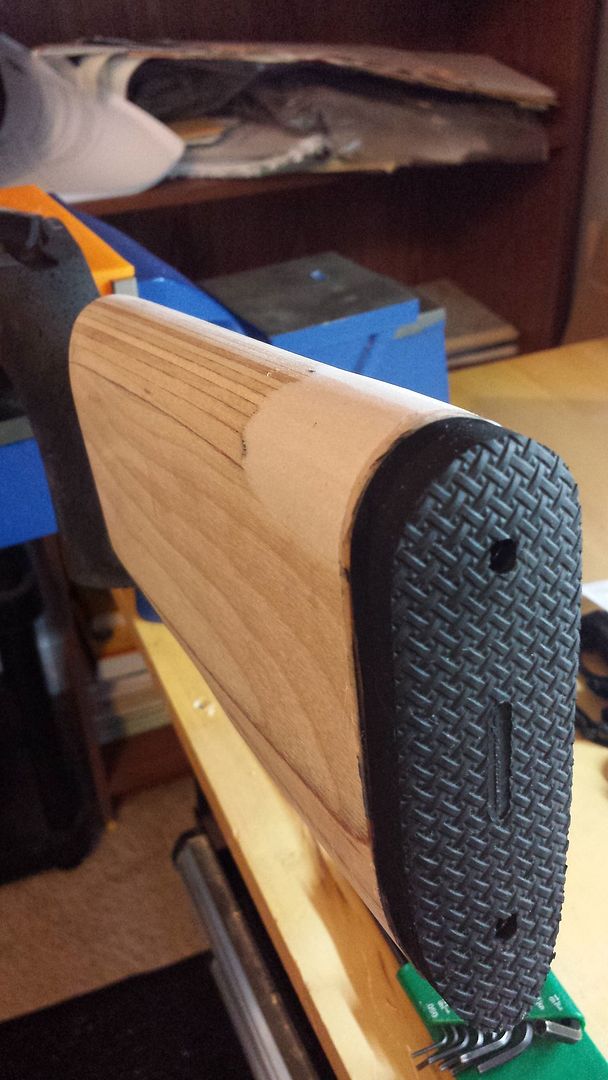 I pulled the screw studs they provide and prepped the stock for an Atlas rail. I leveled the stock in the vise then leveled the rail. I then scribed the location for the new holes for the Atlas rail: 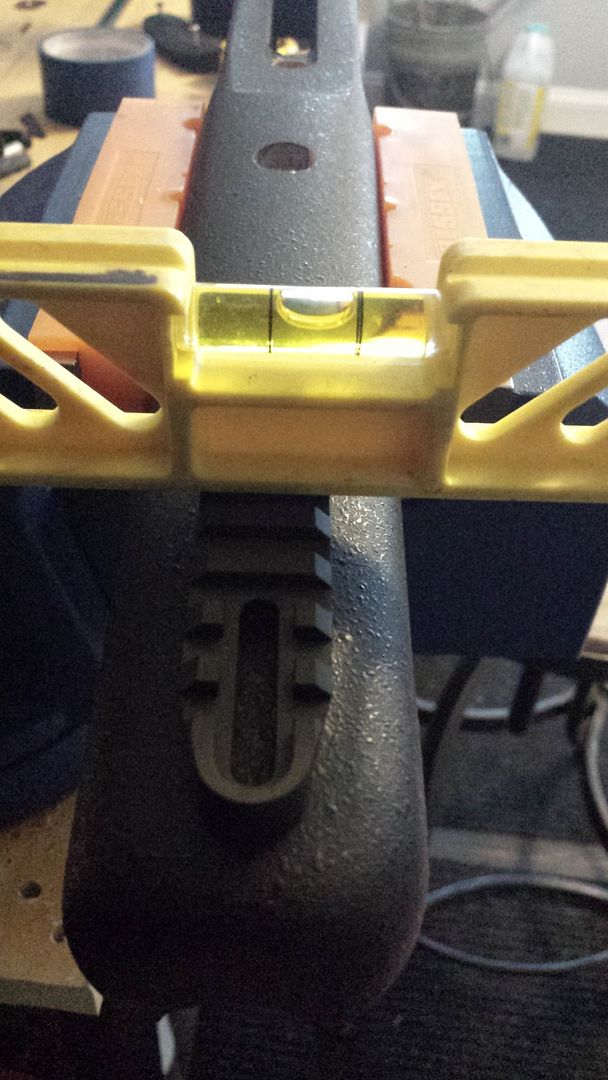 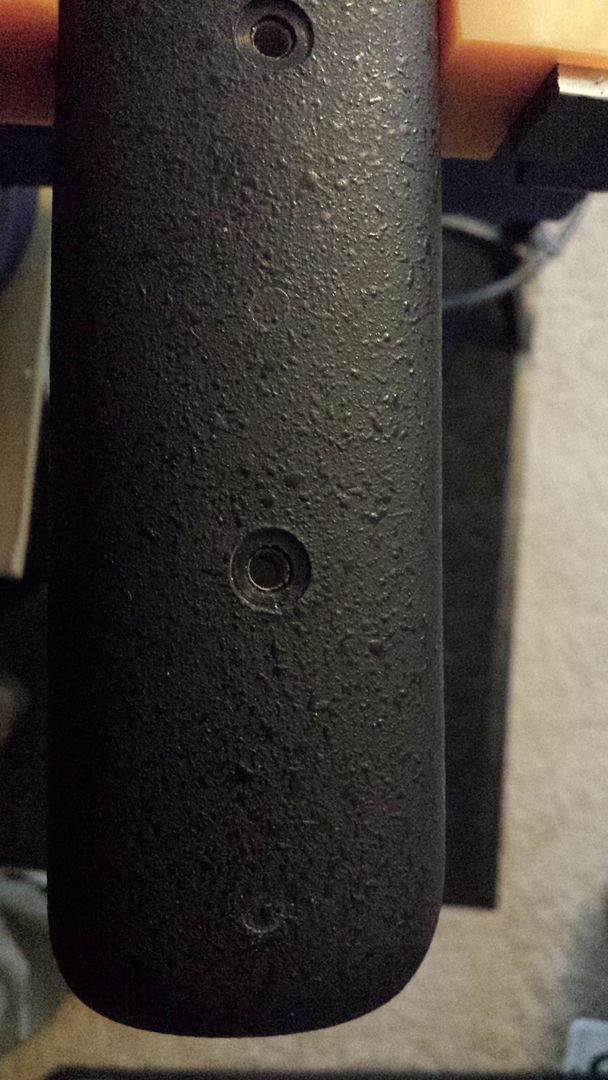 Once I get the holes drilled out I will attach and bed these brass bushings into the stock to use as the point of attachment for the rail: 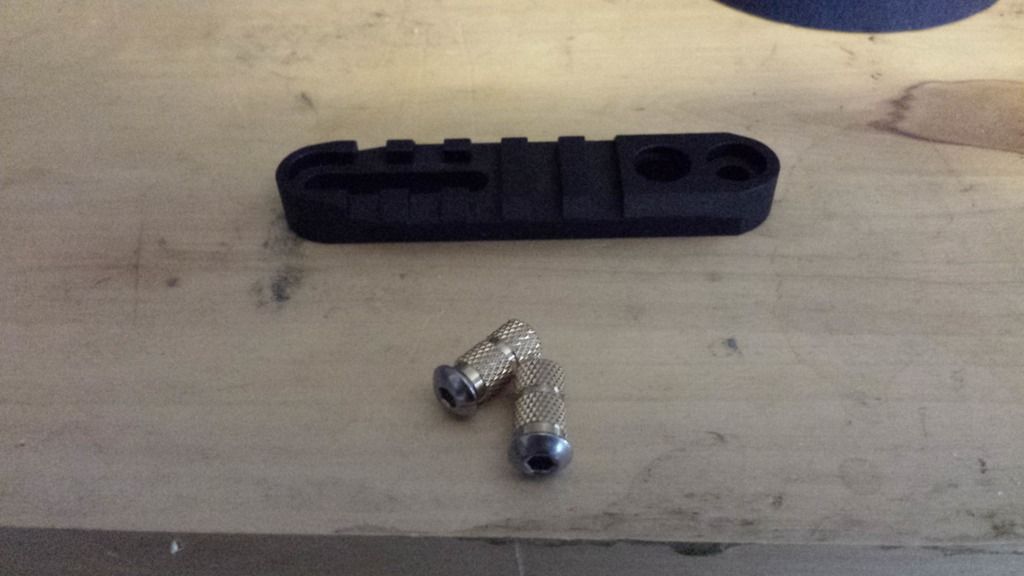 I then spot drilled all the old swivel holes to get rid of the paint so they could be filled and sanded down smooth. I also drilled the new holes for the Atlas rail: 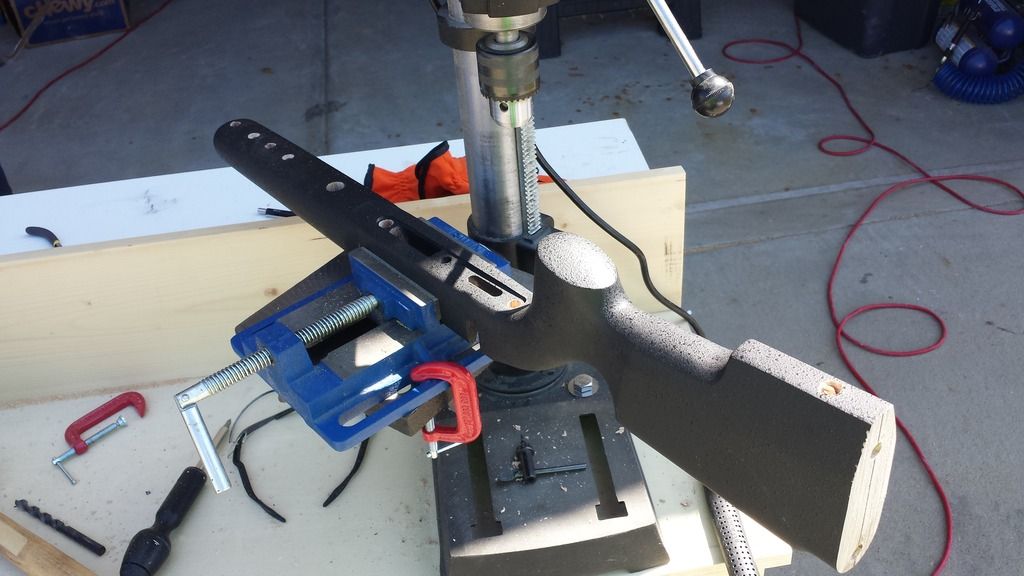 | ||
|
| One of Us |
Forearm stripped and sanded with brass inserts for Atlas rail. Old swivel studs filled and sanded to match: 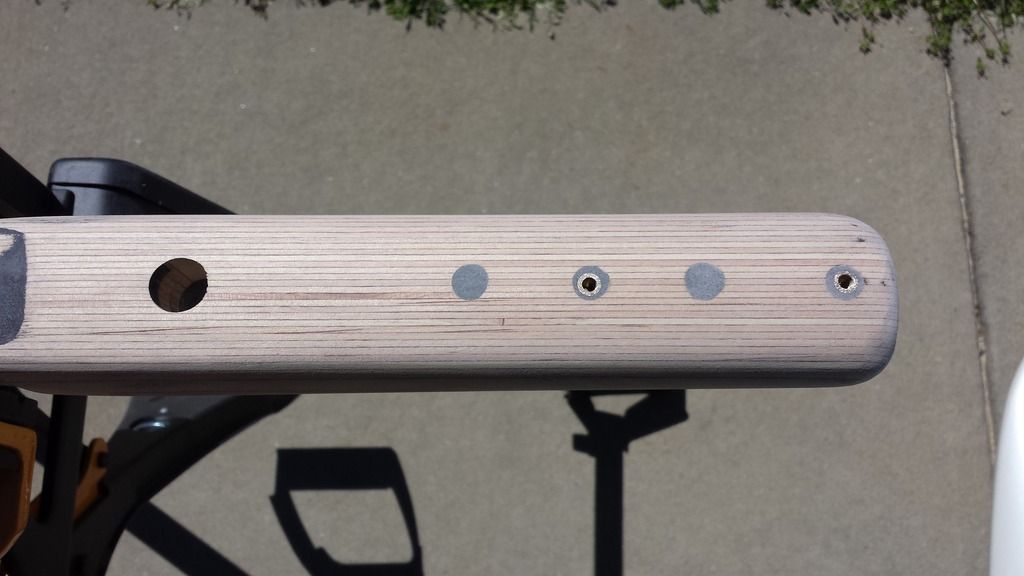 Threaded inserts for cheekpiece epoxied and sanded to match: 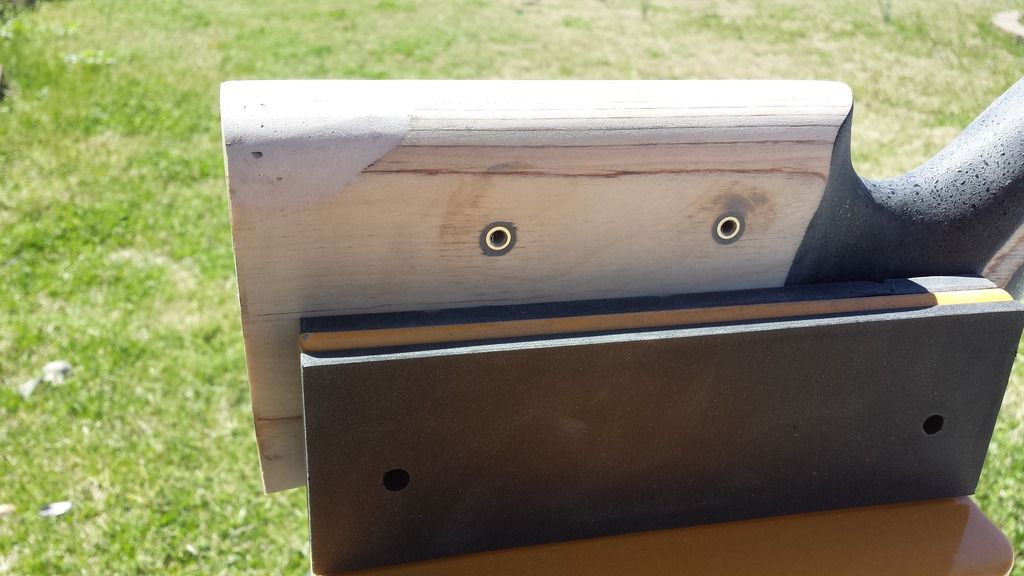 POW/MIA Kydex Cheekpiece (.080" thick): 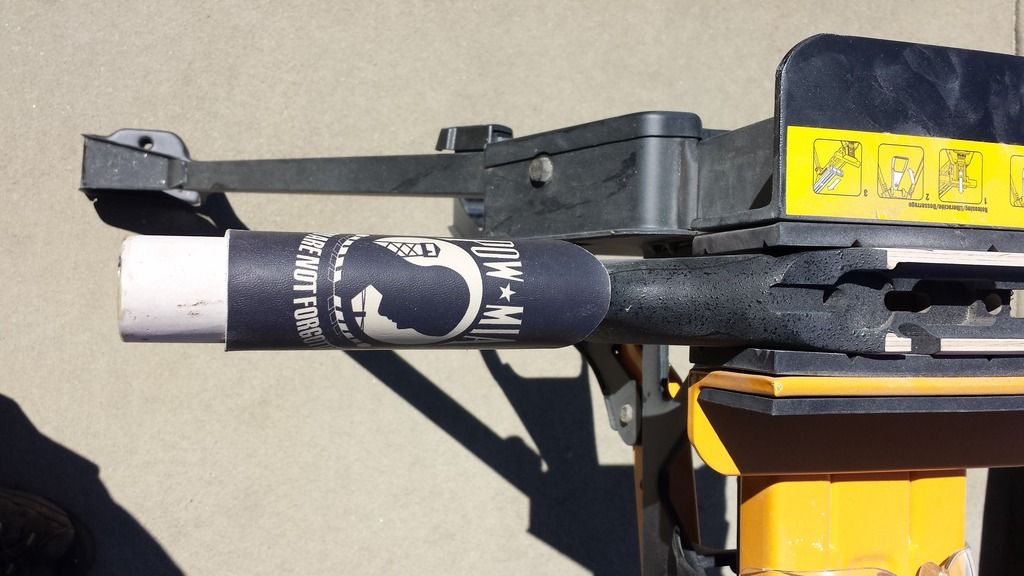 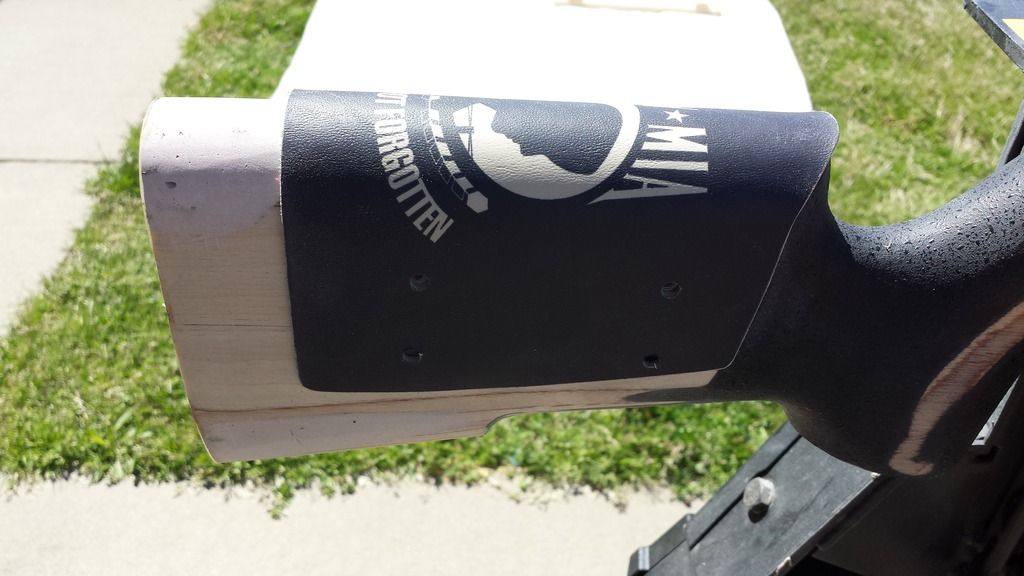 The McMillan is less steep and the action is farther forward but I reduced the Tacticool as best as possible to match: 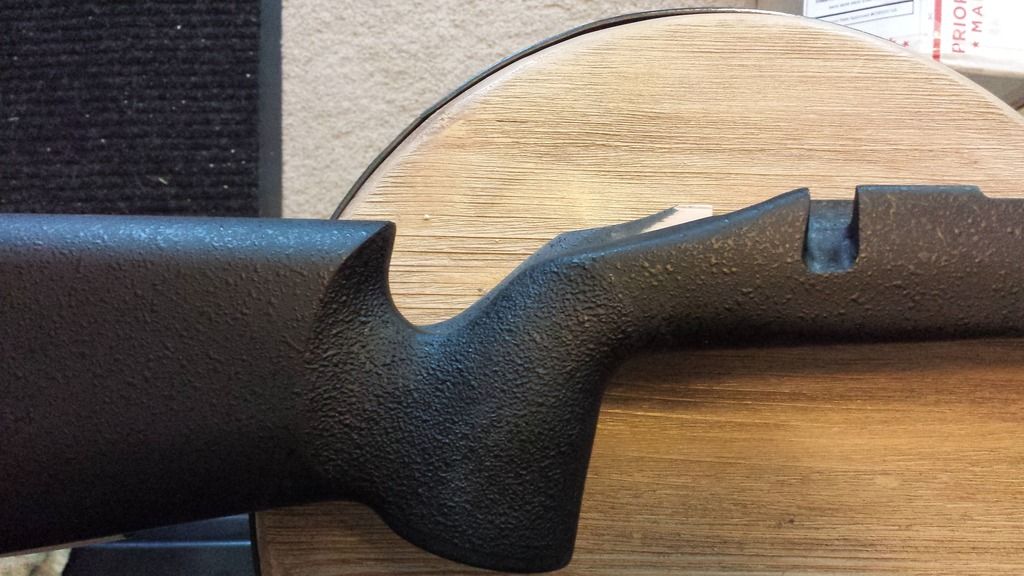 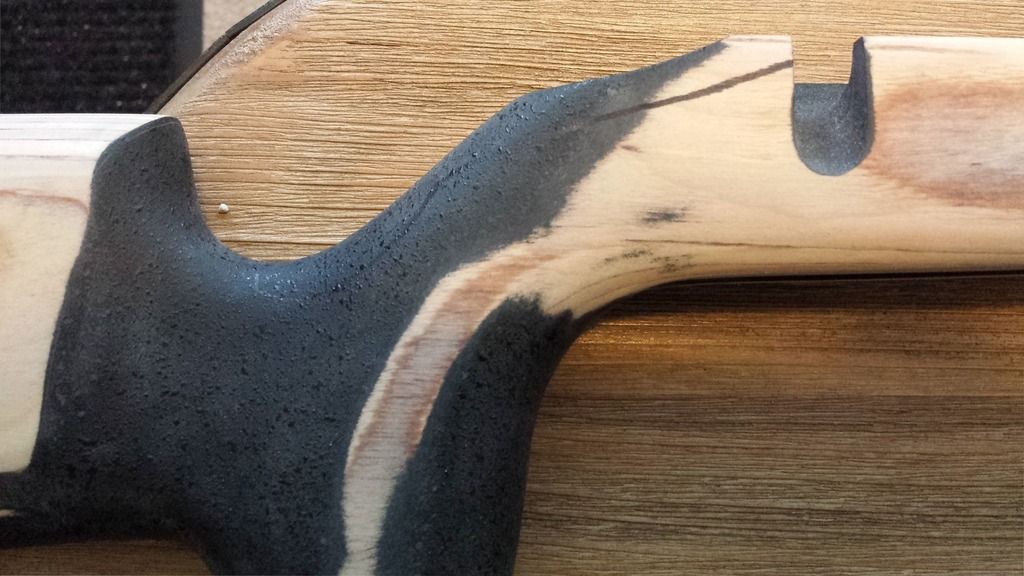 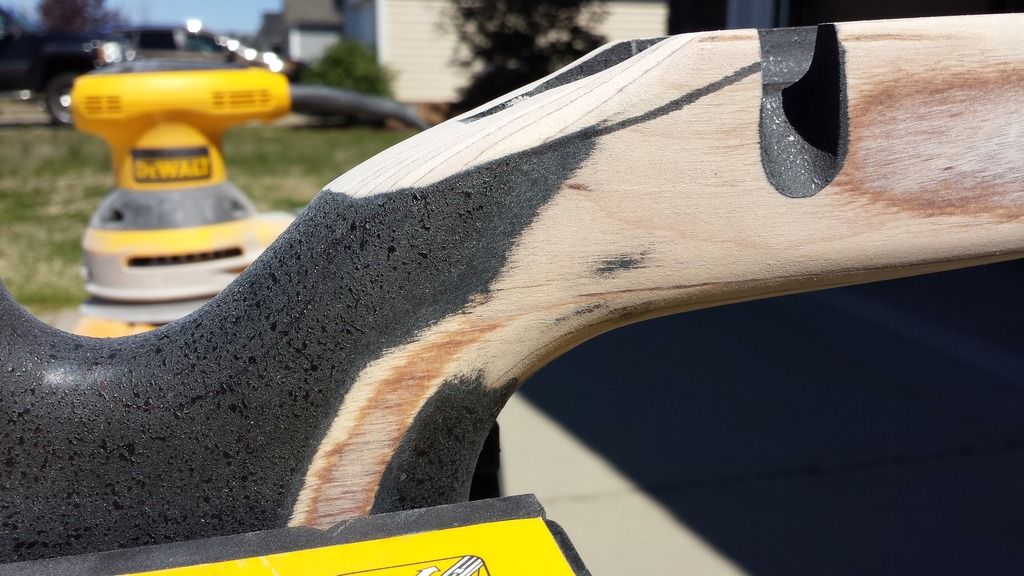 | |||
|
| One of Us |
Wow! I have one in .17HMR that I was considering selling, but now maybe not. Nice work. NRA Patron Member | |||
|
| One of Us |
Finally getting back to work on this. I had a lot of parts from DIP on back order that finally arrived. I always do "before" and "after" testing so I mounted the DIP 25MoA base and an SWFA Super Sniper 6x for testing. 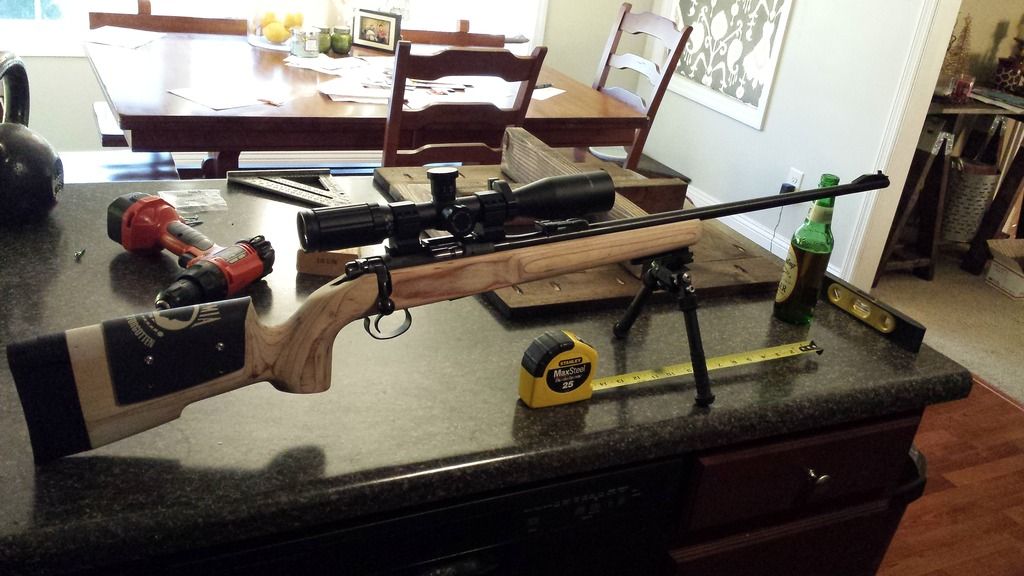 I had 100 rounds of CCI Quiet-22 I wanted to burn up since it is only 750fps at the muzzle. These are the 25m groups. Groups at 50m were about an inch and took 2.5mil from the 25m zero. Groups at 100m took 6.5mil, were about 3 inches and was mostly wind as elevation held at around an inch. I kept the other box for post bedding testing. 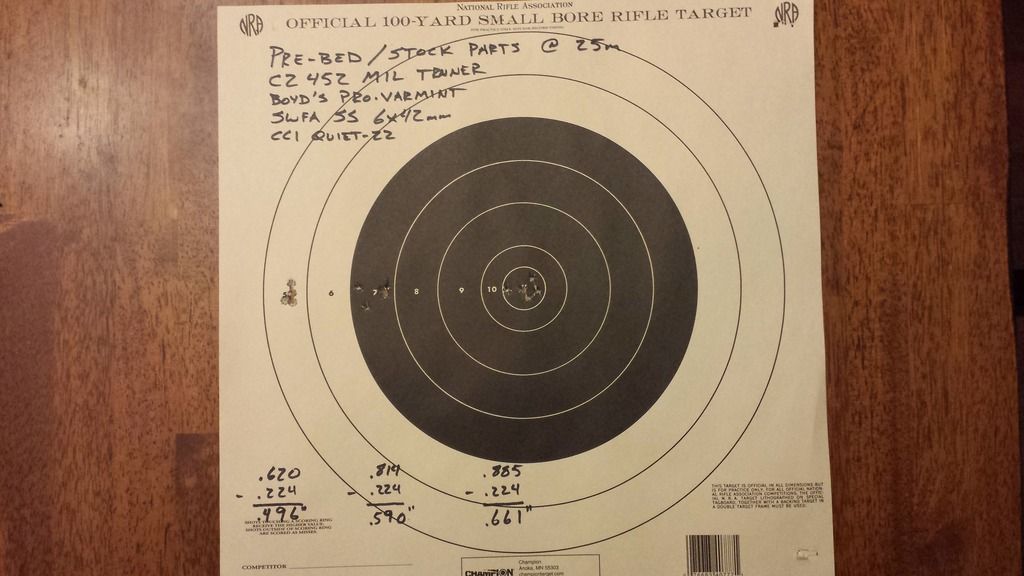 | |||
|
| One of Us |
I had a little time this afternoon so ran to the range with a box of CCI SV to give the gun another run before bedding. After zero at 25yds I shot a tall target with the new SWFA SS 6x42mm. After that I shot at 50,75,and 100yds to collect drop data. Wind was a little rough but no misses. Right to left from 50 to 100yds : 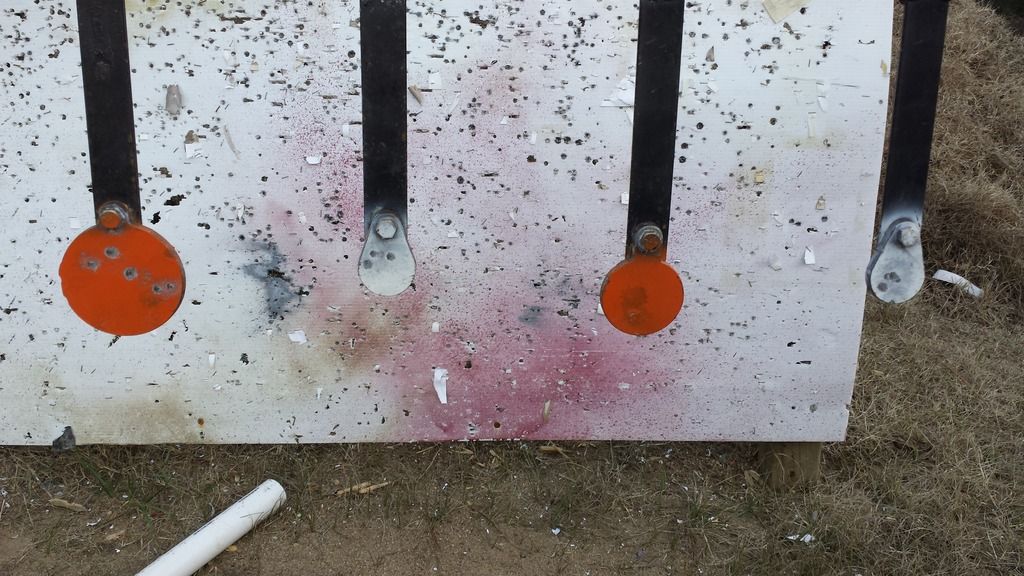 I had 4 rounds left so I shot 2 each at the 200yds and 300yds targets which are actually 193yds and 306yds. 8mil hold over based on phone was bit too much 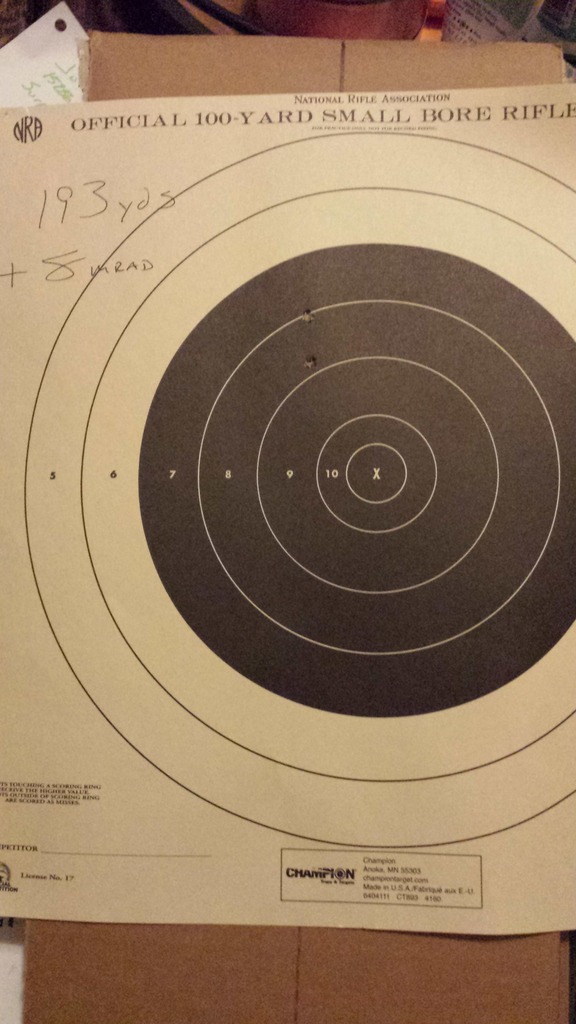 Based on 200yds target I made an educated adjustment To The computer at 306yds 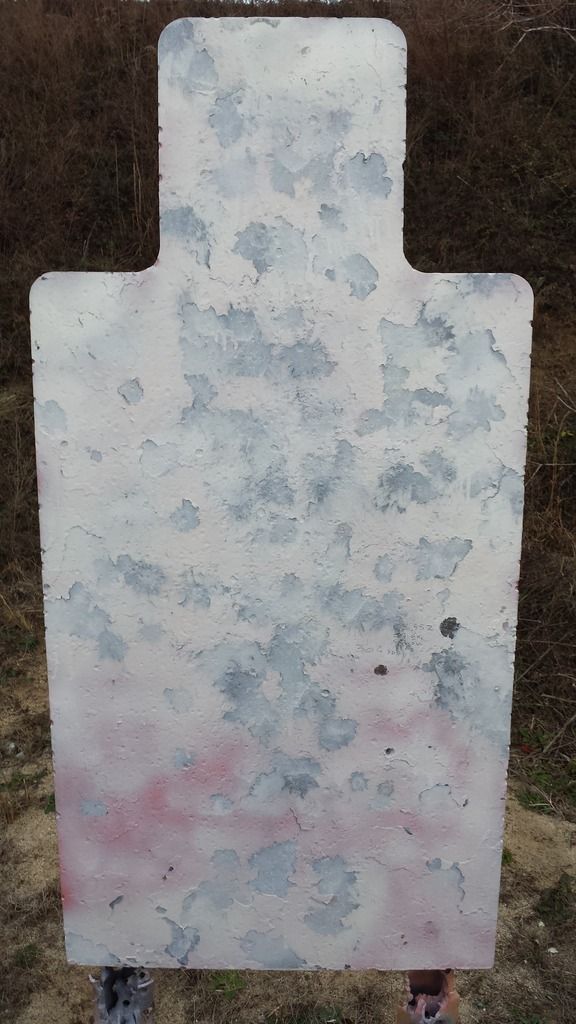 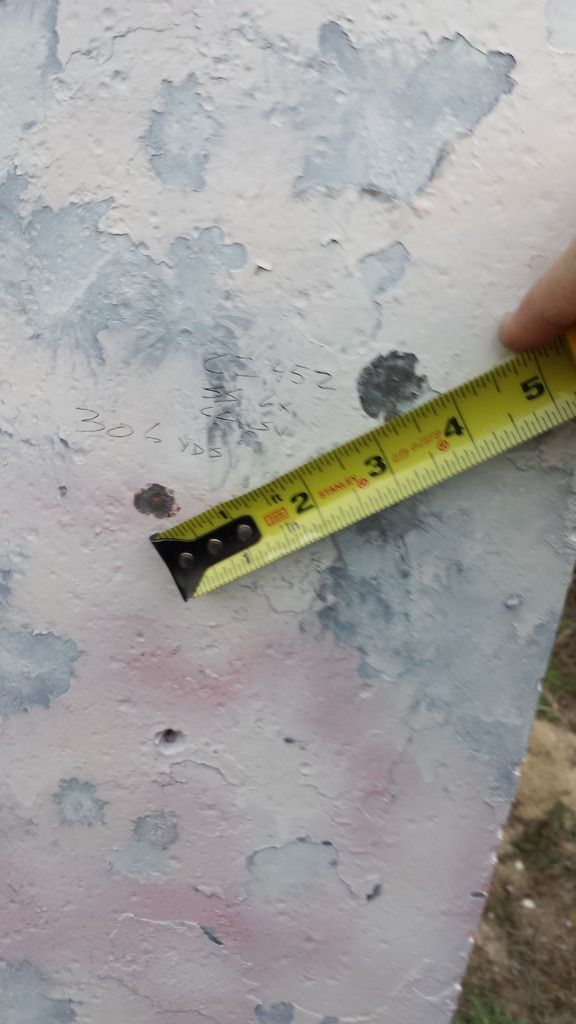 | |||
|
| One of Us |
Went back out today just to chrograph and get better representation at 100yds and 200yds since this gun will mainly see duty shooting alts at those distances on plates. Chrono pegs MV 10' from muzzle as 1046fps average which is pretty much exactly what the box claims at 1050fps. ES was 28fps and SD was 7fps over the course of 10 shots. I guess you pay for $12 per box if you want to keep the Democrats out of your groups and they tend to show up at 100yds and further. 100yds 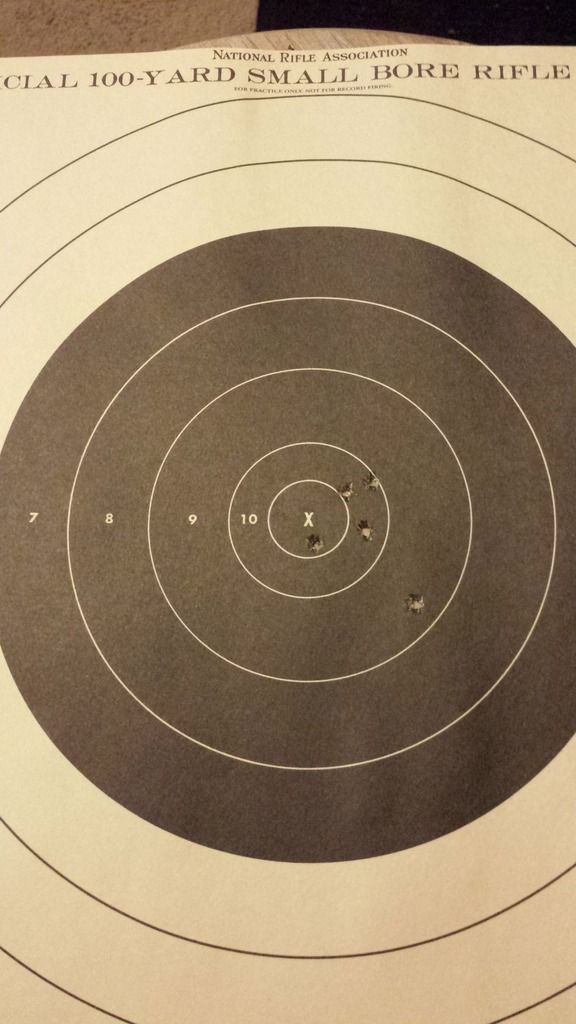 200yds 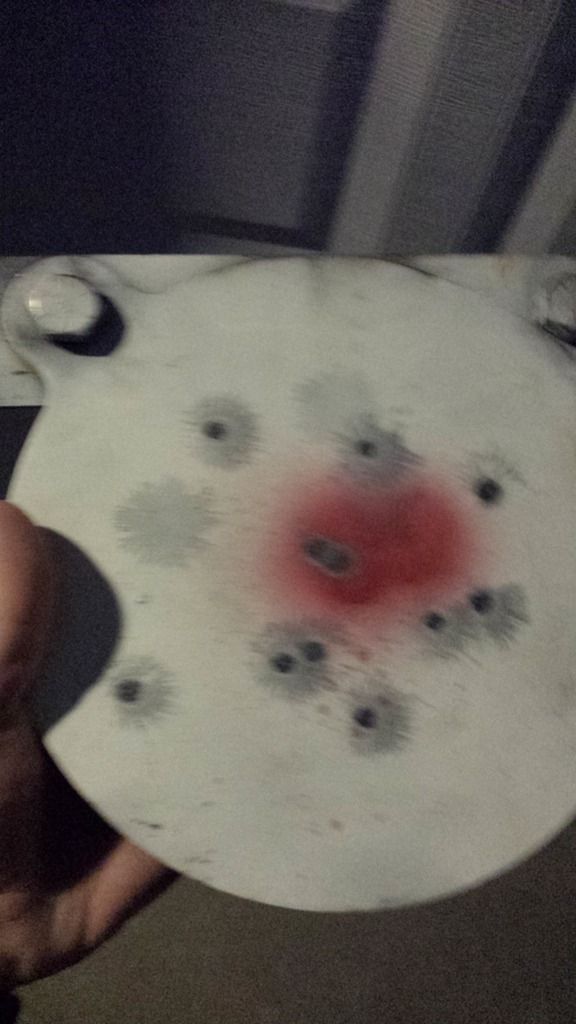 | |||
|
| one of us |
That CZ sure does want to perform. Can't wait to see post-bedding results. It's a lot of fun to shoot a .22 beyond 100 yards. We had a 200-yard match some years ago that was a real hoot. There is hope, even when your brain tells you there isn’t. – John Green, author | |||
|
| One of Us |
Thanks for sharing your project! How will you finish the stock when you get it to the final shape you want?
I'm curious about how you picked numbers like these? So the pitch means the recoil pad is not perpendicular to the bore, but the top is tilted slightly forward? And the toe out means that the pad is rotated along the axis of the bore? | |||
|
| One of Us |
I'm going to paint it matte black with a black, grey, and white speckled finish. You are correct about pitch and toe out. They are cut that way because of how the shoulder pocket is shaped. If there was no pitch the toe of the stock would stab you. If you place your gun butt on the floor with receiver against the wall you can see the pitch by measuring in inches the distance in inches from the wall to your muzzle then do the math to get an angle. | |||
|
| Powered by Social Strata |
| Please Wait. Your request is being processed... |
|
 The Accurate Reloading Forums
  THE ACCURATE RELOADING.COM FORUMS
  Shooting
  Rim Fire Rifles & Pistols
  CZ 452 Trainer Tacticool

Visit our on-line store for AR Memorabilia

